Showing posts with label #ChairMakeover. Show all posts

Saturday, February 14, 2015

Friday Five: Fabulous Furniture Features No. 18


Welcome to 


This week is all about chairs.  I'm featuring five makeovers that caught my eye. Actually, five out of, maybe 50? 

I think this is going to be "Chairs: Part 1". I can't believe how many lovelies are posted out there. They really need to be re-shared. 

In the meantime, enjoy these beauties! 


Old chairs with a French twist

by Jennifer at 


Oo la la! 

I love how the wood was left untouched! I'm drooling over the beauty of the frames! Really... all these chairs need was freshening up with fabric. And boy did it change the entire appearance! Jennifer chose the perfect print! You can see her detailed post showing you how to do this yourself at Jennifer's Mentionables. Go ahead, I'll just keep looking at these for awhile longer. 


Quirky Chair

by Rosemary at


Genius! 

I can't get over this chair in any way or form. The veneer was damaged and this is Rosemary's brilliant idea for a makeover! Is this not the most unbelievable fix?!  Leaving the chair in it's worn charm and making the ugly spots beautiful with book pages is just blowing me away. Read her post at Villabarnes to see how she did it. "Betcha" want to try this at home!


OHHSIT! FOR MY PRINCESS

by Brittan at 


Keepsake.

What a beautiful way to embrace 3 generations of maternal weddings. Brittan created this amazing photo display for her daughter. The chair remains as an antique while Brittan, her mother and her grandmother are shown in black and white photos for the upholstery. A lovely memory piece is so well done. You must see the beautiful gallery at OHHSIT! 


Grain Sack Typography Chair

by Angie at 


Aged to perfection. 

Angie never ceases to amaze me with her simply beautiful touches at Knick of Time Interiors. She makes everything old look incredible. This old chair is another example. I love how the fabric perfectly matched. 


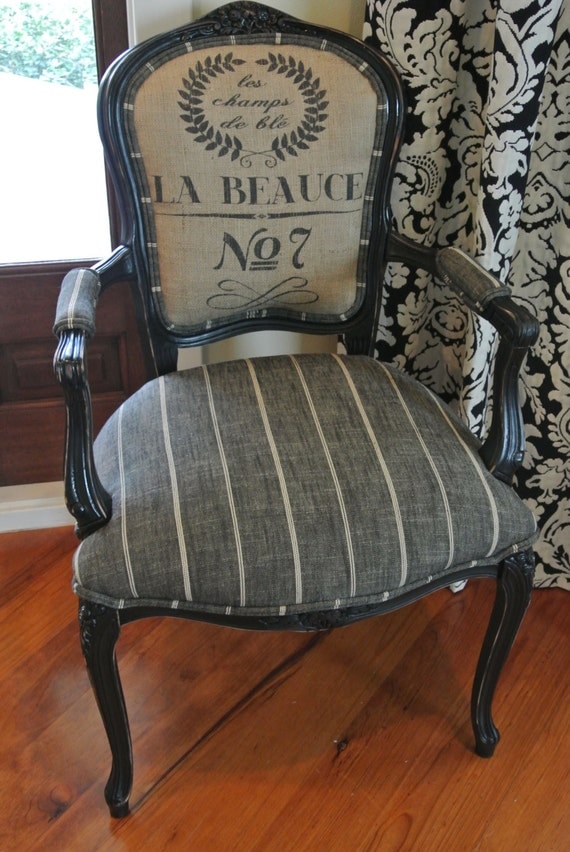
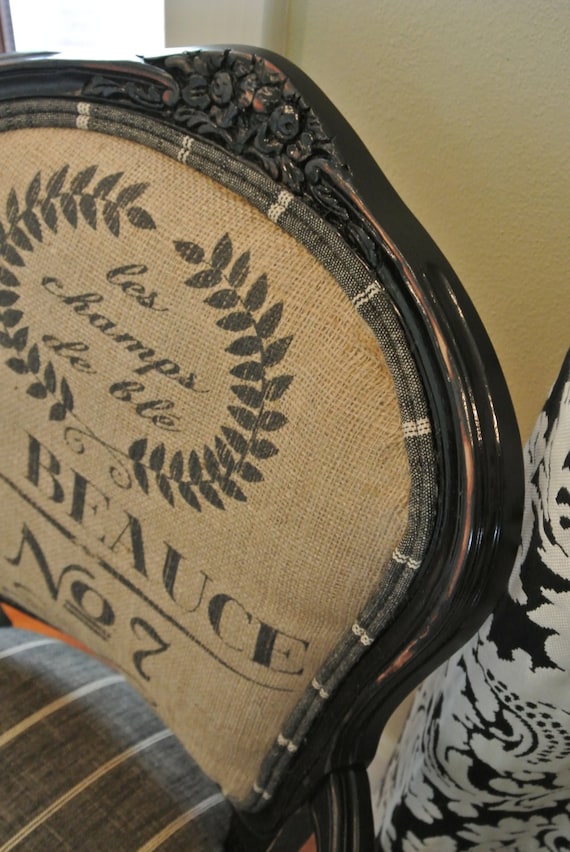
French Grainsack Chair

by Wendy at 



Stunning!

This gorgeous chair is perfect for my desk. 

Oh, sorry, I was typing out loud. 

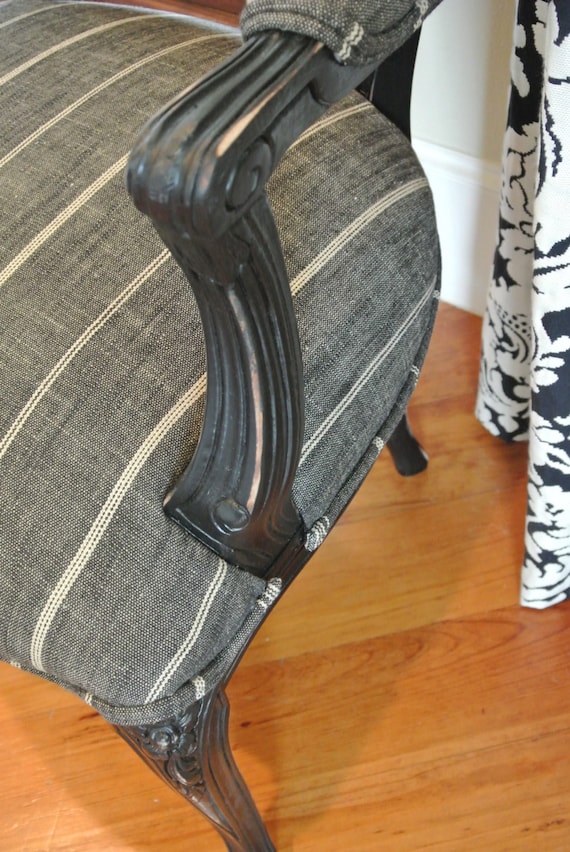
Everything that Wendy did to this chair was immaculate! Double welting. The upholstery front, back, seat. Distressing just so lightly. Fabric placement of the backrest... oh my! See the before photo and more of this at Chair Whimsy. 


grab button for Redo It Yourself Inspirations


Perhaps I looked at too many vintage Valentines this week. I obviously came up with a little French love as a theme. 

I hope you enjoy them as much as I do. 

Happy Valentine's Day! 


If you pin your favorites, please be sure you do so from the creator's post, so they can appreciate you in return.  :) 


Tuesday, December 2, 2014

Vintage Kitchen Chairs Redo


Late September was quite lovely here and there were quite a few yard sales about. This particular one, enabled me to score so many vintage treasures... everything intended for redo's or repurposing...  a wingback chair, a carved wooden bowl, true silver flatware pieces, a vanity dresser set (brush, mirror and covered powder dish), a suitcase, a fur coat and 


... this pair of tall kitchen counter chairs.  


These chairs were in rough shape. The vinyl was torn and quite stinky on both of them. A thick brownish residue was stuck on and they reeked of cigarette smoke. BUT, they are solid and heavy duty.  And they swivel! Certainly worth salvaging. My mom could use them if I can get them to match her red gingham kitchen and they'll be perfect at her breakfast island. 


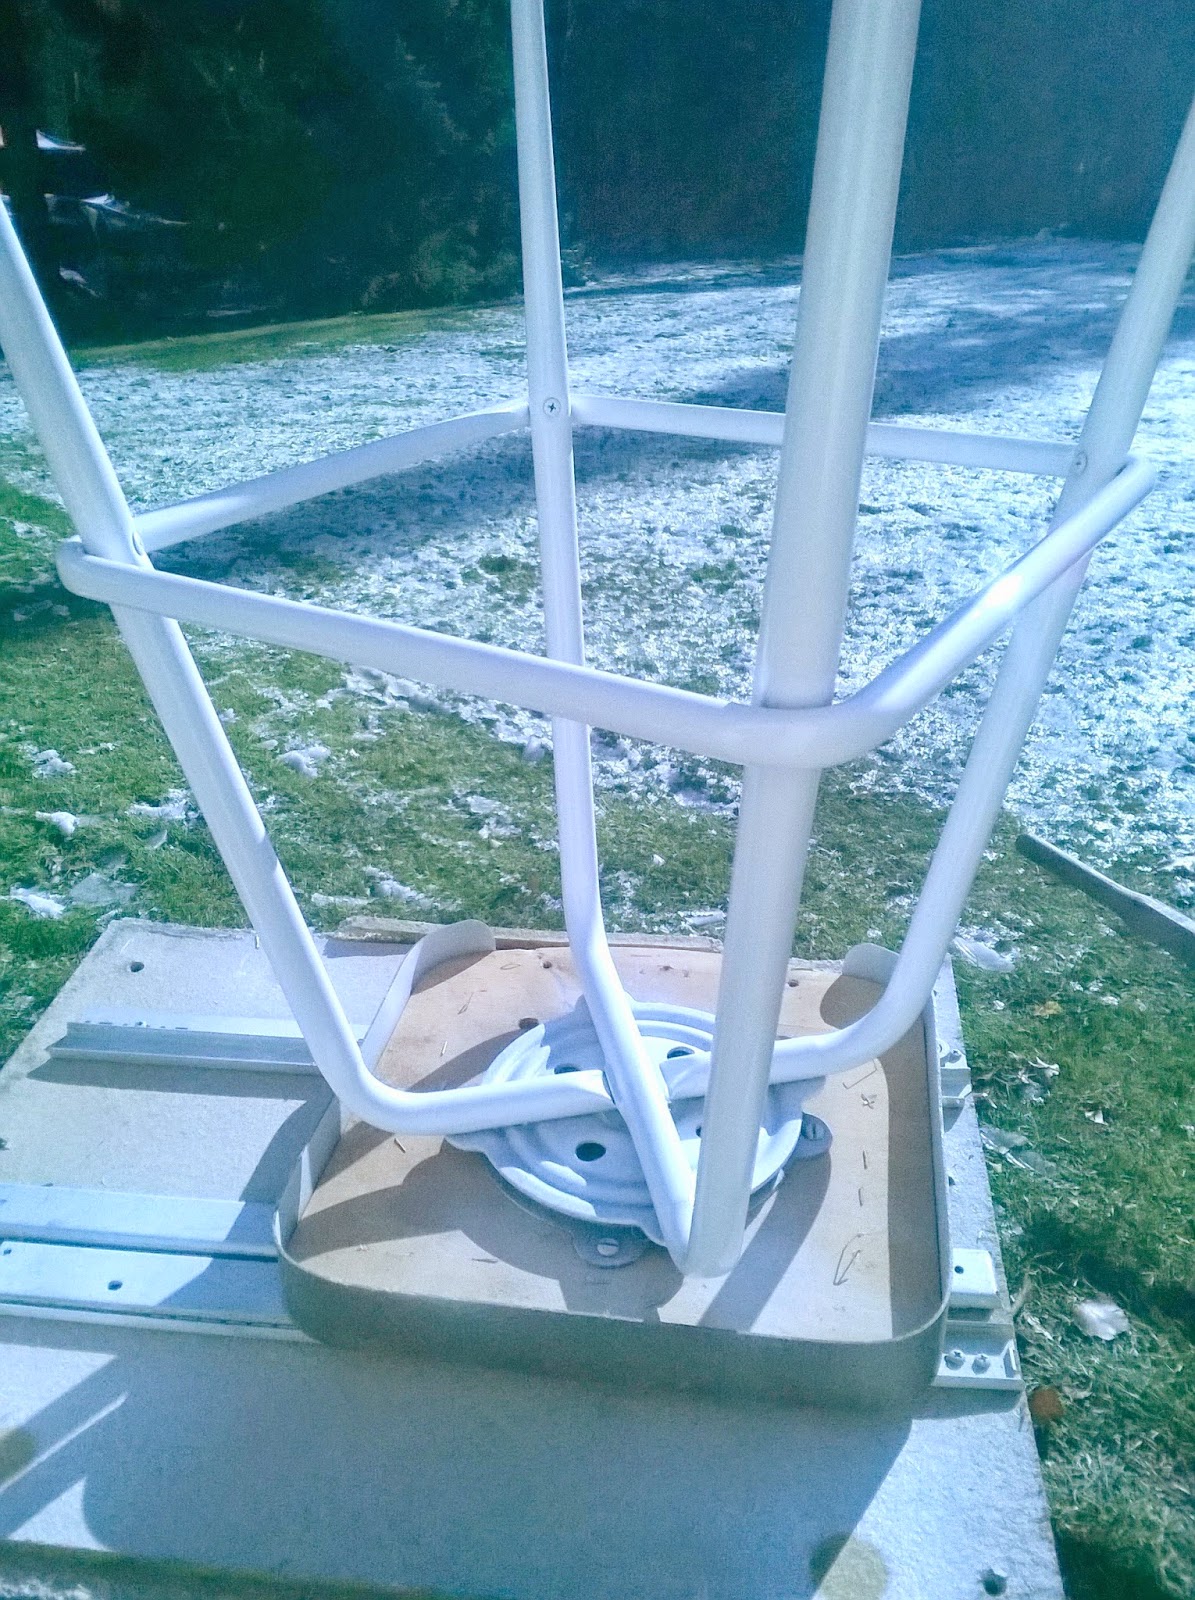
To begin, I disassembled the chairs. Then removed all of the stinky upholstery and padding. 


Then I washed, dried and painted all of the framework. (The rust was surface only and cleaned up well.)


I ordered 2 yards of Oil Cloth in Gingham Red.
(Love the durability of this material!)


I didn't use any of the original vinyl from the chairs for patterns, so I had to start from scratch by tracing the seat onto the fabric.  This first piece is the top of the seat where piping will be sewn on.


Using pvc clothesline cord for the seat piping, I sewed it into the oil cloth.


Then sewed the piping onto the top of the seat where I drew the edge line.

I bought both memory foam and batting for the top cushion and to pad the sides and top portions of the chairs. I cut the batting to fit onto the seat and around it.


Then stapled the sewn top piece onto the padded seat frame through the batting.


Following that, I stapled in the side paneling all around the seat, allowing material for attaching beneath the seat. This was done by meeting the raw inside edge to meet the sewn piping edge, then pulled the material down over the sides.


Then, reassembled the framework with its original hardware.


Because I was rushing for a few Thanksgiving project deliveries, I missed all photos. Here is the backrest of the chair that I reupholstered and used silver toned tack studding.

I cut the material to do the front of the backrest and stretched it to staple into the all around the center of the backrest. Then used another piece for the back and met the edges to the front, using the nail tack trim to hold it in place. This was my first time using nail tack trim on a roll. I think I prefer the individual tacks over this type.


The oil cloth is easy sewing but does not give too much, even heated with a hair dryer. I learned this on the top padded areas of the backrest where I wanted the material to fall smoothly.  So the corner tucking was tough.


Here are the pair ready for Thanksgiving Day delivery... 


and they sat happily matching each of the window valances and other red gingham in the kitchen. 


Deadline. Done and delivered. Whew~ 


~~~~~~~~~~~~~~~~~~~~~~~~~~~