Wednesday, February 26, 2014

How to make an Outlet Charger Hanger

You have probably seen these handy DIY wall outlet hangers for chargers here and there.  They are a clever idea, however, there are obvious reasons why NOT to hang the plastic on electrical contacts. If left unattended or for a length of time, they can melt and become a fire hazard.  Liking the organized purpose of this object, I created my own in a way to feel more at ease about using it.  That is to place the hanger behind the cover, not in front of it.  

Not only is this method safer, it's stronger.

Use a plastic bottle of desired shape, outlet pattern, marker, scissors and a exacto knife on a cutting board.  Then any desired decorating supplies. I just spray painted mine. You can get creative with decorating or personalizing it.

Using the outlet pattern, trace out the outlet on the plastic. I used a foam insulator. 

Carefully cut out the marked areas with scissors. A knife to cut the outlet areas on the cutting board worked best. 

I spray painted the exterior

I'll re-use this as a funnel to pour paint from larger containers into smaller jars from projects.

Turn off the electrical supply to the outlet. 

Remove the screw and cover 

I added the foam insulator while in the outlet box. 

Place the hanger onto the outlet and replace cover with the screw. 

This bottle holds both chargers needed for this location.  No more hanging cords. 

Monday, February 24, 2014

What ya got cookin' Blog Link Up Features


There were some very awesome recipes posted on the link up last week! 


All of the recipes were fabulous and the following five features are listed by most clicks:


Grab your feature pin and spread the news. 
  Thank you so much for sharing. 


I saved all submitted links to the link up to enjoy. 
Thank you, to everyone,  for posting and sharing your food love with us. 
I hope everyone enjoys these as much as I do. 


Thursday, February 20, 2014

How to redo a Cedar Chest

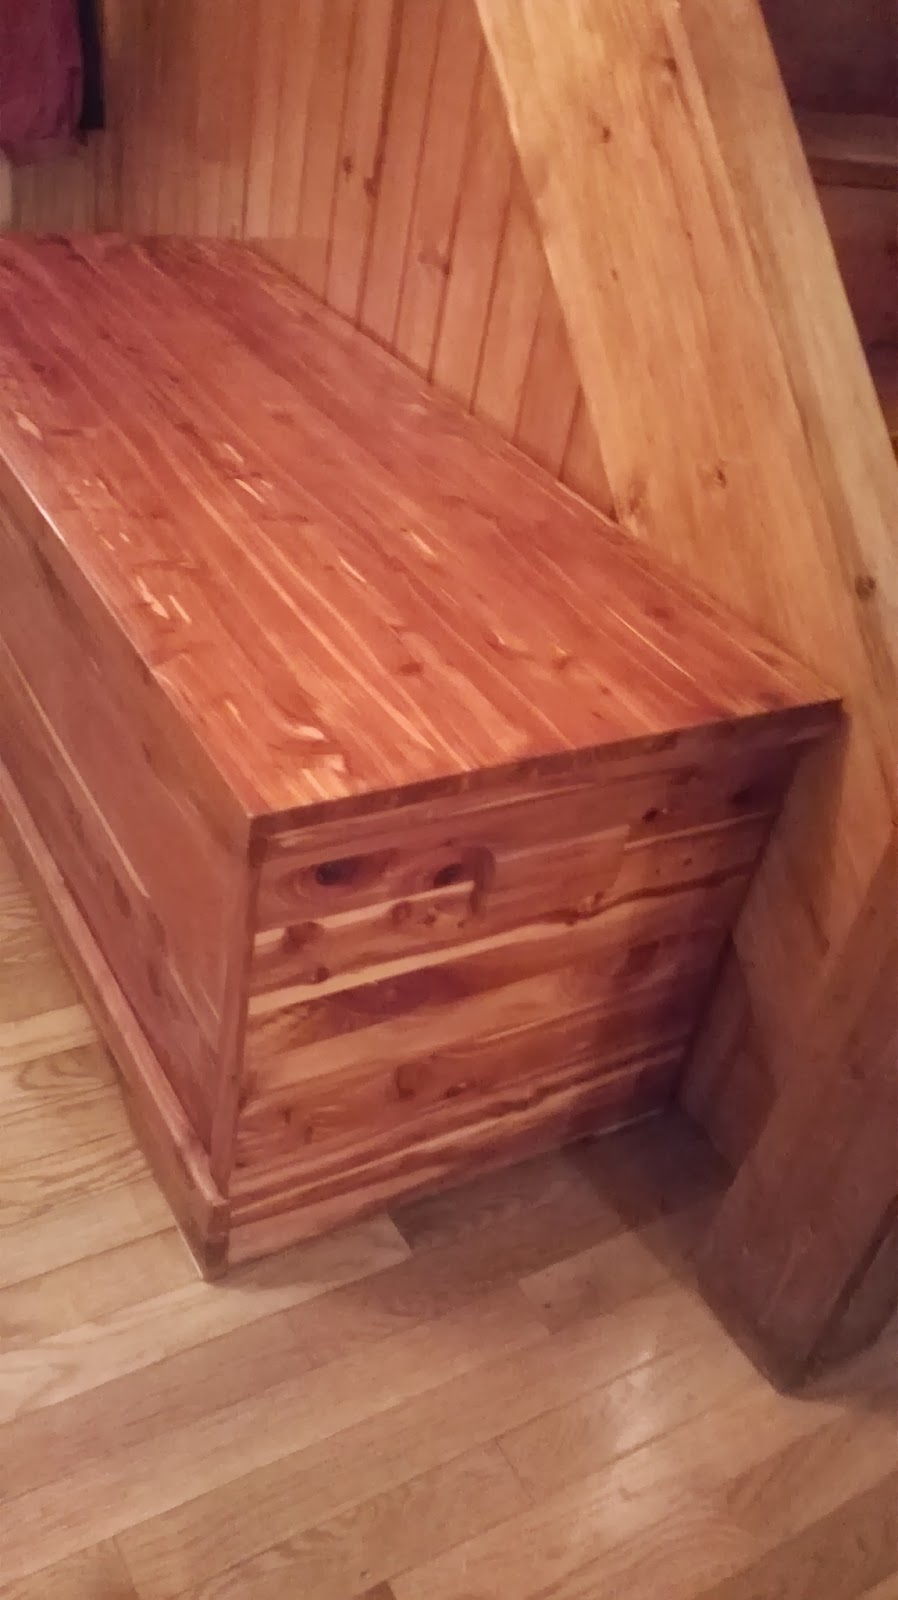
My 80's cedar chest came out to the foyer for two reasons; a place to sit for taking boots off, and...  The other, well, I can't part with it. It's filled with thirty years of my children's mementos and all that cedar fragrance. Placing it in the only totally wood trimmed out area is just too... well, kind of "dead wood".  A make over was definitely in order. A bench seat is what it will be.  


It's a lot of wood and I am not painting red cedar. 

I used a left over memory foam mattress topper that was on my son's bunk bed that he out grew.  Cut it to the exact size of the lid of the chest.

The foam is about 2.5" thick.

I chose to use tooled leather look fabric and decorative nail tacks. 
I removed the lid and cut the fabric about 3.5" wider than the edge of the lid all the way around. 

Sitting on the lid like "Sitting Bull" for weight, I folded the fabric over and
stapled it to the underside of the lid frame. 


Replacing the lid back on its hinges, I hammered in the decorative
 nail tacks all around the edge of the lid into the wood.

A nine year old decided to try it out. My model :) 


Now for a little make-up on the face. 

An inexpensive wall decor taken apart, just to reuse it. 

Some left over suede fabric from the upholstered stools will do. 

Using just a glue stick I trimmed the fabric to cover the mat board.  

Secured all around. 

Replaced the medallion with the now suede mat board. 

Replaced the frame and secured it. 

Then using the decorative nail tacks, attached the framed piece on the face of the chest. 


On the diagonal looked best. 

Now to add a pair  of "earrings"  ;) 

Drawer pull template from a piece of paper. Quick cheat sheet! 


Drawer pulls installed through the chest. 

I just got these steer horn pulls for a Mexican armoire I am going to redo.  Oh darn!
I need to go back to Hobby Lobby again! ;) 

While sitting on the now bench, I slipped a belt buckle under the lid to see if it would
 work as a lid pull. Looked good to me. 

After attaching the belt buckle scrap with staples, I trimmed off the excess leather.


Leaving enough to wrap under and attach again. 

Kind of "junky cool" 


It will stay there. 

Hinges from my old shed. 

Attached with more nail tacks


Lunch time. Be back in a bit.

Now for an accessory.  I download a few old photos of Annie Oakley and Calamity Jane.
After putting them in this plastic frame, I decided to decorate it. 

A little brown glaze to bring out some details of the embossed trim.

Let it dry. 

Left over scrap leather belts and buckles from my Rush Chair redo will do fine. 

I used hot glue to attach the leather to the glass. 
And the belts scraps into the border. 


One of a kind! ;) 


Now we can say "Howdy!" ... all proper like. 

Useful; and it broke up all that "deadwood". 


Now to get the rusty red throw rug in there. 

My son's outgrown cowboy boots. I can't toss them. 


Thank ya, kindly, for stoppin' by! 


~~~~~~~~~~~~~~~~~~~~~