Showing posts with label DIY. Show all posts

Wednesday, February 1, 2017

Redoing a Vintage Sewing Cabinet


Now that the holidays are over, we are all back with sharing our regularly scheduled "Furniture Refresh"!


This month, we have a theme: "Spray Painting".
Perfect for this vintage sewing cabinet I found at a thrift shop!


If you follow me, you may remember my thrilling moment when I bought it. (posted here) Intending to give it a makeover, I wanted it to go from "vintage" to more of an "antique look".

The exterior is covered, or "upholstered", in fabric. I originally planned on removing the coverings and replace them with wood. After considering what it would entail by attaching pockets on the inside, I might as well build another one!

So, painting this one made sense.


I cleaned it up. Then spray painted it with a spray enamel paint.

It needed more than one coat.

So, before painting again, I added scrolled wood appliques in the corners and one in the top center on each exterior side. They are glued on, then I used small finishing nails to secure them further.


Once the appliques were in place, I finished spray painting the entire exterior.

While the cabinet was drying, I printed out antique sewing ads in 3" x 5" size onto iron on transfer paper.  (Using three graphics per large pocket on the inside of the cabinet.)


I handpainted the interior of the cabinet with chalk paint. Then, ironed on the graphics by placing the opened cabinet on the floor with hardcover books tucked inside the pockets for a hard surface.


 The paints were dry, the ironing was done... and this was a wrap!


I was going to add a graphic on each side of the exterior, but I ran out of time. When I do it, I'll just add a photo of it on this post. 

Now that the cabinet is finished, I can fill it up with all of my useful sewing notions. And "sew" on and "sew" forth... (wink!)


Although this is fabric covered, it does have a thick cardboard in between the inside and outside fabric pieces. It's quite sturdy. Now, the painted surface makes the cabinet easier to clean.


The appliques give it a whole new personality.


The faded look of the ironed on graphics makes the interior pockets appear aged. 


Overall, the goal of going from "vintage" to "antique" is accomplished.


Now, let's go on to the rest of the "Furniture Refresh" group!  I can't wait to see what has been created! Join me while I check out what pleasant surprises awaits us!


"Before Photos"


Michele at Shelstring

The thrift shop jewelry tree transformed into a pin cushion can be found "here".


Featured at
With Angie at Tuesdays with a Twist
With Evija at Wonderful Wednesday 


Thursday, December 22, 2016

Easy DIY Dress Form Pin Cushion


Here's another thrift shop makeover!  I think a mini mannequin makes a perfect pin cushion due to its theme for sewing. Don't you think so too?  I bought this dress shaped jewelry hanger from a thrift store, specifically, to change it into a pincushion.

Everything I needed was pretty much "on hand" at home. All that I had to buy was the jewelry tree and the steel scrubbing pads.


Materials:
Spray paint
Stainless steel scrubbing pads
Polyfill
Plain paper for drawing a pattern
Scrap fabric
Iron on transfer paper
Hot glue sticks
Fabric trim
1 wooden screw head cover

First, I cut off the sides (or arms) of the jewelry tree with cutting pliers and spray painted the frame.

Once the paint was dry, I stuffed the inside of it with stainless steel scrubbing pads (to keep pins sharp).


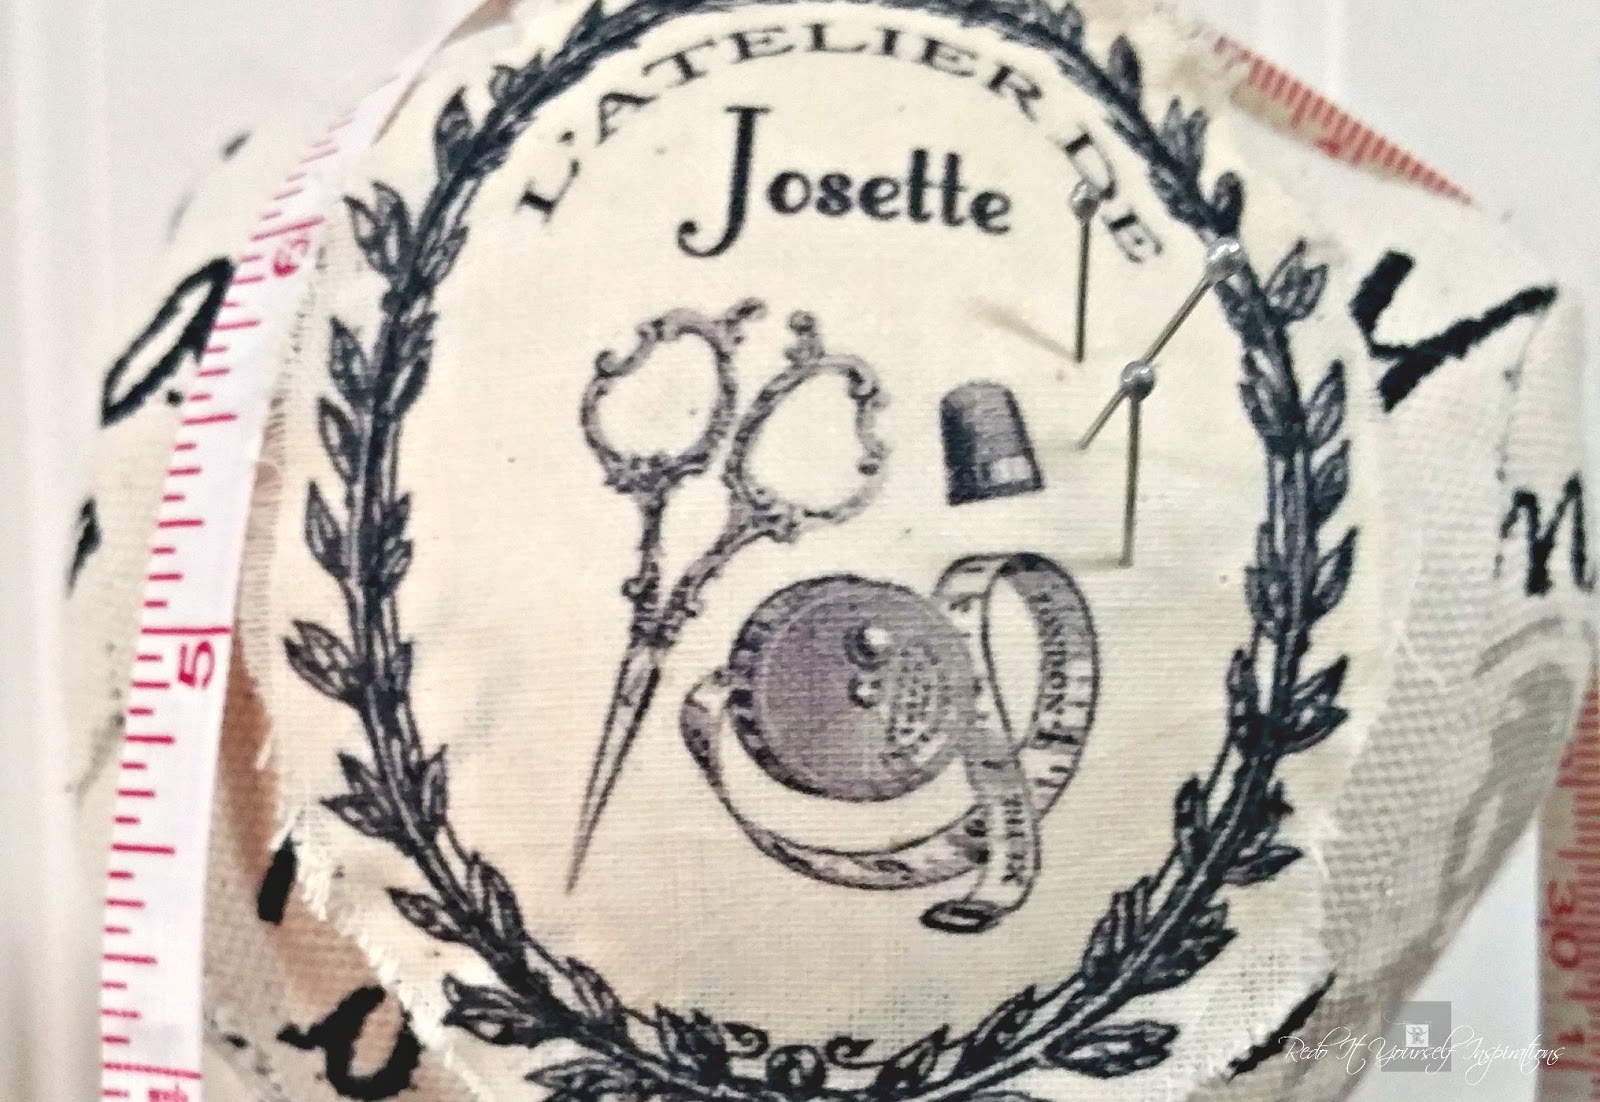
Then I traced around the frame to make a pattern for the dress form look. I also found a cute sewing themed image on Pinterest to print onto iron on transfer paper to sew onto the front.

After I ironed the image on, I cut it out of the fabric, stuffed it slightly with a little bit of polyfill, and sewed it onto the front body piece.


Once I sewed the dress form pieces together, I pulled it all the way down onto the jewelry hanger and stuffed it with polyfill between the frame and the fabric.

The neck (top) of the fabric was shoved inwards at the top of the frame. Then I glued on a wooden screw head cap to cover the opening.

After pulling the fabric all the way down the frame, I glued the fabric onto the metal frame and trimmed it, using hot glue.


Now that the dress form was done, I could finish stuffing the pin cushion at the bottom. I added another stainless steel scrubbing pad, more polyfill, and sealed it with a piece of cardboard.


This dress form pin cushion is about 14" tall and 8" around in circumference. Large enough to hold a lot pins and sewing notions for busy sewing projects.


The sewing notions in the transfer image are so fitting. 


With plenty of padding inside of the fabric, the shape was easy to achieve. Similar to stuffing an animal toy. 


The back isn't stuffed quite as much between the frame and the fabric, but pins are still able to stick through it. 


The bottom of the dress form has enough space for storing scissors and pencils. 


Keeping a measuring tape handy is easy by simply draping it around the form.


This was a fun project with pretty good results! 


This is how the idea started. 


Now, it's a really handy sewing notion that looks so cute... to me anyway. 


I just might make another... with a wooden base. Maybe two more... this is becoming a bit of an obsession. I'm starting to envision a sewing room with functional decor. 


Wednesday, September 14, 2016

DIY Utility Meter Cover


Having a deck or patio extends outdoor spaces into pleasant living areas... unless there is an ugly beast attached to it. And that is what lives at one area of our decking. This huge gas meter is just a big, old, ugly... eyesore. 

As we are re-siding the house from a pale yellow to a new "greige" (gray with brown tint) something had to be done to update or hide the utility meter. 


I had exterior paint mixed to match our new siding and painted the nemesis. (Today's technology is amazing. I took a small piece of the siding to the paint department and had them match it.) It's perfect.


But the gas meter is still quite bothering. The hunk of metal and pipes can't be disguised with paint alone. Why was this ever put here? What were they thinking? It made my stomach hurt looking at it because I know I can't move it. My eyes twitched from seeing it, yet I pretended it wasn't there most times. But it was. 

This monstrosity is haunting. 

The siding, as you can see, is incomplete. We are doing other sections before using leftovers for this bottom portion.

So I considered building a "box" around it by framing it and attaching the new siding to it. Along with that idea, it became more complicated, such as hinges and doors, like a cabinet. The more I thought about it, the heavier the build became. It was not my intention to take two people to move it when needed to do so.

That's when I decided to go "light" with something that can just be pulled away. Like these plastic or vinyl shutters. They were trash, on the side of the road, that I originally intended to paint and use on my garden shed. Being weather resistant, this idea should be a perfect solution.


The shutters alone would be too flimsy so it needed to start with a frame. Two iron fish tank stands, welded together was the perfect width and height for the framework. Strong enough to withstand snowfalls and heavy enough to not get blown way with high winds.

And they were cheap. One was free and the other a $5 yard sale find. 


For the top of the unit, I chose to use ceramic floor tiles attached to cement board. It too, will stand up to weather conditions. 

They were leftovers from another project. 


Then, all I had to do, was measure the height, cut the shutters, and attach them together to box in the deck monster. Testing the look after cutting the shutters, it was looking good so far.


I drilled holes through the sides of the shutters to attach them together with nuts and bolts.


Then tried the box unit around the fish tank stands to make sure it fit. 
It did. 


Finally, cleaning and painting! 


I also painted the floor tile for the top of the unit. 


And the ugly meter is finally hidden.


In fact, the new "cover" doubles as a side table!
Bonus!


The "shutter cover" or "meter disguise" can just be pulled away and the tile top can be lifted off anytime with ease. 


It can rain and snow all Mother Nature wants. The materials can take a beating.


The deck monster is tamed. My stomach feels better. My eyes stopped twitching.


A one day project, with almost no cost, has brought new joy. 

After other outdoor projects are finished, we can go back and build a permanent cover for this using the actual siding, but I didn't have the patience to wait. I'm a woman. That double "X" chromosome and hormones forces impatient decisions upon females. 


This suffices. It's a much more pleasant looking space now.


Do have any utility meters that you have disguised? What did you do? I'd love to see or hear about the different ideas!