Showing posts with label sewing. Show all posts

Thursday, December 22, 2016

Easy DIY Dress Form Pin Cushion


Here's another thrift shop makeover!  I think a mini mannequin makes a perfect pin cushion due to its theme for sewing. Don't you think so too?  I bought this dress shaped jewelry hanger from a thrift store, specifically, to change it into a pincushion.

Everything I needed was pretty much "on hand" at home. All that I had to buy was the jewelry tree and the steel scrubbing pads.


Materials:
Spray paint
Stainless steel scrubbing pads
Polyfill
Plain paper for drawing a pattern
Scrap fabric
Iron on transfer paper
Hot glue sticks
Fabric trim
1 wooden screw head cover

First, I cut off the sides (or arms) of the jewelry tree with cutting pliers and spray painted the frame.

Once the paint was dry, I stuffed the inside of it with stainless steel scrubbing pads (to keep pins sharp).


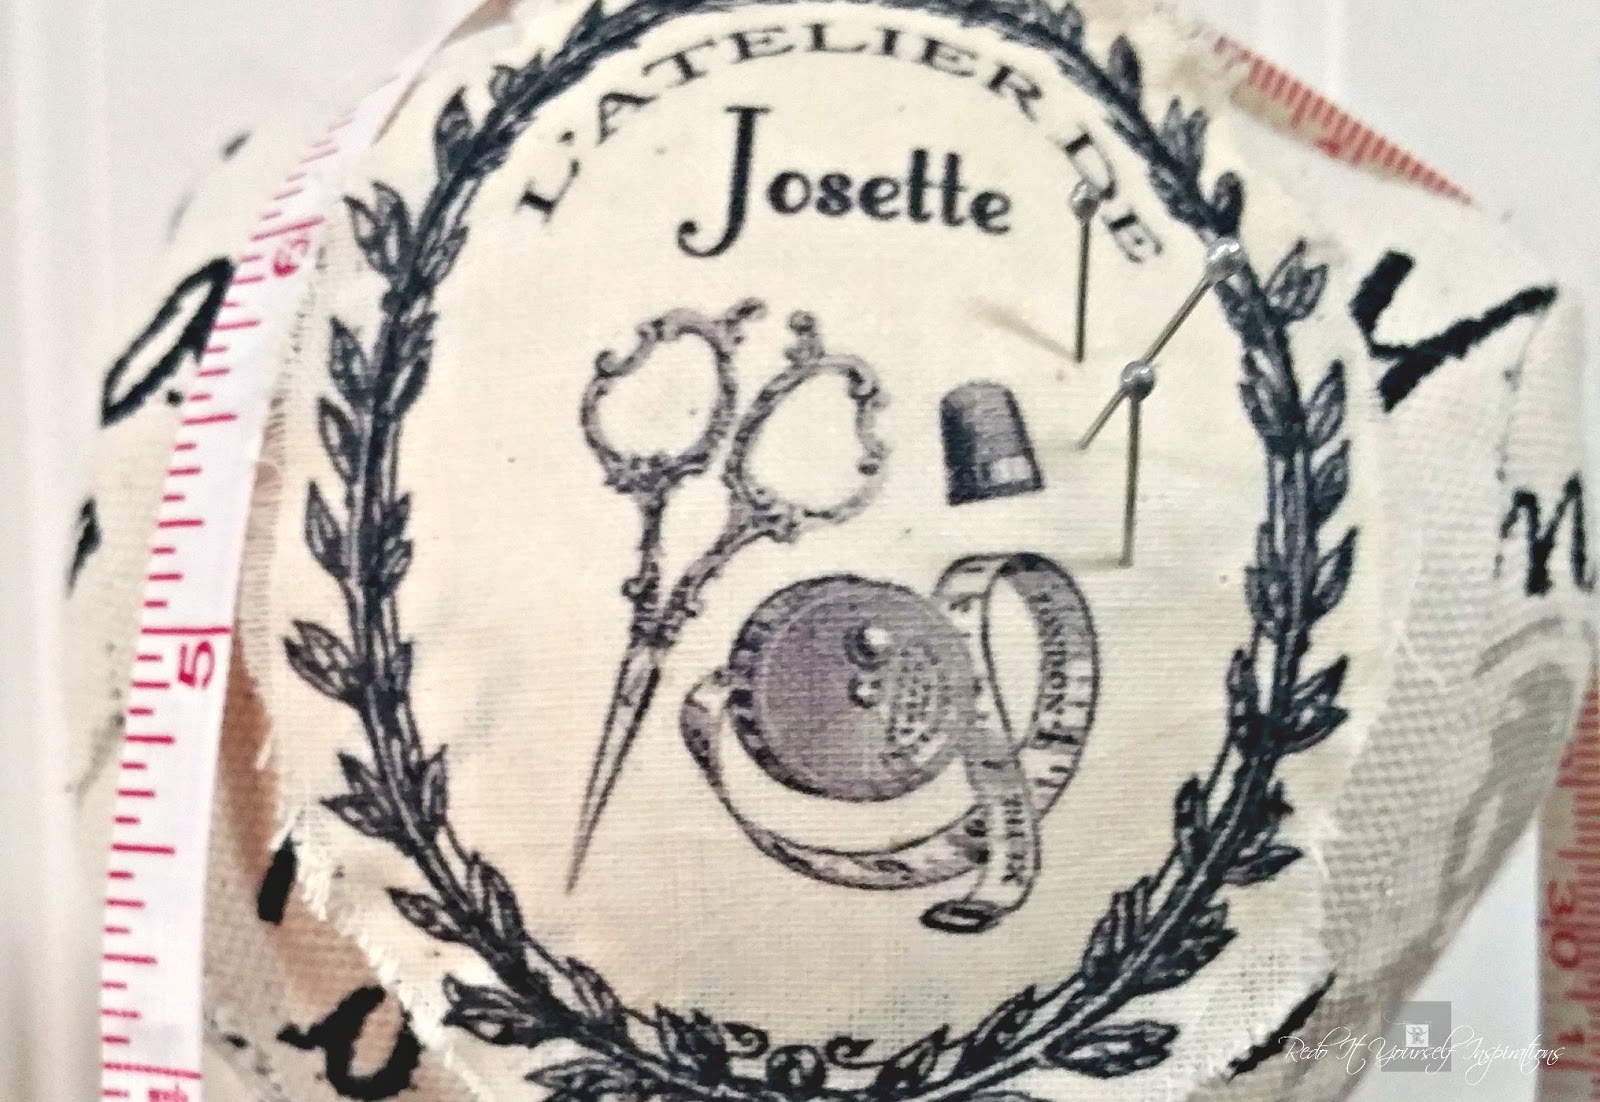
Then I traced around the frame to make a pattern for the dress form look. I also found a cute sewing themed image on Pinterest to print onto iron on transfer paper to sew onto the front.

After I ironed the image on, I cut it out of the fabric, stuffed it slightly with a little bit of polyfill, and sewed it onto the front body piece.


Once I sewed the dress form pieces together, I pulled it all the way down onto the jewelry hanger and stuffed it with polyfill between the frame and the fabric.

The neck (top) of the fabric was shoved inwards at the top of the frame. Then I glued on a wooden screw head cap to cover the opening.

After pulling the fabric all the way down the frame, I glued the fabric onto the metal frame and trimmed it, using hot glue.


Now that the dress form was done, I could finish stuffing the pin cushion at the bottom. I added another stainless steel scrubbing pad, more polyfill, and sealed it with a piece of cardboard.


This dress form pin cushion is about 14" tall and 8" around in circumference. Large enough to hold a lot pins and sewing notions for busy sewing projects.


The sewing notions in the transfer image are so fitting. 


With plenty of padding inside of the fabric, the shape was easy to achieve. Similar to stuffing an animal toy. 


The back isn't stuffed quite as much between the frame and the fabric, but pins are still able to stick through it. 


The bottom of the dress form has enough space for storing scissors and pencils. 


Keeping a measuring tape handy is easy by simply draping it around the form.


This was a fun project with pretty good results! 


This is how the idea started. 


Now, it's a really handy sewing notion that looks so cute... to me anyway. 


I just might make another... with a wooden base. Maybe two more... this is becoming a bit of an obsession. I'm starting to envision a sewing room with functional decor. 


Thursday, November 3, 2016

Vintage Portable Sewing Cabinets


I've secretly been wanting a vintage style sewing cabinet. Not that truly I need it, but my small wooden sewing caddy is bulging and I can't close it up even after I've organized it. So my mind traveled back in time remembering my mother's... and my sister's, that my father made. With the thought of making one myself, I just have not had the time to even plan on building one. It's been on the  long "to do" list. Of course, I could ask my dad to make me one. But guilt would get the best of me. When he made one for my sister, we had a choice, vegetable bin or sewing cabinet. At the time, I needed and wanted the bin. And to this day, I use it. It's a prized possession that I take pride in having every single day.

Then I saw a sewing cabinet for sale locally.
Hmmm... $35 ... and not exactly attracted to it; I passed.


With my dining room table full of sewing, I went back to it. Wondering if I could redo it to make it my style. Oh my. Not digging it.


I decided, "Nah, I might as well make one". Passed again. That certain gut feeling of "should I"?... Well, it just wasn't there. You do that when you shop garage sales, thrift shops and online sales. That thought of maybe I should buy it because I might regret it later lingers in your head.

With no regrets, I did forget about it.

Then. There was this one.
Yesterday.
At a local thrift shop.
Almost saying "come over here" with a glow around it. I mean, it might as well have had a neon sign over it, "reserved for Robin".
The very first thing I saw in the store and with its magnetic greeting, it just simply had me in a trance.
Really. Not kidding! I don't remember walking.
I must have floated.


It's kinda sorta what I was accustomed to. Kinda like Mom's.
The price tag of $19 was certainly quite fair.
It was like it was "meant to be".
I picked it up without challenging any feelings about it and went straight to the cash register to take it home.
It was like I was a secret agent, picking up "the package" and on a mission. I didn't even have shades and a dark suit on. It was so notulant.
Without hesitating, I pulled up at home, and I opened it up and the Angels sang.


It's actually in very good shape. It appears to be handmade. Many people have "copied" the "Sew-Tidy" cabinets that were made by Edmilton Corp., Milwaukee, Wisconsin around the 1920's.

To share such information, I found this one at an online auction house.


You can find them at yard sales, estate sales, and online through auctions and shops. I've never seen any at thrift shops before finding my new treasure.

Looking around further, I have some more to share with you. Forgive the photos and links, as we are at the mercy of poor photography and ended sales of a limited topic.

Check out this gem from an online shop. I'm totally "hearting it".


This antique, was once online during an auction. I found it via Pinterest. Obviously much older than the 20's.


Another shop listing. Check out the colors.


As you can see, the styles and colors can vary by the maker and trend. This is another shop listing. Adorable legs!


The frame is always the same, but how it's decorated and organized depended on the maker's needs. 

Some were left as simple and just wood, like this one from another shop. 


My mother's has the jars attached, as this one does. 


I adore how some are done with personal touches. The fabric on this cabinet makes it so cute in cottage style. 


I'm really happy with the one I have. It has plenty of space and more compartments than I need. Extremely sturdy.


There were once jars that are now missing. But I can change the lids and add my own.  The jars I will use requires the consumption of blueberry preserves. One down and three to go. 


In fact, I'm changing out the fabric too. but I can live with what is for now.

It's brown with pretty floral splashes of pink and turquoise. Love the greenery in it.

The hardware and upholstery nails are in fantastic condition.


For what I have in mind; I'll deconstruct it, refinish the wood, use the fabric print I have in mind, re-use all of the solid brown pockets, and put it right back together. Then, it will be my own.


For $19, I am smiling from ear to ear. It came with some things in it. Buttons, thread, heavy washers (pattern weights), pencils, really good safety pins... a whole pocket full! Oh, and two old razor blades still packaged that made me chuckle. I remember my father using one of those silver razors pre-disposable days. I was fascinated how it opened. Hmm, wonder if he still has it? If so, he could get a few great shaves in the future.

Stay tuned for the makeover.  =D (Update: the cabinet is posted here!) 

Wednesday, November 25, 2015

Happily Homemade and Handcrafted Party No.1

Every Wednesday 6 a.m. - Sunday 11:30 p.m.

Welcome to a new link up party!

Feel free to link up your posts (new or old ones). We love seeing what you've been up to! Share your crafts, recipes, DIY, and inspirations! We love to visit other parties and enter giveaways; so you can link those up too! 

Speaking of giveaways, I have a little one going on over "here". 


Since this is the first link up, there are no features this week. But it is the holiday season and hopefully you'll be sharing all of your wonderful Thanksgiving and Christmas creations to feature next week.

Hope you're enjoying time with family and friends.

Happy Thanksgiving! 


Party Button


Monday, November 9, 2015

Making a Rag Ruffle Pillow Cover


While I was doing a chair makeover, it's original pillow/backrest was too trashed to keep. Well, let me say... disgusting. Some things I just won't redo. A yucky pillow is one of them.

So I ran to my stash for these old velour sofa pillows. Even though they are 70's ugly, they are well made; heavy, clean, and well cared for. They are perfect for backrest pillows.


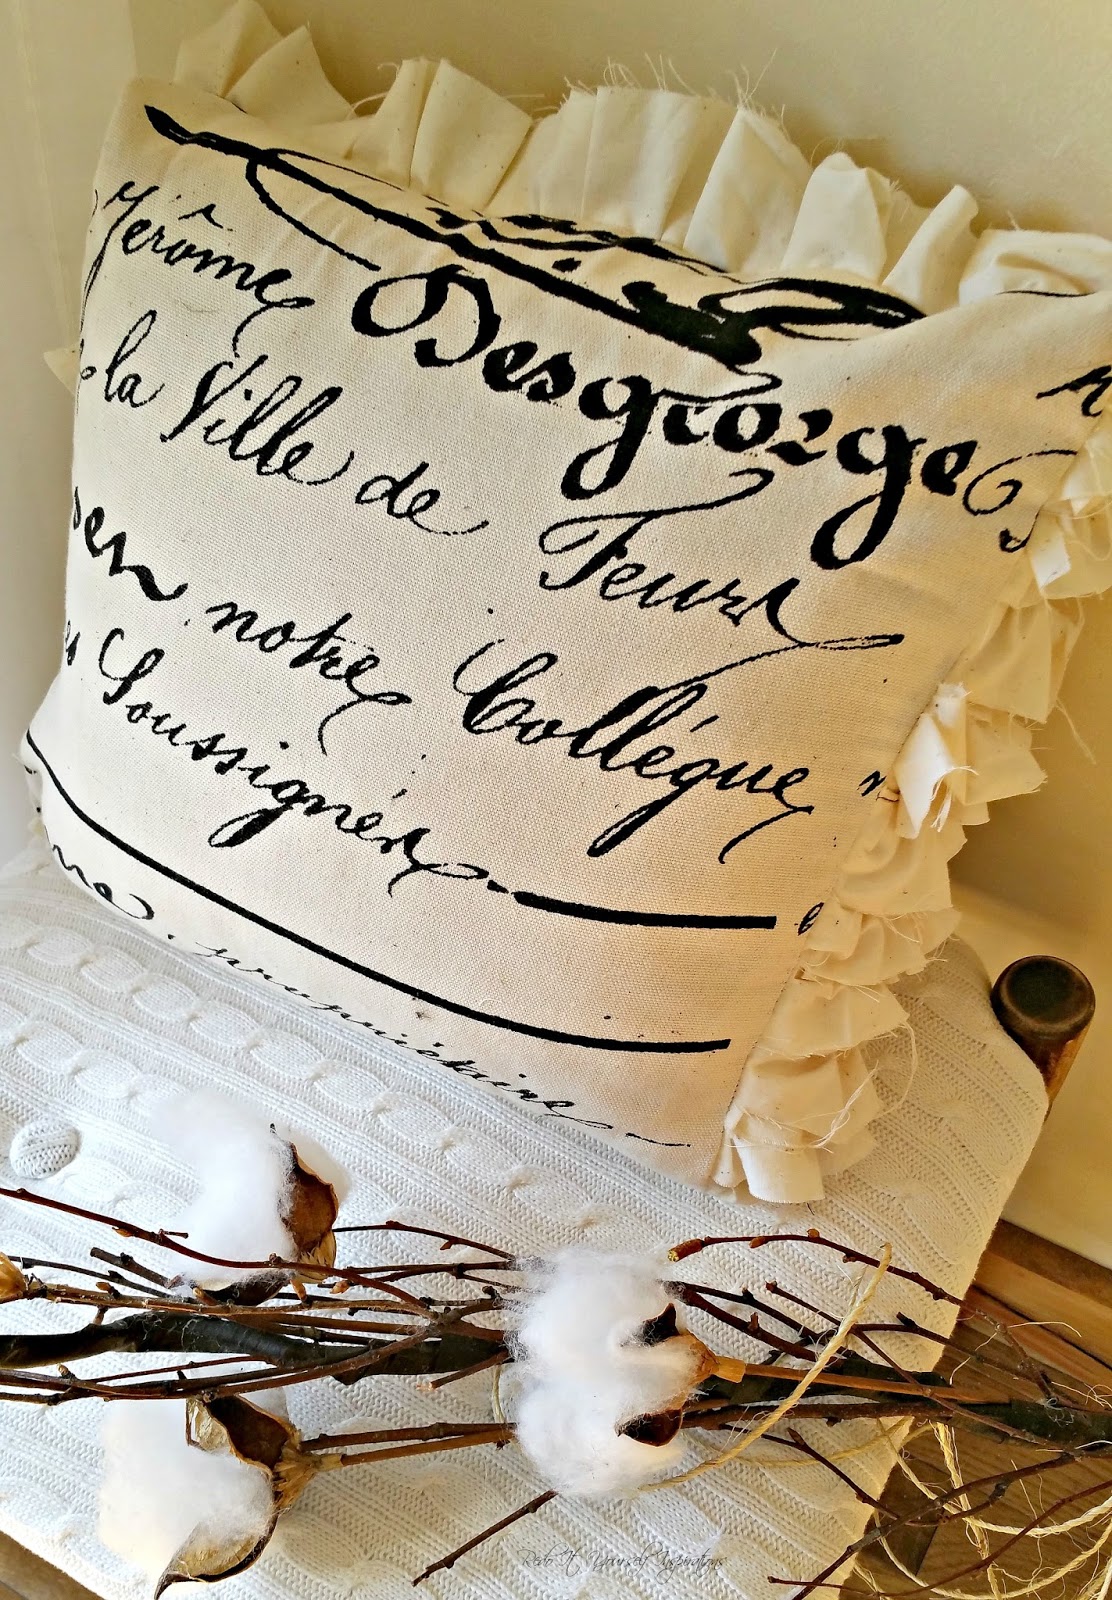
I bought some nice French typography fabric and some off white linen to make new covers for those orange "heebie jeebies".


I cut the front from the plain linen and the back from the printed fabric. Then cut up several 3" linen strips at three times the width of the pillow front to "ruffle" them on the sewing machine. (Leaving the raw edges for rustic texture.) This is where the term "rag" comes in. Similar to fringing denim.
Sorry, Grandma! (She would NEVER do such a thing.)


I went with a dark brown thread for contrast.
(that didn't work; as you'll see in the rest of the post)


Then I pinned and sewed the ruffle strips onto the pillow front by folding them. Using the folded side as a guide to sew the next row along it and so on.


This is where my thread contrast didn't work. It become sewn in and doesn't show unless you open the the ruffles up.

That's okay. The front of the pillow still has the rustic romantic look I was going for.


After sewing on the back, I stuffed the pillow in and closed it up.


The other orange "blast from the past" pillow ended up with a basic cover in the printed fabric. I kept the tufted buttons (The button on the front attached through to the one on the back) but recovered them in the same fabric. 


Now that the pillows have a new life on a chair redo, nobody knows that they lived through the Partridge Family... Hawaii Five-O... Dallas... and about 30 years of The Price is Right!


They are neutral... soft... and romantic.
Timeless, to most of us.


I almost bought raw edge ruffles on rolls at the fabric store. The expense was a bit pricey. So I took the time to make them instead.


The covers are really easy. The printed pillow went fast but redoing the buttons took a little patience. The ruffles took a little time, but worth it.

Now they are on the new makeover chair. They are perfect for it. I'll post that next.


Linked to and
Featured at