


 |
| Renewed chair seats that were ripped and frayed rush. |
I'm probably going to be known as the crazy belt lady. I love belts. Just the good'uns.
Never having enough leather belts, I go searching yard sales and thrift shops for them. Occasionally paying full price for the "perfect one" in shops too. They are for my projects that need trimming up. Some pieces or styles require the look of leather and that is when I dig into my box of goodies.
This wild habit started with my cowboy boots. I decided to get crafty and dress up the pair of boots using belts and purse trimmings.
 |
| Trusty old boots saw better days before scooping up around the horse barns. |

Well, not REALLY dressed up... kind of a worn and distressed up look. After 15 years of wear, it shows, and I'm not ready to toss them. Adding this wood bead and leather belt while rearranging some of the beads certainly added a little character to my old kickers. That became a minor addiction as I added the same theme to all of my leather boots.
 |
| These here are REALLY old. I wore holes in the soles... so I didn't wear them on rainy days. Hubby had them resoled for me to keep my feet dryer. As long as my feet don't pop out the sides; they are keepers. |
 |
My whole boot shin-dig put together. I shoulda lined em up from oldest to youngest, like my kids. They are just like my kids; no matter how old they are, I love'm to pieces.
|

I ain't ever looked at a belt the same again.
Except for this one; look at it every day the same way. I love belts and only wear one. It's a men's heavy leather that I'm wearing out (inches at a time) and it'll most likely get used in a project someday.
 |
| Plain Jane belt. Men's. (the only way I'll ever sport a "38 kinda special" on these heavy hips) I've only gussied it up with various buckles. |
So anyways, I had these sorry butt chairs...

That I did this to:

It was ugly for awhile but it was better on the sorry butts.
The ugly grew old mighty fast.
The ugly grew old mighty fast.

That belt idea came into play. Weaving them onto the chairs looked a whole lot better.


Although an easy upcycle, this project went off like a herd of turtles. It took about 80 belts for the four chairs. That was a lot of thrifting and pickin'.

But ended up finer than a frog's hair.

See that? Belts are handier than a shirt on a pocket ;)

All fine and dandy, right? Well I ain't ever looked at projects the same neither.
 |
 |
| I fixed it up all pretty like with belts and paint. |
 I
IIt just seemed like the proper thing to do.
Keep going?
Is a five pound robin fat? I'm gathering a whole passel of ideas.
 |
Admiring these feisty girl gunslingers, I framed them. Adding the belts almost gives the feeling they were worn by the best shooters.
Gotta get me a holster for my belt to put my drill gun in. The tissue box, an after thought, with a belt wrapped around it makes a cute flower holder. |
 |
| Calamity Jane probably had a few awesome belts to sport her tools. (I really love the boots in this photo.) |

And the latest project really needed that belted up touch...
 |
 |
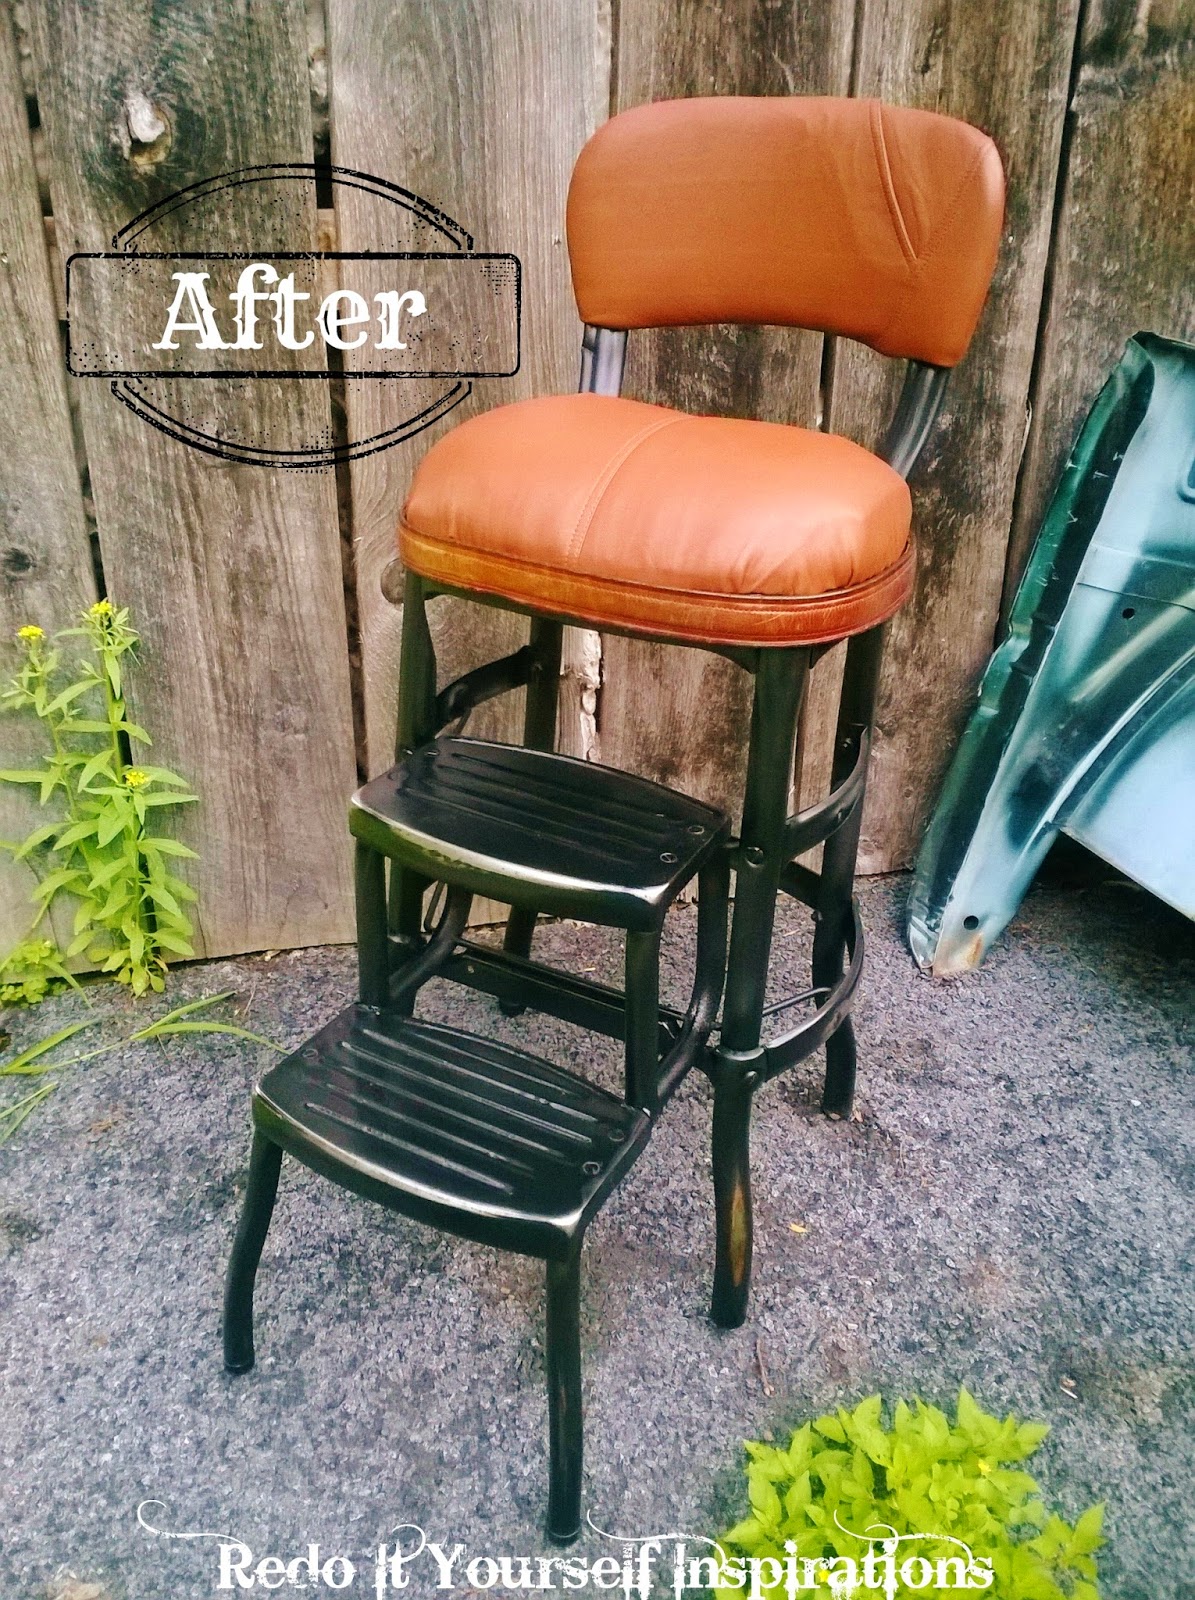

Reckon I'm not done using belts. I got my eyes on a road rescue chair that is askin' for a whoopin' and it's gonna get the belt!
After I'm long gone, I just might be remembered as "you know, that crazy one that always put belts on stuff".
~~~~~~~~~~~~~~~~~~~~~~
Featured at
Featured at
 |
Midweek Reads |

 |
| With Debra, MsMoozy's Open House |










 Posts
Posts

