Showing posts with label Repurpose. Show all posts

Friday, October 28, 2016

DIY Rustic Farmhouse Tray


It's time for another DIY Blogger Project Challenge!
After a few months off, we are back! Each month we create a different project based on a named material theme. This month, it's reclaimed wood. 


Having a long island in my kitchen, I thought how sweet it would be to have a pedestal tray... or tray table. It's a very simple project. And with a decreasing pile of pine from an old bookshelf in my stash, I snagged a 10"x 24" board to reclaim and got started.

I added two wrought iron drawer pulls and four ready made 6" legs as the main supplies. 
Not much to it!


I stained the legs. 
(Tip: Dip small legs like this into the can of stain and wipe off excess. It's super fast and doesn't miss any crevices.)


After the stain dried, I attached the legs through the top of the board with 3" wood screws. (It's rustic; I wasn't concerned with screw heads and the pine board was already stained.)


The long screws will ensure that the legs won't wobble. 


Then, I measured and marked where to drill holes for the drawer pulls (as tray handles). 


I attached the handles by screwing them from under the board. 


After the tray was put together, I distressed the entire tray by sanding high areas. Then, rubbed coconut oil into the wood. 


It doesn't get any easier than that, does it?!? It was like building from a kit! 


It blends in well on the farmhouse style island. 


It can be used as decor, 
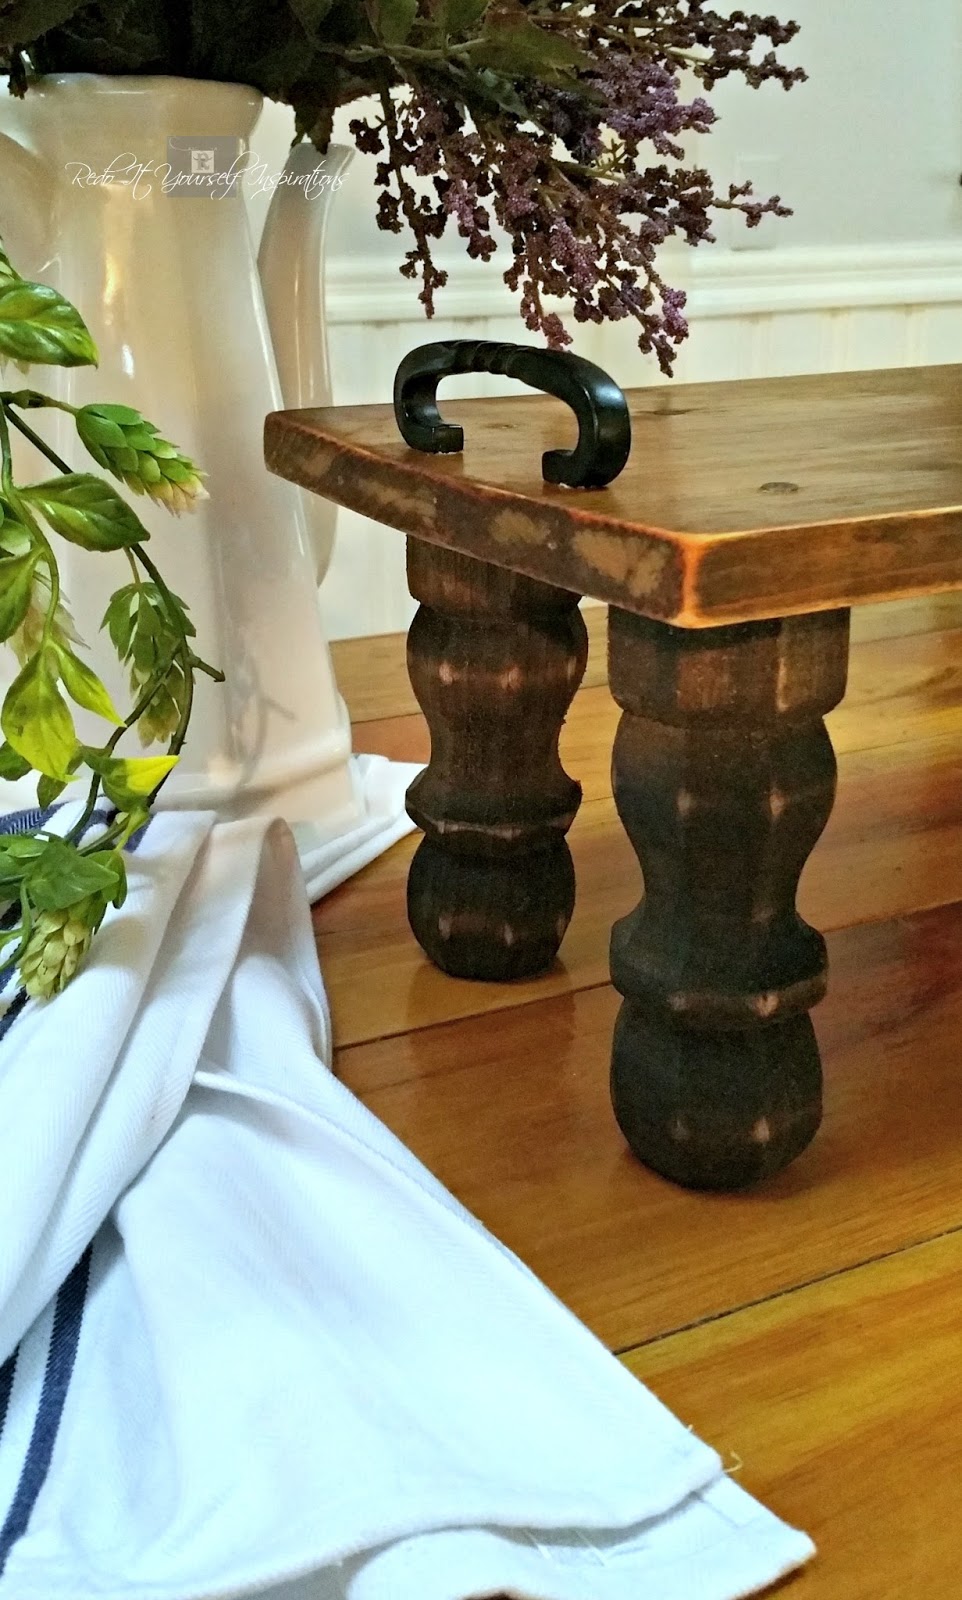

an elevated food server, 


or as a carry tray.


I may even take it into the living room and use it as a lap tray on the sofa! 
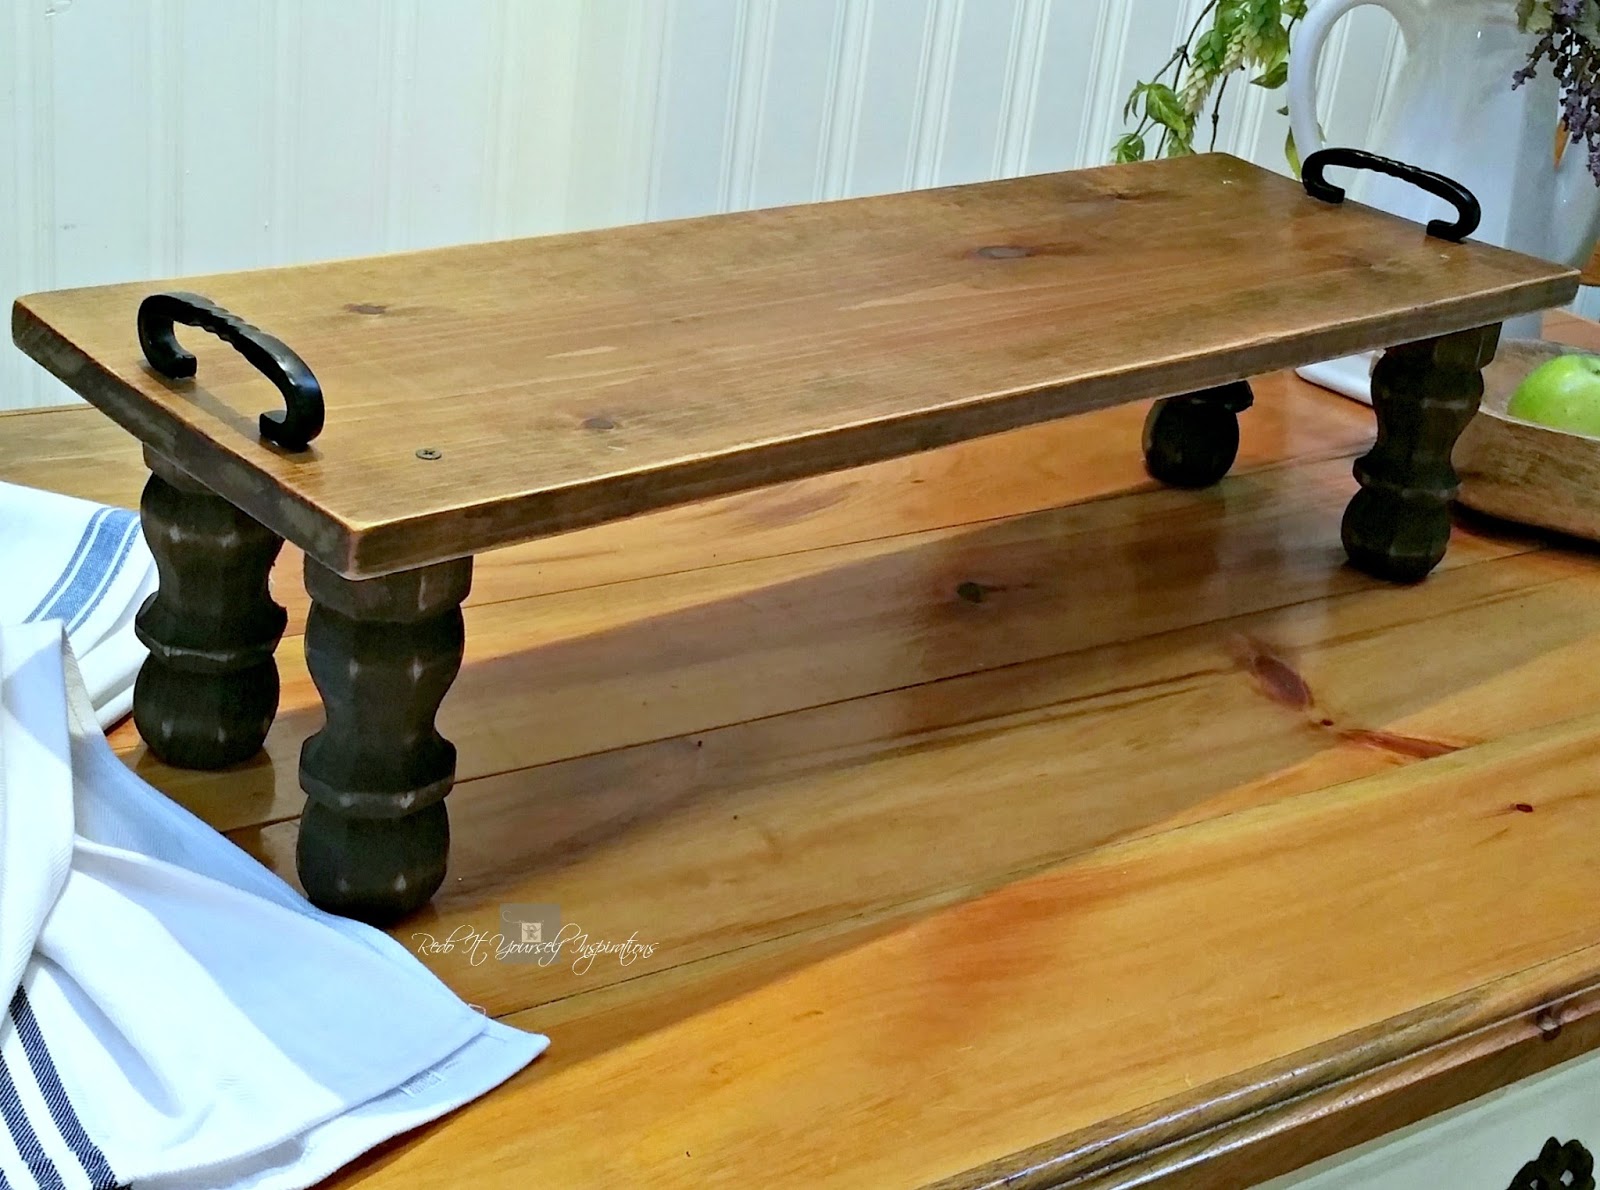

Plenty of room for a tablet and a... snack! Cute bed tray too. 


It's a very simple and quick project. 


And, using reclaimed wood for something so functional is quite satisfying! 


Let's check out the reclaimed wood projects from the rest of the group! The upcycling options are endless!


Monday, June 13, 2016

Repurposed Old Sled into an Americana Planter

wooden painted sled

The Dose of DIY group has put together some great Flag ideas for you this month by using reclaimed wood/fabrics/and/or metal. Creating a patriotic Flag project is something that can be used for Memorial Day, Flag Day, and the Fourth of July. (Or just to show our American pride!) 

I don't usually do holiday themes very well and came up with nothing to do. But I did have a few sleds hanging around from each of my sons' little boy days. This one belonged to my oldest who is now in his early 30's. So it's really weathered and ready for a repurpose.


I sanded the wood and most of the rusty metal to clean it up. 
Then stained and painted it, followed by two coats of polyurethane. 

flag sled

To make it repurposed into something not only patriotic but functional too, I added iron plant holders.


Finally, hung up the sled and placed plants into the holders.

flag sled

Now it's nostalgic, patriotic, and functional!

sled planter


Now that you've seen what I created with this month's theme, let's go on over to check out the other creative ideas from the rest of the group!


Thank you for visiting our monthly Dose of DIY! Be sure to come back each month for more inspiration!
~~~~~~~~~~~~~
Featured at


* Similar Projects: 


Thursday, May 5, 2016

Tulip Themed Door Decor: Thrift Store Swap 4


I'm really excited to be a part of the Thrift Store Swap because it's a really interesting challenge! 

This is the 4th edition of the Thrift Store Swap organized by Lyn at MidMichiganMom. If you are unfamiliar with this swap, here are the basics. 

14 crafty bloggers commit to buying and repurposing 2 thrift store items. For this edition, one item must be a wreath and both items must cost under $10. 

 Sounds easy right? There's a catch...they are not buying for themselves! Each blogger is partnered with another, by sending and receiving, and then surprised with what they must repurpose.

Take a look at what I received from Brittany at DIY Just Cuz. It's a cute Spring themed tulip wreath! It's a heavy wooden one. I also recived a dogwood printed tray. 

Sweet!!! But I was really stumped! 


The wooden tulips are put together in two rows and quite 3D. To maintain a the wreath theme, I was really limited! Using my wild card item (the tray) with the tulips, I could make a welcome sign type of wreath! 


Of course tulips are traditionally Spring flowers and very well known for top cultivation in the Netherlands. 

So I had an idea. I grabbed a pair of my Dutch clogs and decided to use them as part of the door decor. 


I painted the entire tulip wreath with green paint. Then painted the tray and the clogs in white. 


After printing out some Delft art with tulips, I decoupaged them onto the shoes and the tray. 

To put the wreath together with the rest of the door decor, I attached the shoes to the bottom. Then the tray to the front.


After adding tulips into the clogs, the new welcome wreath was complete!


The tulip wreath makes a nice green background for the sign and helps bring out the red of the flowers.  


Being a little stumped at first ended up as an entirely tulip themed project! 


This type of decor can be found in the Netherlands all year. Pretty cool, huh? 


It was a challenge! But that's what we DIYers do, don't we?


Now, as for the rest of the surprised swaps, take a look at what I sent Lisa at Five Kids, A Dog and A Blog. I mailed a Valentine's wreath, wooden coasters, and a wooden dish. I was thinking she could make a Mother's day themed heart wreath. Perhaps with photos of children in the coasters? (Maybe she did... 


or maybe ... she didn't!) With this type of swap, anything goes! Let's check it out along with all of the other swaps!!! 

13140732_10154147450119938_1615622500_n
So what happens when the unknown challenges face 14 crafty ladies?
You get some out of the box tutorials!

Here are the geniuses behind these DIY Tutorials. Make sure to check out each one!

Monday, April 11, 2016

A Cloche Garden from a Repurposed Bottle


I've got another bottle upcycle to share!
The Dose of DIY group has put together a bunch of great ideas for you this month by using glass bottles/vases/mason jars.
I decided to make a Pottery Barn knock off using a gallon glass "jug" (bottle). 

glass dome
Pottery Barn

Using my bottle cutting apparatus, I scored the jug with the diamond blade. You can see the score line made all around the bottle where the arrows are displayed.


Then for a good cut, I used the temperature shock method. By boiling water in a large stock pot  and preparing a separate stock pot filled with ice cold water, I rolled the bottle into the hot water for about 1 - 2 minutes to heat it. Then, quickly rolled it in the ice cold water until it fell apart at the score line.


NOTE: I've tried this method many times and it's the best one, for me, to get a good straight cut without destroying the glass. If you plan to do this yourself, PLEASE wear safety glasses and rubber gloves. Of course, keep children and pets completely away from the entire project. Using extreme caution will avoid any accidents. Cutting bottles and jars will have dramatic popping and cracking that is very unpredictable.

After cutting, sanding the edge with industrial diamond coated sandpaper and water smoothes the sharp edge. 

Then I used an old "Thermos Bottle" cork to use in the top of the bottle for a good fit. 


Now, I could also make a wood base and serve cheese with it, but we're doing a Spring theme and I prefered to use my DIY cloche with a garden. I gathered small plants, an old cake tin, stones, and moss.


Using the cake tin as the planting container, I layered and surrounded the soil and plants with stones.


After arranging the miniature garden, I topped it with moss and covered it with the glass.


See that! A terrarium that was inspired by Pottery Barn is born!


I'm sure once the plants grow too large, they will need to be repotted. But this will be a great plant starter.


Now that the project was finished, I snagged an old planter saucer from the garden shed to put the whole thing into. It got all fancy shmancy antique looking.


Not bad for a free...


...Pottery Barn knock off, ey? I used what I had around the house.


UPDATE April 15, 2016

I went to the thrift shop and hit up the 99-cent sale! I found 5 round wooden cheese boards and one of them fit perfectly! Now I need to cut another bottle for the cheese board.
Now that you've seen what I created with this month's theme, let's check out the other ideas from the rest of the group!


An InLinkz Link-up


Featured at