Tuesday, December 30, 2014

Photo to Canvas Art


Oh what fun it can be to make canvas art! 


Here is my older son and Bob Dylan playing guitars. Not at the same place; nor together.

My son is actually sitting at the campfire playing for family and Bob Dylan is on stage with thousands of fans watching his performance.

So what is with this artwork? I thought it would be cool to make an art piece of the two of them for my son's music room.

Dylan is one of his favorite inspirations. I must say, he performs and sounds just like Dylan too. Even playing the harmonica and guitar while singing. (Yup, I'm bragging. I'm a proud mom.) We really enjoy listening to him.

This is how I did the the art piece:

I chose two photos with similar lighting and easy to merge poses.


One of "E". 


And one of "B". 
(Photo chosen for one time personal use, not for sale)


I went to FotoFlexer to reverse and erase most of the background of the camping photo, then coloring in dark areas,


to get this and save it. It needed to be rough because I wanted an art piece, not a photograph.


I left the camper lights in the photo to blend into the artwork. 


Then, I went into PicMonkey and put the two photos side by side in a non spaced collage and saved it:


PicMonkey also allows you to create art overlays. After finding the look I wanted I ended up with this: 


The two photos became blended together. I saved a few sizes of it in a folder. The size needed is just short of 1 megabyte to upload for a poster. I did the resize in a 600 x 500 pixels.

To make a poster size of the image to decoupage, I went to Block Posters to create a 2'x1.5' poster out of 4 plain paper sheets printed off my inkjet to fit my canvas. The site guides you with previews to get the poster you want. You can try several times before you save a PDF of your poster size photo.

Once the PDF is created and saved, you print out your poster and trim the photo sections to be transferred or glued and decoupaged.


Oh, and make sure you have full ink cartridges, not nearly empty ones like my first attempt here. :)

Still a cool art piece. I practiced cutting and lining up edges with this failure.


Full ink cartridges work better than empty ones  :)


During my first attempt I reversed the photo to transfer the image on canvas with Mod Podge. It failed. It didn't transfer. Why? Mine was not a transfer medium. If you use a transfer medium, it will work. I need to get some!


So I printed out the non reversed version of the photo and glued the image directly onto the canvas over the mistake I made. After the glue dried, I decoupaged over the entire canvas.


I started painting on Mod Podge at the seams where the pages met on the images and used criss cross brush stokes similar to painting.


I covered the entire canvas surface with the decoupage solution. The bubbles concerned me, but I waited it out, not disturbing the image. (It was ugly) After the Mod Podge dried thoroughly, the bubbles had mostly flattened out by itself.


 I sanded the surface to get the distressed effect I wanted.


I rough sanded the edges of the image where it met the sides of the canvas for more of the effect.


I hung it temporarily in my youngest son's music room to take pictures. It's a lot smaller than my older son's room at his house. So the photos are not very good with a full set of drums in my way... the space is really limited.


I think it's going to be a nice addition to his Dylan collection. 


 (I think I'm going to play around with more pictures in PicMonkey. It's just too much fun!)


Monday, December 29, 2014

Tool Caddy Style Beverage Tote


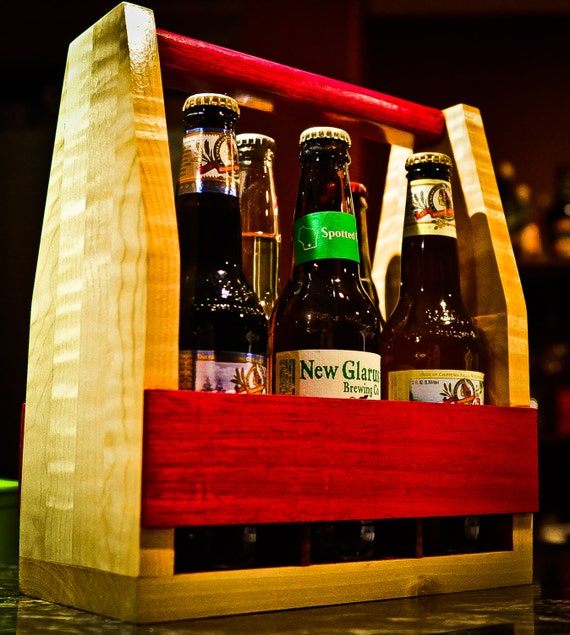
Looking for gift ideas I saw  a bunch of these beverage totes on Etsy. They are replicas of old carpenter tool boxes.

Love them!

I thought, wow, I can make that! And I know who to make one for too. Friends of ours have a camp and they like to get away into the woods to relax, hunt, etc and they would appreciate one of these while sitting around the fire. They have had us over for many occasions and as a token of thanks this would make a nice Holiday Cheer basket for them.


I noticed that these totes are made for six pack bottles. But I wanted my design to accommodate wine bottles, soda cans or other large cans or types of bottles. Maybe even garden tools or use it as a one project tool tote. ( I made that last one up... sometimes when gathering tools for one project, I use a cardboard box. This would be a lot nicer instead.)

Using a six pack of soda bottles with its cardboard package as a guide, I tried to fit cans and small wine bottles inside the cardboard crate. They were too wide. So I measured for larger containers for the crate base and drew it on paper for better sizing.

For the average 6 pack, the width would be about 5.5" wide  by 10" long with thin plywood inserts.  I was using 1" pine all around the tote, so my width was 9". (I don't like math but it wasn't hard to do using physical subjects which helped me start somewhere. ) So with 1"x 9" pine and some 1"x 6" shiplap scraps I had, I set out to make my pattern and do the math stuff on paper.


I made up words like lengthways and widthways too. It was what I told myself when I measured for the second or third time and I didn't have a grammar police person to correct me. When you work by yourself you can make up a lot of words and terminology.


I needed the above parts to create the tool caddy tote.

I used the base as my starting place and worked around the rest of the tote. I used these measurements:


  • 1 Bottom piece: 1" thick x 9" x 12" pine


  • 2 End panels with 1" drilled holes for the dowel handle: 1"x 9"x 12" high, and a pattern traced by drawing on paper first


  • 2 Side panels: 1"x 3"x 10" long


  • 1 Dowel at 1"x 14" long


  • 2 Inserts to make a crate across the sides: 1" x 6"high x 7" long, *notched 1" to interlock the lengthwise piece


  • 1 Insert for the crate lengthwise: 1" x 6" high x 10" long, *notched 1" to interlock the two 7" crate pieces


*notched: using the bandsaw, I measured for 1" width and cut the two lines and stopped, then pushed out the cut area with my thumb to knock out the needed notch. (And I'm not bionic, it's easy.)


After cutting my pieces with the mini circular saw and the curved pieces with the scroll saw, I stained the parts and allowed to dry.


When the stain dried I sanded the parts for the slightly distressed look and  put the caddy together using finishing nails.  I tacked in the end panels first.

Then, the side panels.

Drilling pilot holes through the top of the end panels into the dowel before nailing insured no wood splitting. 


 Then inserted the crate parts, without nailing or gluing them for easy removal to clean anytime. (I can't imagine the torment of trying to clean inside those boxed off areas if I had to.) I was just making dreaded cleaning moments easier. It's also handy to change the crate division if needed for tools or other items.


For a bottle cap catcher, (that might be a real thingamajig)  I tried to find a wooden bowl to cut in half and attach at the base. I couldn't find any locally, but did find this square pedestal bowl at a thrift shop. 


It would fit the caddy so I removed the pedestal and measured the bowl to fit on one of the end panels. Cutting the lined measurement on the bandsaw was the easy, but a chop saw would have worked too.


Then I secured this partial bowl (cap catcher) from the inside of the panel with wood screws.


Then sanded and stained it to match up with the rest of the tote.


I painted a screw hook to use as a bottle opener holder.


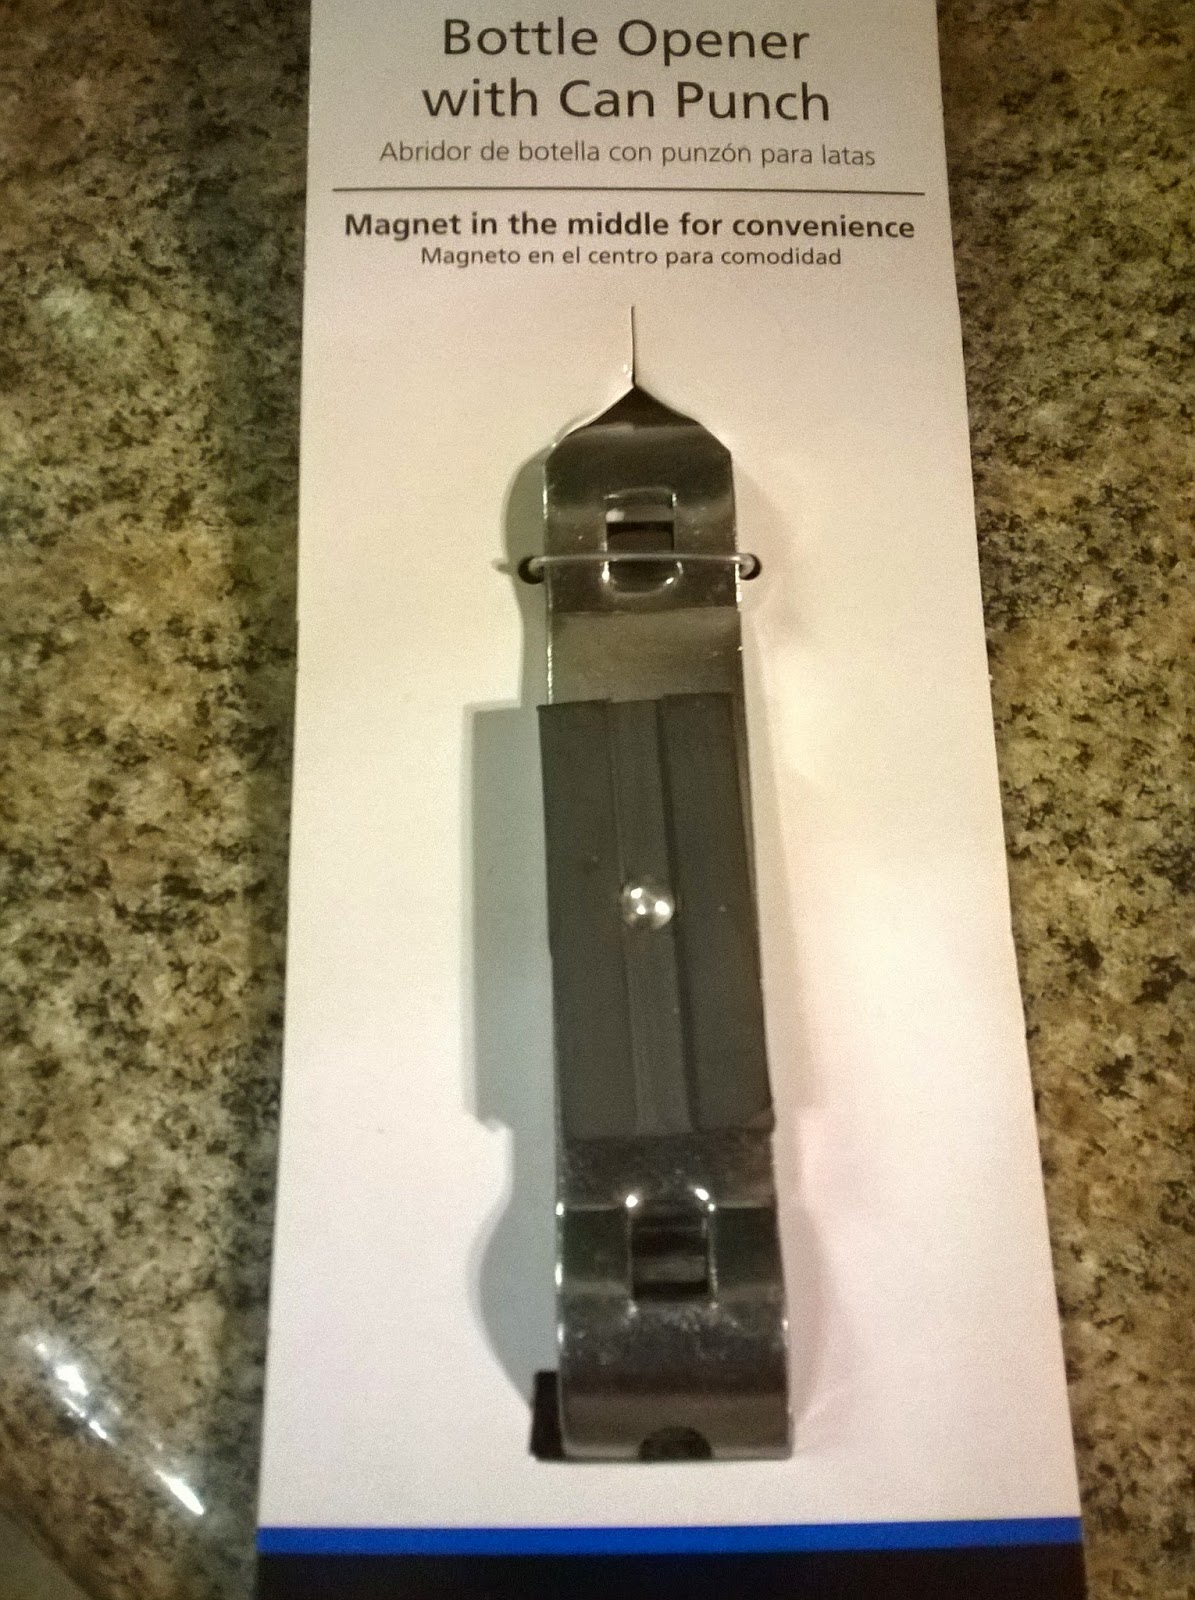
 I bought a simple bottle/can opener with a hole to hang it on the hook. 


The cap catcher also serves as a hangout spot for the wine cork puller... oh, corkscrew! That's it!


To personalize the tote, I printed an inkjet image of  a "D" monogram I created using PicMonkey.
 I made up their last name as the country of origin of which the crate was born... that was clever, ey?


But to transfer it, I had to reverse the design. (Good thing I found that out in time.)


While the ink was still wet, I immediately placed the printout onto the open end panel and rubbed it into the wood using a pencil eraser.


And it transferred with this pretty cool distressed crate print look on the wood. 


For the side panels, I used each of the couple's names to make an imprint, using the same method.


Then to test the tote with various beverages; I filled it with wine:


It held up. And that was a lot of weight!


 Then tried small soda bottles for size;


 and soda cans;


 and beer bottles.


Every kind of beverage type fit. I bet old fashioned milk bottles would look cool sitting in there.


Hung up the opener and laid the corkscrew to rest...


and it was just divine!

This photo was before I added the ink transfer on the side panels. It's when I  decided to do them. But since I like this photo with the cakes, I wanted to add it here. 

Then I took the photo again with the ink on the side. 

Another handmade gift is done and delivered.


Merry Christmas and Happy New Year! 


I just might need to make a few more of these. They are easy and cute! 


~~~~~~~~~~~~~~~~~~~~~~~~~~~~~~~~~~