


.png)

Friday, March 20, 2015


Saturday, March 14, 2015
Kitchen Island Redo

My mom had this old kitchen cabinet island, temporarily, while my father built her a whole new kitchen. When she was ready to toss this out, I ran for it!
I was so happy to bring it home and put it to permanent use in my own kitchen. It's very large and heavy.
What I love about it... actually a few things... is that is accessible from both sides.
It has tons of storage space.
It fits the long and narrow kitchen.
It gives me a big open work area.
Here it is, on its side for bottom repair work:

My brother made the top for mom while she used it, and I'm going to keep it as is. It suits the style and color of the kitchen.
The drawers function on one side...

Had.
My dad made cubbies with drop down fronts.
More storage... more happiness!
The cubbie side had router edges and the drawer side didn't so they had to be matched up. After that and some sanding, it was easy painting.

I knew I was going to paint it and make it look antique Country French or shabby.
When choosing the paint, I wanted a nice creamy like "buttah" color.
This chalk paint from Country Chic in Creme Brulee was the perfect choice!
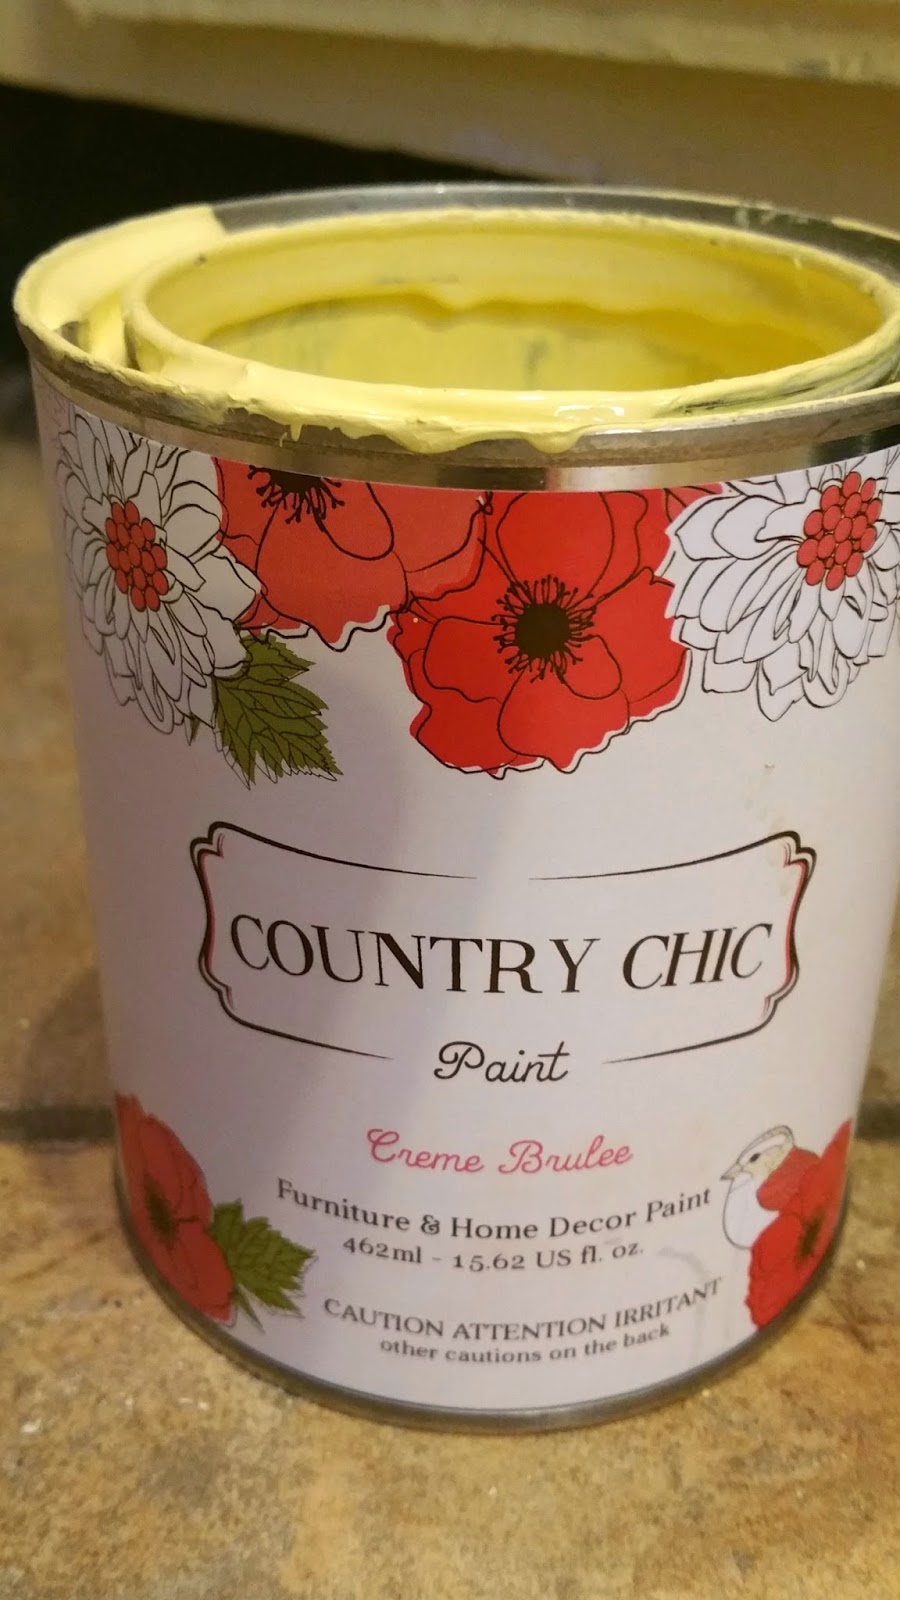
So I painted this delicious color onto the entire base of the island. (I reeeally like it on the wainscoting side!)

It covered so well with just one coat.


The paint dried quickly and I was dark waxing the very next day.

The Dark Brown Antiquing Wax from Country Chic Paint is beautiful! I love working with it.

Leaving wax on heavy in many areas and wiping and rubbing gave the cabinet a very old look.
When my youngest son looked at the finished work, he said just what I wanted to hear... "Mom, it looks 200 years old!"
Quite the opposite of the usual... "Looks brand new" comment.
awww... thank you, honey!

My kitchen has a lot of iron accents so my hardware had to be heavy and dark.
Boy, was I super excited to find these cast iron drawer knobs and pulls in Fleur de lis at the craft store!

AND, I shopped for wood appliques to decorate the doors.

I super glued the wood onto the doors (after taking 2 days of deciding how I wanted them); then painted on the Creme Brulee; then waxed the crevices.

I really wanted to add cornices to the corners of the island but there was no space for them. Bummer.
That was until I found these knobs... on clearance! HA! Mini cornices, right????

I attached one and thought it appeared too small. So I added a second one and ended up with a heavier cornice! It did the magic.

Then, as thrifty as I can be, I had this votive candle holder that I don't use anymore. Drilling holes through it to mount on the island would make a great towel grabber for me while cooking.

Doing just that, the end of this island is in front of my cooking range, so this was just a big bonus!

Then, to French up the island some more, I used these dollar store napkins to decoupage the drawers.


It's finally done and we have a clean kitchen again!
(The tools weren't fun to live with... phrases such as "pass me the drill and the salt please" existed for an entire two weeks. )


I think I pulled off the old Country French feel.
(Now, to work on the modern cabinets in the rest of the kitchen!)

Proudly featured at:


Monday, March 9, 2015
Lazy Susan Redo: Decoupage with Napkins

Lazy Susans are just so handy. When I find them at thrift shops, I snag them up. They are great for organizing in cabinets, nice for serving pieces on the table or counter, a quick spin for decorating cakes, and even used as a pedestal for serving food.
So when I saw this HUGE one at the thrift shop, I grabbed it for the size. But made of general manufactured product and not wood, the only way to make it better is to cover it.

I chose to decoupage it with these dollar store napkins from a leftover project. Right now, flowers and the Eiffel Tower cheers me up. The snow is still very deep and the temps are continued freezing.

AND, I saw this beautiful old French clock face on Pinterest and wanted to use it. So I sized it to one full sheet of paper, printed it and cut it out to add to the center. .

It took one and a half napkins to cover this lazy susan. I cut the paper to over hang and go over the sides.
I brushed on glue to the entire surface and over the sides and under. Then carefully laid the napkins on, smoothing over to rid of wrinkles or bubbles.

Once I had the napkins and the clock face glued on, I used Mod Podge to decoupage over the entire surface and the underside.

It still bubbled a little and it didn't take too long to dry. (A couple of hours)

Most of the wrinkles and bubbles were gone when it dried. Then to protect it and make it easy to clean from spills, I sealed it with coat of polyurethane.

Then another coat after the first dried overnight.

This lazy susan is great for the counter top or table. It's huge! And instead of being plain and ugly, it matches up with the kitchen.


The cheery print certainly gives us a little spring feeling in the kitchen during this snowy and cold ... never getting here Spring this year!

What are you doing to get Spring Fever? Personally, I want to be outdoors looking for crocuses! I don't think that will be happening here for a long time.


Subscribe to:
Posts (Atom)
Subscribe


 Posts
All Comments
Posts
All Comments