


Looking for gift ideas I saw a bunch of these beverage totes on Etsy. They are replicas of old carpenter tool boxes.
Love them!
I thought, wow, I can make that! And I know who to make one for too. Friends of ours have a camp and they like to get away into the woods to relax, hunt, etc and they would appreciate one of these while sitting around the fire. They have had us over for many occasions and as a token of thanks this would make a nice Holiday Cheer basket for them.
I noticed that these totes are made for six pack bottles. But I wanted my design to accommodate wine bottles, soda cans or other large cans or types of bottles. Maybe even garden tools or use it as a one project tool tote. ( I made that last one up... sometimes when gathering tools for one project, I use a cardboard box. This would be a lot nicer instead.)
Using a six pack of soda bottles with its cardboard package as a guide, I tried to fit cans and small wine bottles inside the cardboard crate. They were too wide. So I measured for larger containers for the crate base and drew it on paper for better sizing.
For the average 6 pack, the width would be about 5.5" wide by 10" long with thin plywood inserts. I was using 1" pine all around the tote, so my width was 9". (I don't like math but it wasn't hard to do using physical subjects which helped me start somewhere. ) So with 1"x 9" pine and some 1"x 6" shiplap scraps I had, I set out to make my pattern and do the math stuff on paper.
 |
I made up words like lengthways and widthways too. It was what I told myself when I measured for the second or third time and I didn't have a grammar police person to correct me. When you work by yourself you can make up a lot of words and terminology.
|
I needed the above parts to create the tool caddy tote.
I used the base as my starting place and worked around the rest of the tote. I used these measurements:
- 1 Bottom piece: 1" thick x 9" x 12" pine
- 2 End panels with 1" drilled holes for the dowel handle: 1"x 9"x 12" high, and a pattern traced by drawing on paper first
- 2 Side panels: 1"x 3"x 10" long
- 1 Dowel at 1"x 14" long
- 2 Inserts to make a crate across the sides: 1" x 6"high x 7" long, *notched 1" to interlock the lengthwise piece
- 1 Insert for the crate lengthwise: 1" x 6" high x 10" long, *notched 1" to interlock the two 7" crate pieces
*notched: using the bandsaw, I measured for 1" width and cut the two lines and stopped, then pushed out the cut area with my thumb to knock out the needed notch. (And I'm not bionic, it's easy.)

After cutting my pieces with the mini circular saw and the curved pieces with the scroll saw, I stained the parts and allowed to dry.
When the stain dried I sanded the parts for the slightly distressed look and put the caddy together using finishing nails. I tacked in the end panels first.
Then, the side panels.
Then, the side panels.
Drilling pilot holes through the top of the end panels into the dowel before nailing insured no wood splitting.


For a bottle cap catcher, (that might be a real thingamajig) I tried to find a wooden bowl to cut in half and attach at the base. I couldn't find any locally, but did find this square pedestal bowl at a thrift shop.


Then I secured this partial bowl (cap catcher) from the inside of the panel with wood screws.

Then sanded and stained it to match up with the rest of the tote.

I painted a screw hook to use as a bottle opener holder.

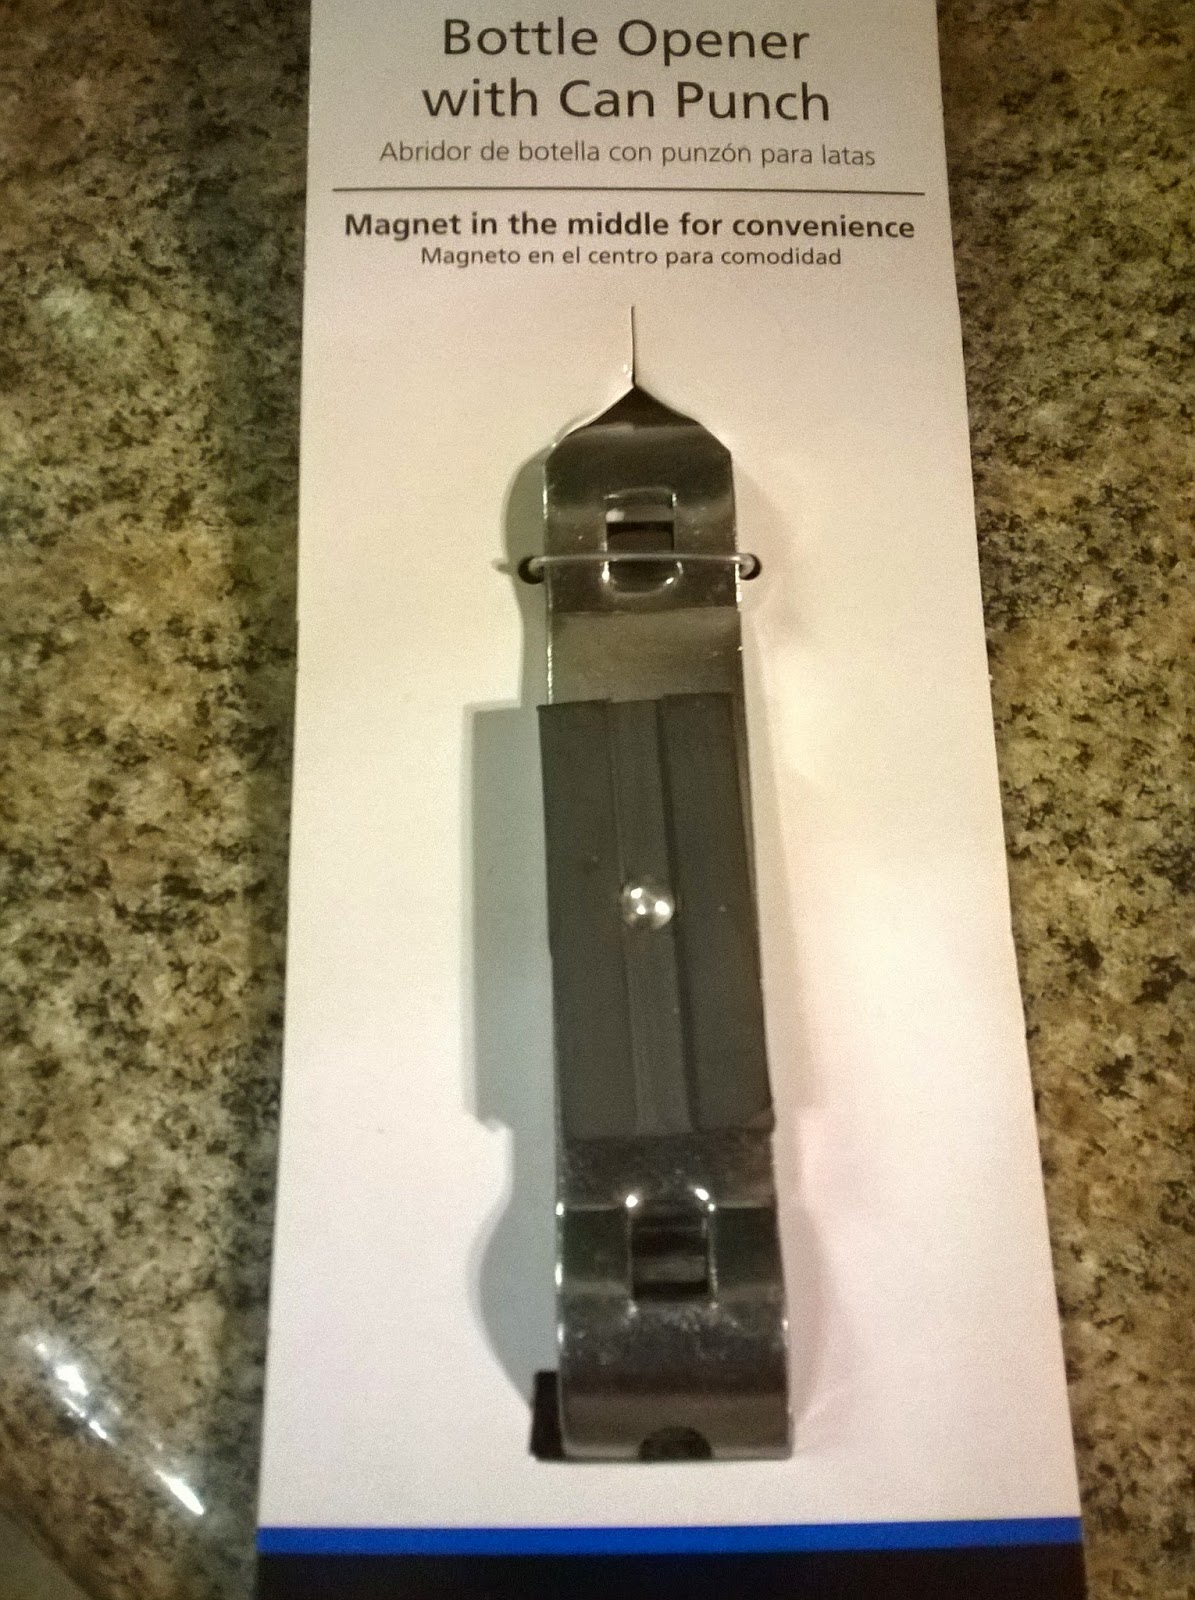
I bought a simple bottle/can opener with a hole to hang it on the hook.
The cap catcher also serves as a hangout spot for the wine cork puller... oh, corkscrew! That's it!

To personalize the tote, I printed an inkjet image of a "D" monogram I created using PicMonkey.
I made up their last name as the country of origin of which the crate was born... that was clever, ey?

But to transfer it, I had to reverse the design. (Good thing I found that out in time.)

While the ink was still wet, I immediately placed the printout onto the open end panel and rubbed it into the wood using a pencil eraser.

And it transferred with this pretty cool distressed crate print look on the wood.

For the side panels, I used each of the couple's names to make an imprint, using the same method.


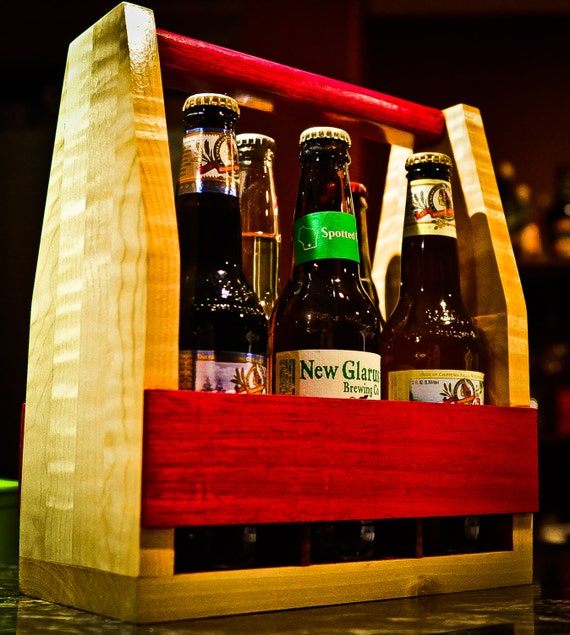
Then to test the tote with various beverages; I filled it with wine:

It held up. And that was a lot of weight!


Every kind of beverage type fit. I bet old fashioned milk bottles would look cool sitting in there.

Hung up the opener and laid the corkscrew to rest...

and it was just divine!
 |
| This photo was before I added the ink transfer on the side panels. It's when I decided to do them. But since I like this photo with the cakes, I wanted to add it here. |
 |
| Then I took the photo again with the ink on the side. |
 |
| Another handmade gift is done and delivered. |
Merry Christmas and Happy New Year!

I just might need to make a few more of these. They are easy and cute!
~~~~~~~~~~~~~~~~~~~~~~~~~~~~~~~~~~


wow way cool i wish i was on the receiving end lol xx
ReplyDeleteLove it! Pinned and tweeted. We appreciate you taking the time to stop by our party. We love partying with you! I hope to see you on Monday at 7 pm. Happy Saturday! Lou Lou Girls
ReplyDeleteThis is such a great idea, and it looks awesome! Thanks for sharing at Snickerdoodle, and I also wanted to let you know that I featured your chair makeover too! :)
ReplyDeletetoo cool! I know someone that collects old bottles that would LOVE this tool caddy style beverage tote! Love how you always give us such great step by steps Robin!
ReplyDeleteSo sweet! What a lovely project! Thank you for swinging by Snickerdoodle Sunday!! Hope you'll come back later this week with your latest makes & bakes!
ReplyDeleteSarah (Sadie Seasongoods)
So awesome, I need one! This will make my bar cart so much cooler. Thanks for sharing again at Talented Tuesday Link Party! You're always one of my favorite bloggers who share!
ReplyDeleteThis is great :) thanks for sharing at Creative Mondays, I could see one of these on my new wood worktop :)
ReplyDeletelol, you are a hoot! I'd be happy to get this to you. Thanks, Chris!
ReplyDeleteThank you, Kim! You're a super hostess!
ReplyDeleteEeeek! Thanks so much, Dee!
ReplyDeleteThank you so much for the lovely feature, Denise! :)
ReplyDeleteAww, thank you, Millie! This is great for a bottle display. If for milk, a dairy farm or a cow can be transferred on! Love that idea :)
ReplyDeleteAww, thank you so much, Kristina! You made my day!
ReplyDeleteThank you for the invite and for being such a great hostess, Sarah :)
ReplyDeleteGreat tool caddy for a work area then on the go. The carpenters in the old days were smart :) Thank you, Claire!
ReplyDeleteyou would really lol xx
ReplyDeleteI've seen these around a lot and I love them. Awesome way to make them yourself.
ReplyDeleteThanks for sharing at Marvelous Monday on Smart Party Planning.
So many ways to use them is making them popular. I love them too :)
ReplyDeleteThank you, Catherine!
Yes! :D
ReplyDeletenaaahh your just pulling my leg xx
ReplyDeleteLove!!!! What an adorable gift idea and I really like the addition of the ink transfer! You did a great job, Robin! xoxo
ReplyDeleteThat is so awesome! I love that you made the center removable for easy cleaning and for other things too.
ReplyDeleteSo excited for the feature and always happy to link up with you, Cathy! Thank you for hosting and the lovely feature :)
ReplyDeleteI couldn't believe how easy it was printing off and rubbing on. It's my favorite part of the project. (I must do more, lol) Thanks, Denyse oxox!
ReplyDeleteThese crates are great for many options. Removing the inserts makes it easier.
ReplyDeleteThank you, Erlene :)
Awesome, I love this, you come up with the some wonderful projects, thanks for sharing with Mum-bo Monday
ReplyDeleteThis is such a cute idea. Great gift idea for the person that has everything. Thank you for sharing
ReplyDeleteThis is beautiful, what a wonderful personalised gift. Thanks for linking up at Mum-bo Monday
ReplyDeleteI'm so glad you like them, Jen. You make my day! Thank you!!!
ReplyDeleteI think it's a great gift idea that you can fill and as the receiver, use it over and over. :) Thank you, Linda.
ReplyDeleteThank you, Kelly! ox
ReplyDeleteWhat a beautiful personalized gift, I really love how you put the couples name on it! I would love to receive this as a gift.
ReplyDeleteI really appreciate how you like the way I personalized it. This couple takes time for relaxing from their jobs to their wilderness camp and I personally call it their "Devine Country". Using their last name with complete pun intended. :) It was an after thought to add each of their names to the sides as well. They love the gift and I felt pretty good sending it on. I highly recommend this little build to anyone that wants to try it. It's simple and offers so many options. Thank you so much, Carrie!
ReplyDelete