


So I have another "road rescue".
Trash to Treasure piece.
Ugly upholstery, backrest pillow and all.

I was so excited to see this baby on the side of the road that I did a truck ninja to take it home. (A.K.A.- grab and run without looking.)
When checking it out in private at home (because acting slick at the curb... well you don't waste time and do an inspection upon excitement) I found this antique to be a fake... a 70's/80's spray speckled phony antique, to be exact.
Bummer.

But... with a redo, I knew I could fake it better.
So I cleaned it up and removed all upholstery.


Then I sanded down to the awesome wood grain.

See those old stapled markings on the arms? They are staying.
And, I'm not putting upholstery back on them. (Shhh... that's just a part of the secret to faking this chair. It's going to have a slight deconstructed look when I'm finished.)

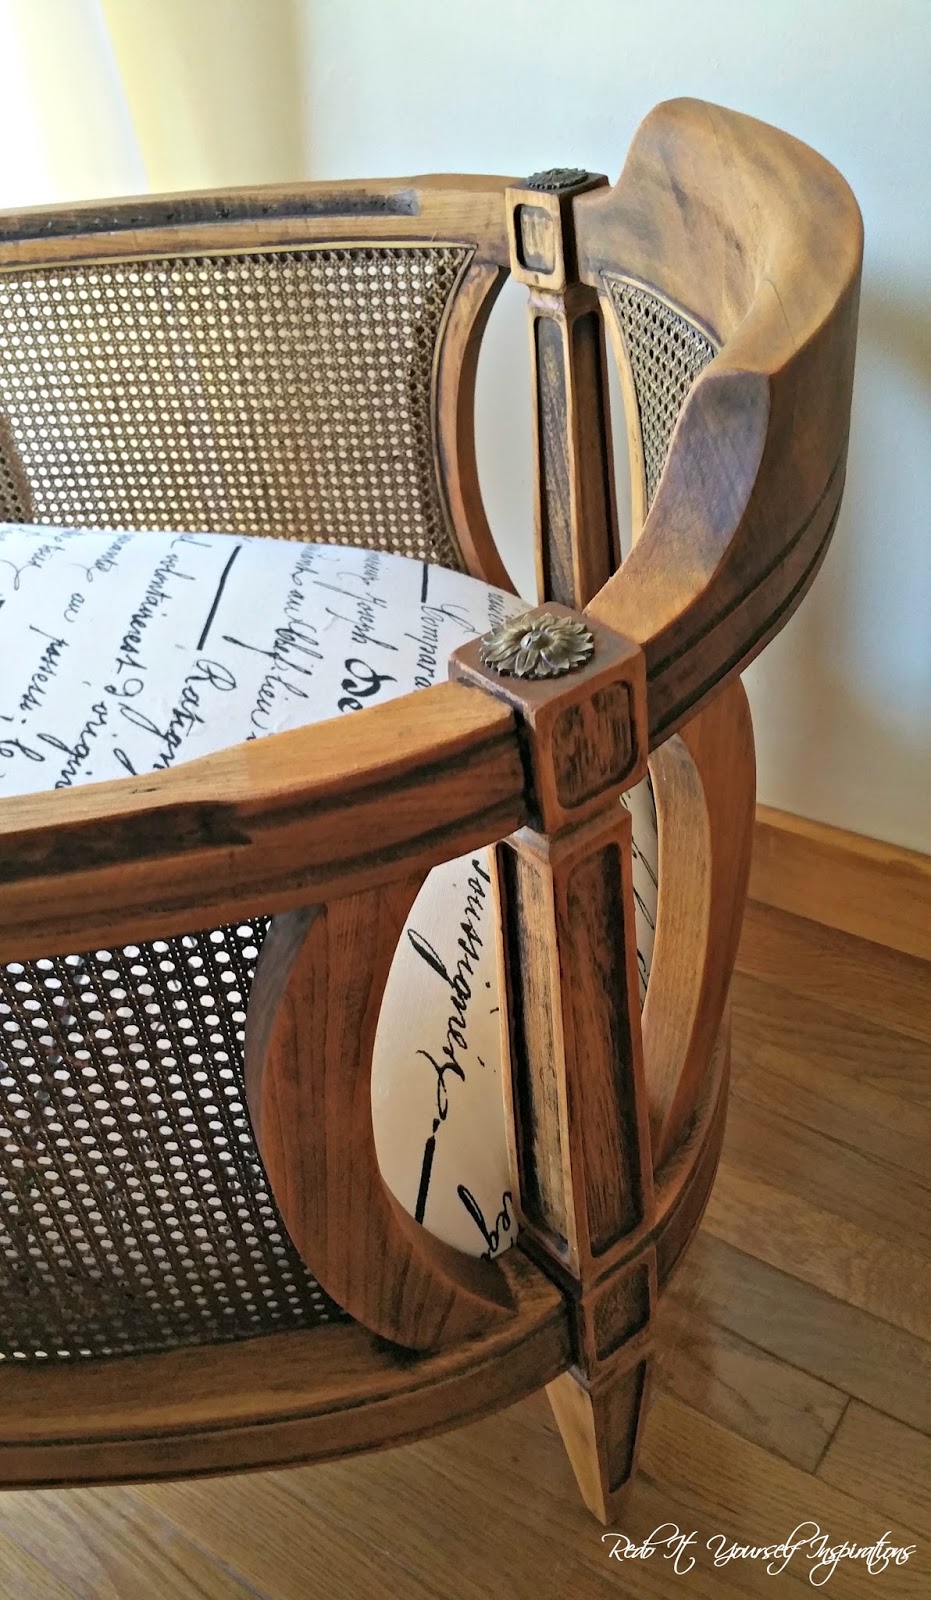
(Here's the secret: I sanded, but not too crazy in the crevices. But definitely took off all shiny finishing. That's the aging furniture look to try to preserve.)
Here she is. All sanded with some bits of dark crevices. I even lightly sanded all of the cane. Allowing some of the dark areas to be highlighted with the sanded areas.
Looking all dirty old.
Perfect!

Now for the new finish.
Ready?
Just coconut oil rubbed in.
One time. More can be added and rubbed in but the one time was good for this chair.
That's it.
Nothing else.
A little "elbow grease" and... with my bare hands. No harsh chemicals, finishes or fumes. "Tout Naturel"!
Coconut oil is great for your skin too. You can eat it, wear it, polish your wood with it and "Bam"! Double duty. See that; it conditioned the wood and my skin at the same time.

Wood gorgeousness.
Will it stand up? YES! I've done this to lots of furniture way before my blogging days. (I do have further proof from a headboard I did last year at this time the very same way... and it's still looking gorgeous ... and conditioned as the day I did it. I haven't applied any more coconut oil.) I'll work on that bedroom post. The headboard is beautiful.
Coconut oil is fabulous.

Those sanded and stapled scarred arms are conditioned and look "antique" just as I hoped they would. Oh, and the cane was conditioned too.

Now for the seat.
It was nasty. There are some upholstery jobs that scare me with yuck. This is one of them. The type that makes you wear a mask and take three showers.
So I removed all of it and tossed it.

Then started fresh on the frame with all new batting and a felt covering.

The fabric I chose was French typography. (Because I had to try it at least once.) The writing was interesting to read. It appears to be a legal document regarding a "Marie", a "Joseph", and a "Jean Claude". After such entertainment, I stapled the fabric on from underneath the frame.

Then I reattached the new seat.

Here we are with the same chair, but with a whole new fake antique look.


I like it.
Almost an authentic replica. (wink!)

Oh, by the way... I tossed out the original backrest pillow. It was just totally gross. I redo a lot of things. Nasty pillows... I will not.
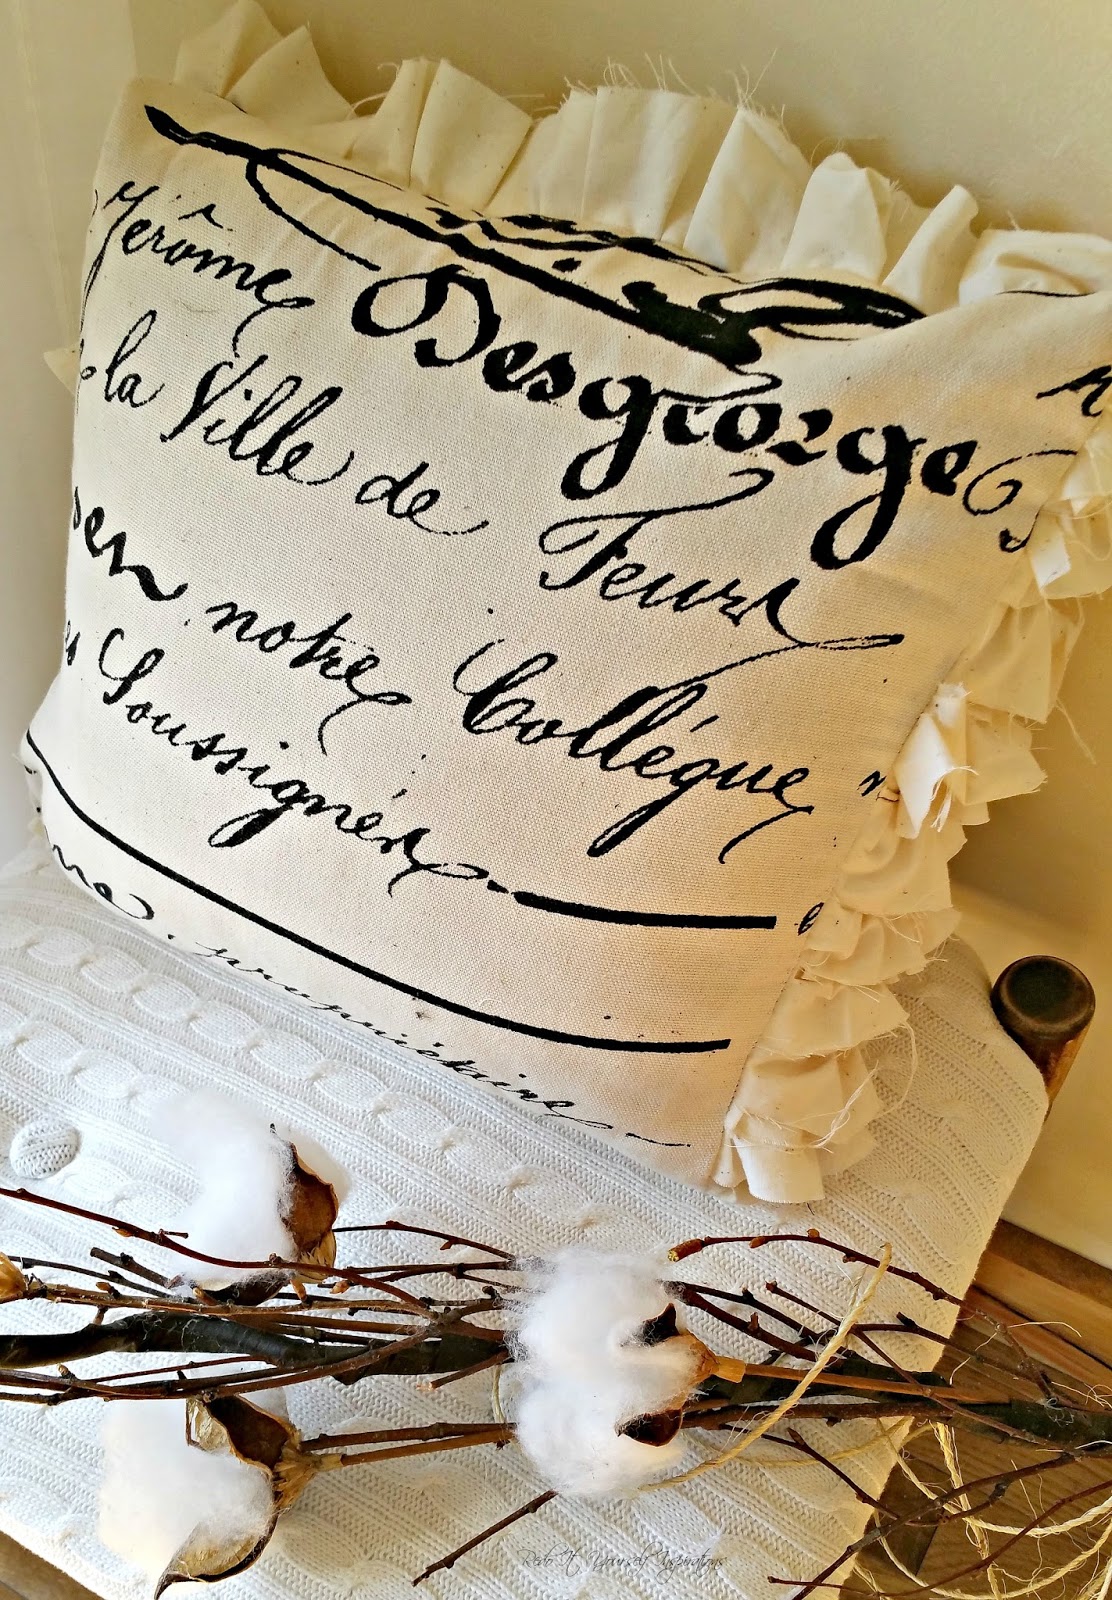
So I made new covers for these two heavy-duty-old-sofa-pillows. You can read about it "here". (This post is way long enough as it is.)

They are prettier than what the old original could've been.

The vintage chair is now completely new with a fake antique look.
Hmm... (Oxymoron? Maybe.)

Well, the chair ended up exactly as I envisioned.
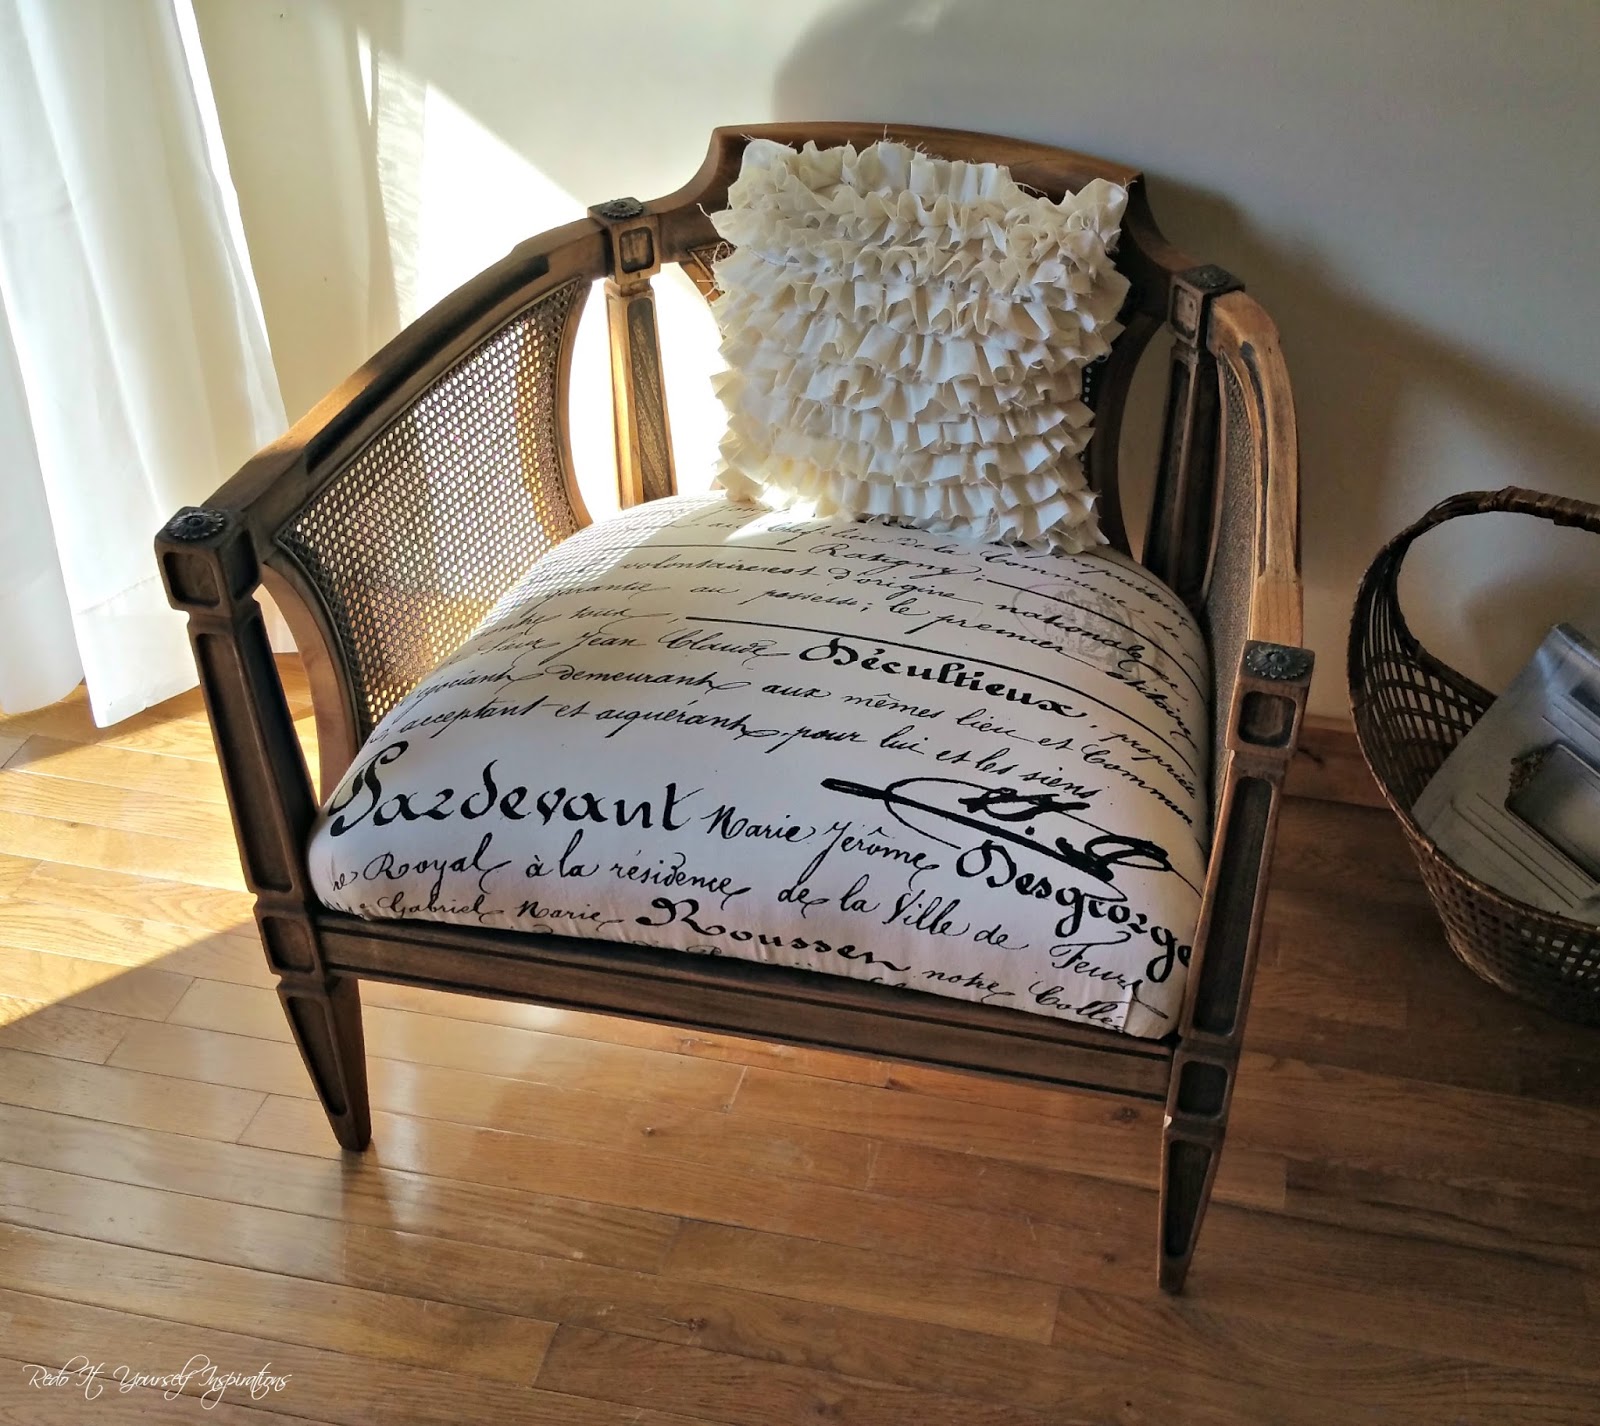
So what do you think? Did I fake it better than the manufacturer's replica?

Linked to
















 Posts
Posts

