I totally love silver and white gold. Especially bracelets.
Challenged to recycle and work with silverware/flatware or kitchen utensils this month, I was so excited to make a silverware handle bracelet!
It's quite easy.
First, you'll need some silverware/flatware that suit your style. I'm going with floral handles myself.
I went thrift shopping and found a whole bunch of the same set of floral flatware at Salvation Army for just 10 cents each. Perfect for practicing on.
Once you have your flatware to work with, you'll need to break or cut off the handle. I chose to break rather than cut because you still need to file or sand the edges to smooth the metal later.
To break off, you can use a bench vice, vice grip pliers, or just pliers to hold the handle while you bend off the mouthpiece.
Don't worry it's easy peasy.
Really. I'll show you how in less than a minute:
(Videographer: The AceMan)
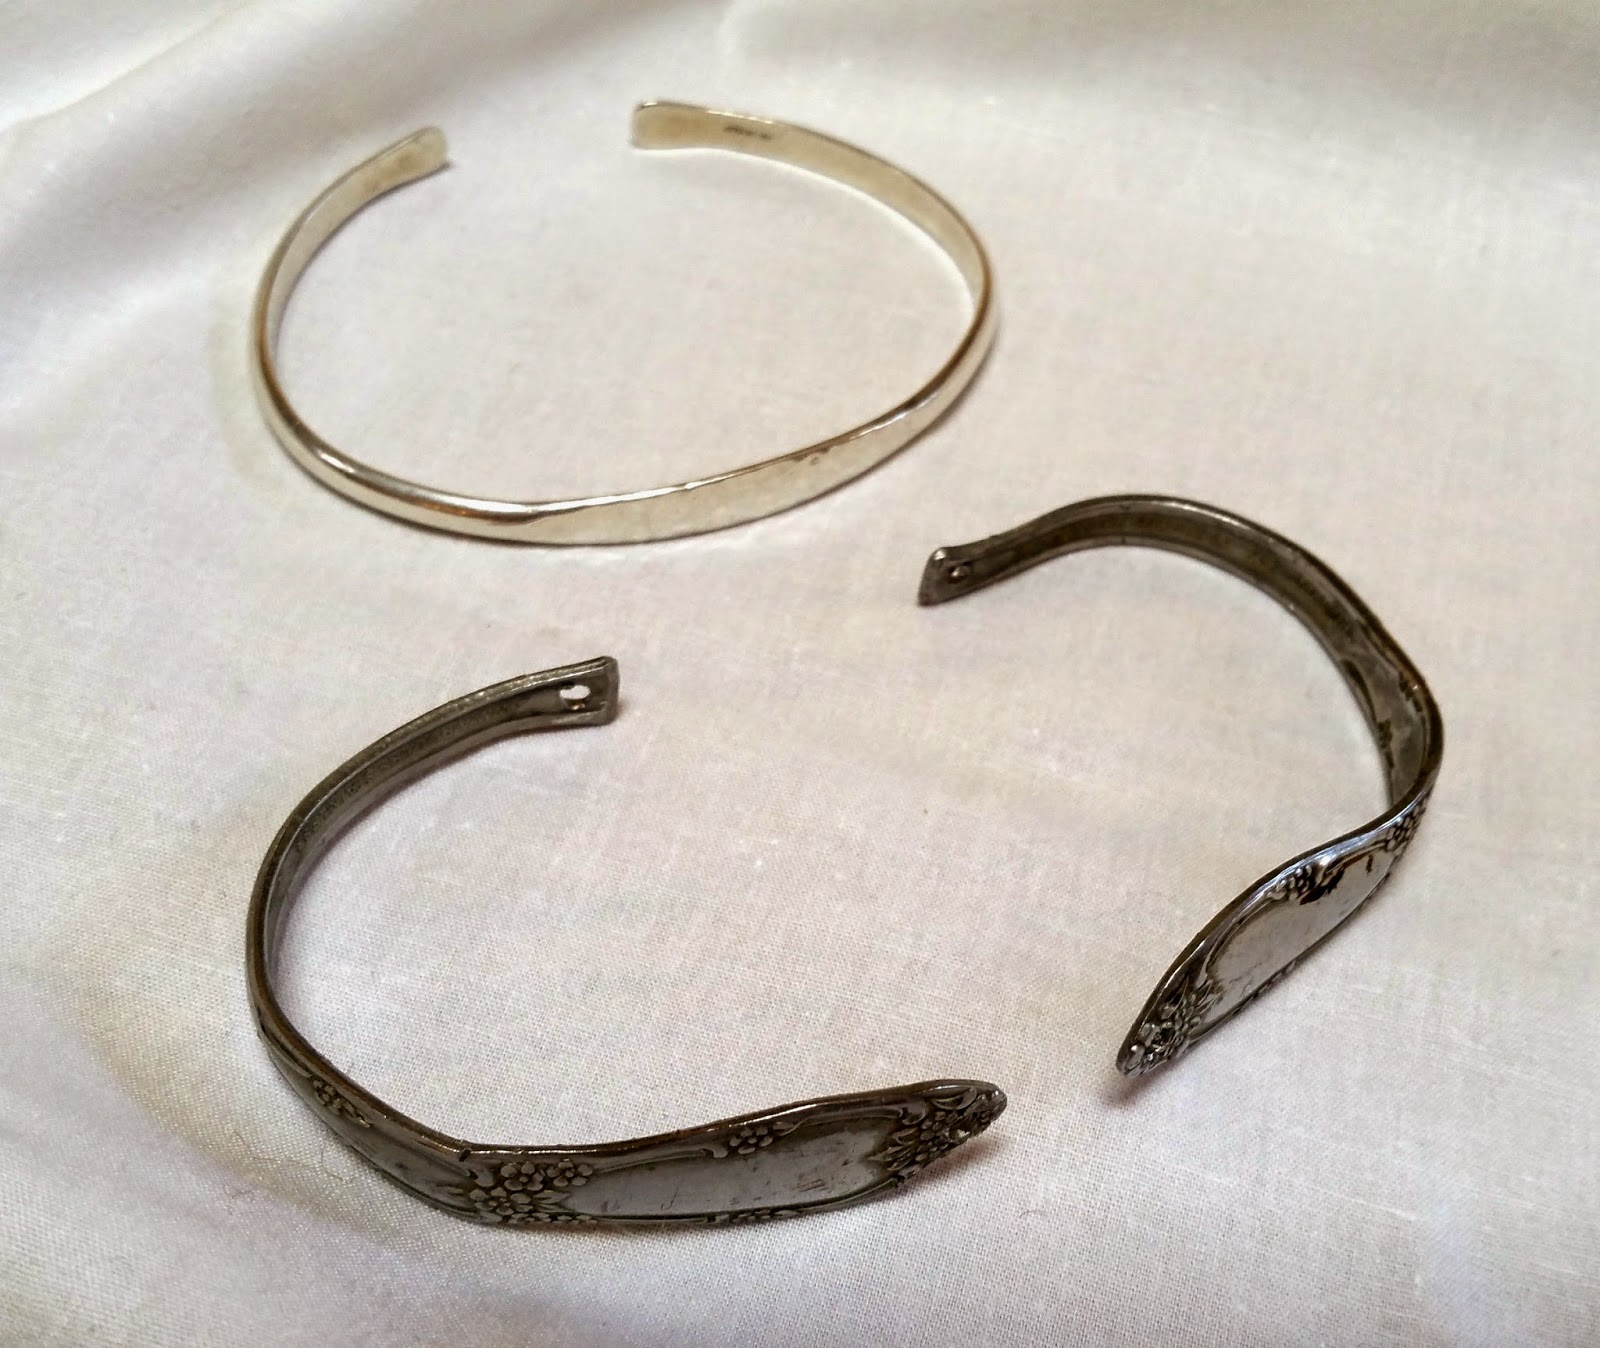
Next, you'll need to drill holes through the ends of the handle pieces. I centered these close enough to the edge to attach them together later.
Repeating on the other ends.
Next, PUT YOUR SAFETY GOGGLES ON! Then sand or file down cut edges to smooth the metal. I used my bench sander. You can use any sanding method you like. Just get any of the sharp edges off to prevent skin scratching or cuts.
Now, the tricky part. That is bending the handles into the wrist shape. I used one of my silver bracelets as a guide while holding the handle with one set of pliers and bending with another set. ( I would have a video for this but my videographer is in school. He's a 5th grader.)
Now you'll need those round attaching things. (I'm not a jeweler so my technical terms are lacking.) You can get them in the jewelry section of a craft store.
Using as many of those silver round things you want, for the look you want, attach them together with small needle nose pliers. I used three in the back of the bracelet.
Then I used one in the front of the bracelet. It looks better with one. Kind of like a bull nose ring. :)
After getting those little circles or rings completely closed, I cleaned and polished the entire bracelet.
I have a whole bunch to experiment with. Beads, jewels and other embellishments can be used as danglers hanging to create your own one of kind flatware bracelet!
I've made spoon handle rings before but this is my first bracelet.
I'm thinking ... engraving them! What would you do?
If you have any silverware crafts, I'd love for you share them.
~~~~~~~~~~~~~~~~~~~~~~~~
Featured at




 Posts
Posts

