Showing posts with label dresser redo. Show all posts

Thursday, September 1, 2016

Plain to Classy Antique Chest of Drawers Redo


It's that time again! This month, The Fab Furniture Flippin’ ContestTM is sponsored by D. Lawless Hardware and the theme is "Class It Up!" 

I had this very old and plain chest of drawers stored with intentions of doing just that! It was in dire need of something and the contest was a great opportunity to finally get it done. The old knobs had to go and... it needed more something... more. 


I opted to re-finish with stain, add decorative wood appliques and metal drawer pulls to achieve a classy antique look. 

Disclosure: D. Lawless Hardware generously supplied products to each participant for this contest. I received  8 beautiful Pewter Paisley Cup Pulls and 8 Birch Wood corner appliques. Although this post is considered sponsored, all opinions are 100% my own.

To start, I had to prep the piece by repairing the top, glue and clamp the drawers and then sand off all of the old finish. Then, I added the wood appliques. 


Using wood glue, I attached the corner appliques to the sides of the dresser inside the framework. I previously ordered other appliques from D. Lawless Hardware and decided to use them as well. I attached the large decorative piece on the top drawer and two smaller ones at the base board.


Once the wood glue was dry, I hand sanded the smooth finish on all of the appliques to soak up stain. After staining, I used an antique dark wax to seal the wood and accentuate the lines of the carvings. When it was set, I rubbed in clear bee's wax.

Finally, drilled holes for the cup pulls and attached them.


The plain chest of drawers took on a whole new classy look. 


I love how the corner appliques give an antique look to the sides. They are my favorite and are gradually becoming my trademark.


The cup pulls highlight the piece. While creating an old look, the front is all "jazzed up".


All sides now have character.


A reminder of how it was before:


So, back to the details of The Fab Furniture Flippin' Contest!
The theme is "Class It Up!"
Our Sponsor is D. Lawless Hardware

D. Lawless Hardware is an importer and distributor of cabinet and furniture hardware. It's products include knobs, pulls, hinges, slides, hooks, screws, fasteners, and wood trim used by furniture manufacturers. A large part of this business is mail order, although many of the local furniture builders also use D. Lawless Hardware.

Our contest hosts are Evey at Evey's Creations and Stacy at Anastasia Vintage

                                                          Featured at D. Lawless Hardware

 Similar projects:


Friday, June 5, 2015

Repurposed Nightstands into Chest

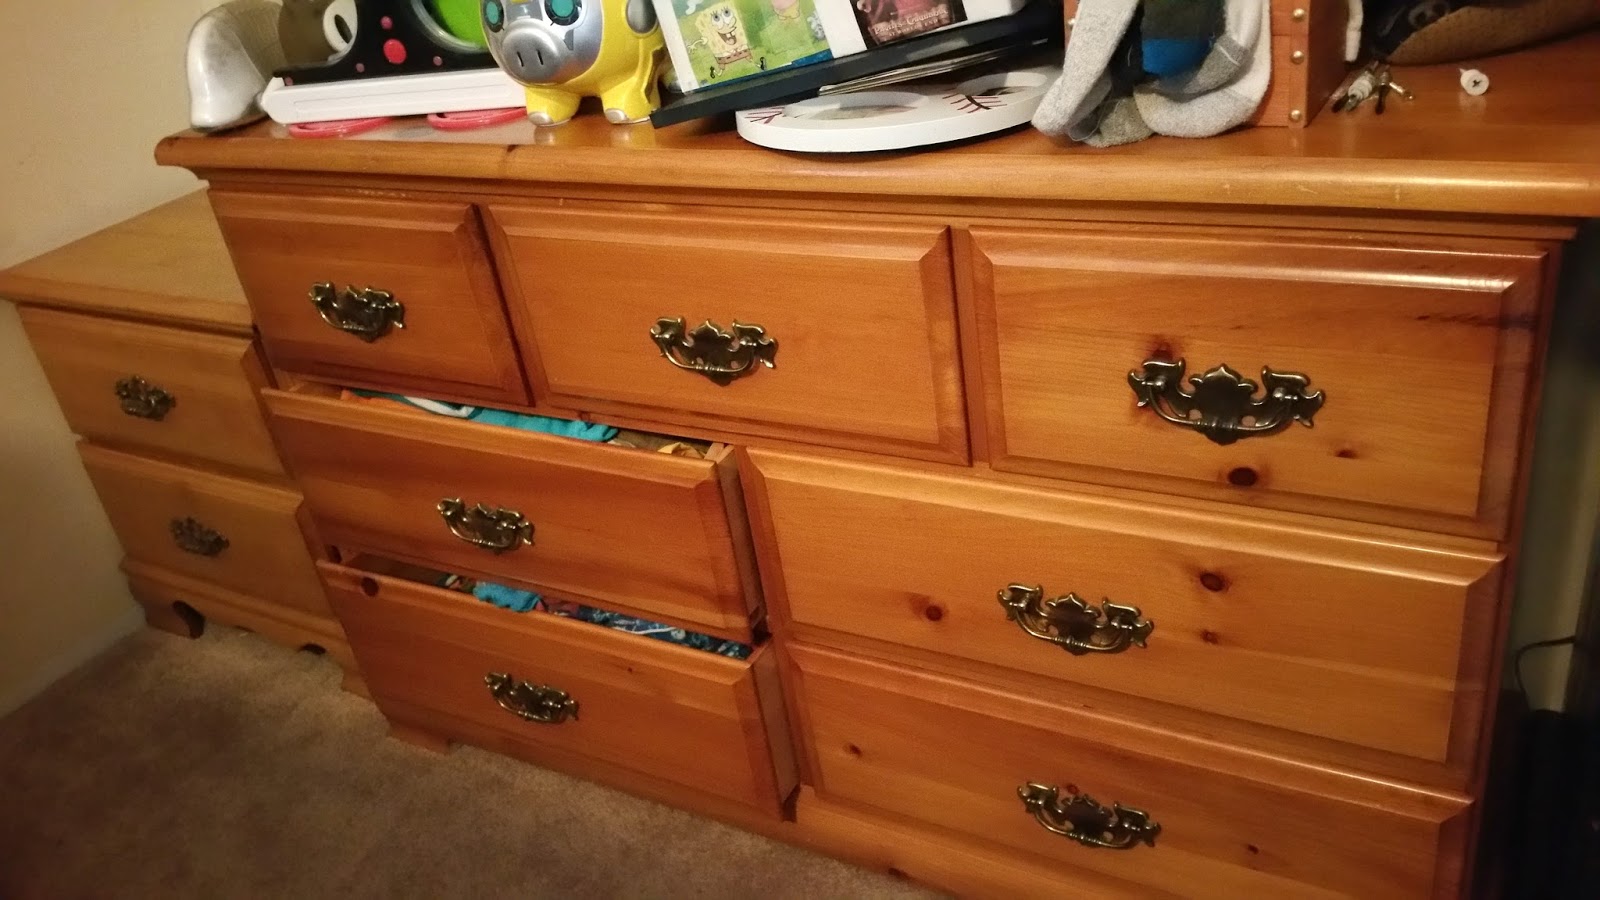
This was a "two night stands" dilemma.

They were used in the room but in odd places.

One in the closet area in front of the window...


and one in the corner of the room.


While shifting the furniture set around the small bedroom to redo the entire space, I found it fit in the corner if I put all of the pieces together. The whole wall would be a big set of drawers that looked better and functioned nicely.
But the one night stand looked wrong.
Unless I put them together.


Not like this, but stacked one on top of the other.


So I chose one for the top and took the front apron off.


Then removed nails and cut the side legs off.


After centering it on top of the other night stand, I secured it by screwing it in.


Then lightly sanded and  painted.


Painted to match the chest of drawers previously done for the new room.

After that was complete, I painted the dresser too.
I won't post it, because it's just repeating the chest of drawers post.


Then I added the hardware to make all three pieces match up and placed them along the wall where they would stay.


The last part of the set to paint was the mirror frame. 


Not bad for a short nine foot wall! 
And that's with a queen size bed centered in the room.
This was one way to get the most out of a small space.


Without extra storage areas, (no basement and no attic) we don't pack away seasonal clothes. This space contains all winter,spring, summer and fall clothing. From mittens to swimming trunks. That's a good thing with warm 80 degrees one day and 40 the next. The weather and temperatures can be very bi-polar here. 


Unlike the "hodge podge" of the room before, everything is together and functioning! It just took some ideas and some muscles.

Would you modify furniture to make it work?

I was really proud of the fact that I did this room makeover without buying any furniture. Just by redoing and repurposing, a whole new look was obtained. That is quite rewarding.


Saturday, September 27, 2014

Coastal Dresser: A Redo


What do you do when you get an ugly dresser or chest of drawers from a thrift store?  Redo it. Of course! 


Those handles reminded me of boat ties. 
Ahoy! An idea! 


I started with cleaning the whole thing up and lightly sanding and painting.  This is a pleasant tropical beach color. 


Having these resin formed seagull wall art pieces from a flea market, I decided to utilize them to decorate the front of the chest of drawers. 


And I also had these knobs from a cabinet redo to reuse. 


So I painted the knobs and gulls in white and painted the feet the same sea blue color as the dresser. 


Then I snagged up hubby's boat ropes.  (Just taking a little bit and put the rest of it back.)


I wrapped a piece of the rope onto one of the "boat- tying- looking- handles" and tied it off. Trying to make it look all nautical or "knot-ical" ;)  Then I painted it white to match the knobs and seagulls. 


I laid out the knobs and seagull designs on the drawers until I liked it. 

Then, drilled holes through the drawers to attach the knobs and seagulls. 


For the dresser top, I painted it in a white chalk paint.


Then sanded to expose the first dark blue paint job by the first "redo'er", and some of the original white paint finish by the manufacturer. All of the painted layers were showing through distressing.


When finished with distressing the top, I distressed the drawer fronts with sporadic sanding. 


Finally, the coastal redo is done.


Added a few seashells and it became beachy coastal!  


Now I want to go on a getaway to the beach. 


~~~~~~~~~~~~~~~~~~~~~~~~~~~~~~~~~~~~~