


A curbed dresser mirror frame caught my eye.
Actually, I nearly got a whiplash as I drove passed it.
"Oh, what was that?!"
So I turned around and quickly snagged it up.

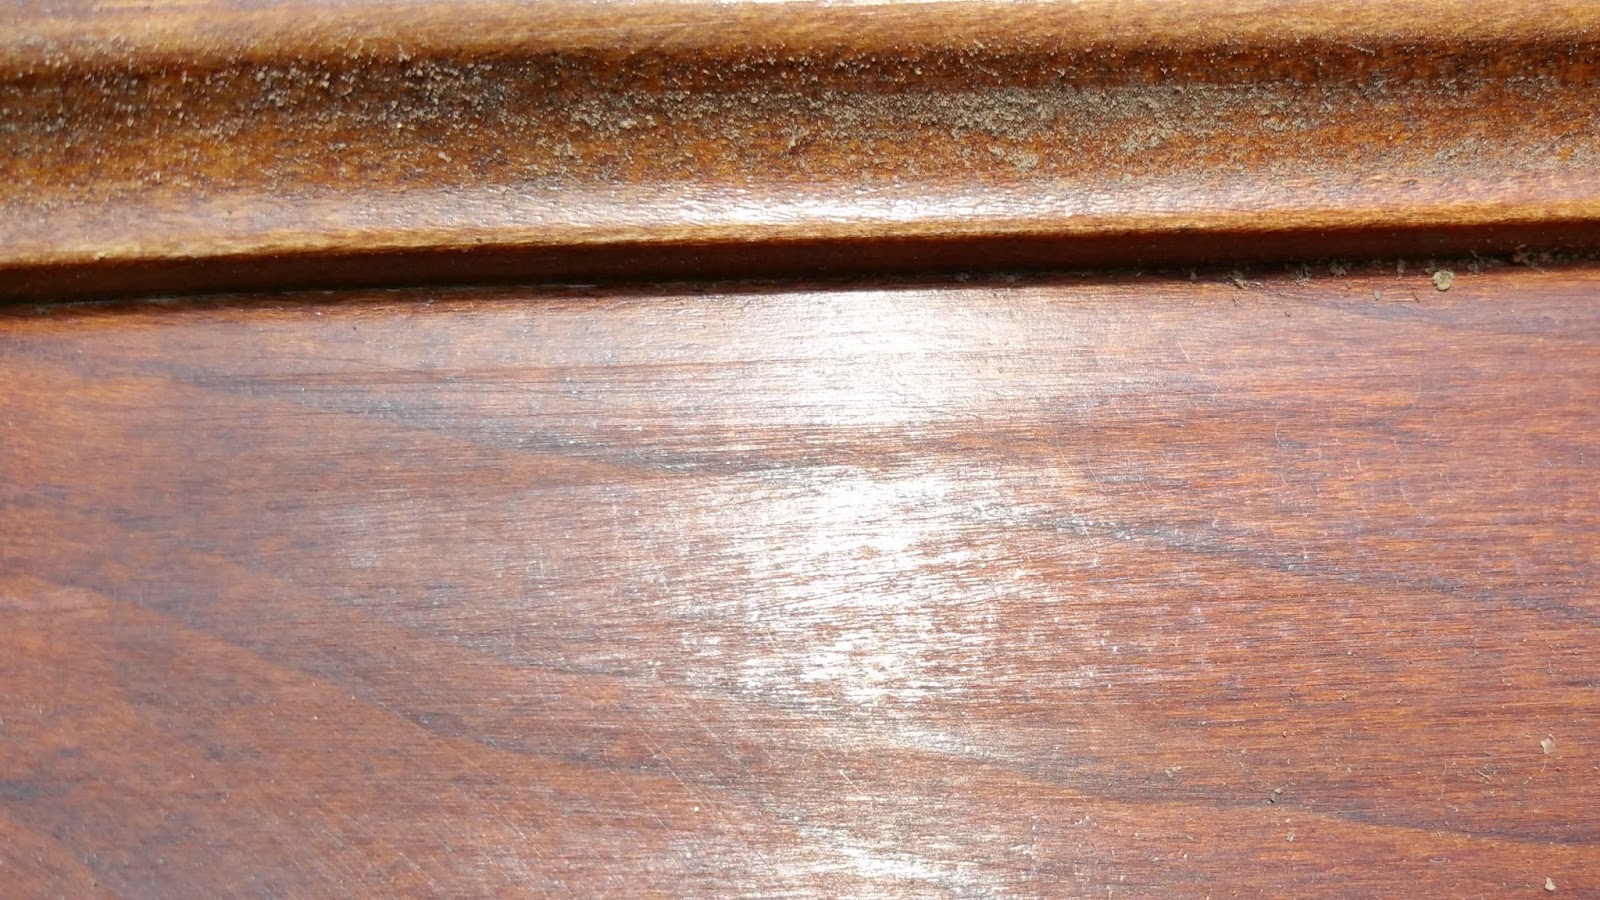
Then I got home and inspected it. It's laminate. Yuck.
But, it would make a great chalkboard, regardless of the quality.

Deciding to change it into an antique was a challenging thought, being "pressed paper fibers" and all. I lightly sanded the clear finish a bit to take on the paint anyway.

Hoping it didn't deter the chalkboard... I removed them.


The chalkboard paint soaked in...a lot!!! That manufactured board absorbed an entire bottle of brush on chalkboard paint AND two cans of chalkboard spray paint.

When it dried, I removed the tape and considered going with the wood (fake wood) as it was.
Nah... it looked cheap. I decided to continue on with the painted antique look.

Using red chalk paint, just on the frame itself, I thinned it with water so the wood grain showed slightly.

For the top and the bottom of the frame, I chose Liquorice; also thinned with water for the same affect.

Worried that the laminate would warp or ripple, I watched it carefully in case I needed to save it.
But, the paint was perfect.


Once dried, I softly sanded the entire mirror frame from top to bottom.
And accented the appliques by highlighting them with a foam sanding pad.

The manufactured paint/stain job was applied lightly, so when I sanded, it went to raw wood. (Oops.)

So I touched up the raw areas with gel stain and wiped it off.

For the Liquorice painted areas, I rubbed in clear wax to seal the paint.


Being a chalkboard, I felt it needed a tray of some sort. I had this scrap piece of a wooden fruit dish in my stash. (A leftover from the tool caddy tote I made at Christmas time.) I thought cutting it to attach it to the chalkboard was a great idea.

Cutting it in half would create one cubby for business cards and the other to hold chalk.
The cuts had to be done at an angle to mount them flush on the chalkboard.

Doing just that, cutting from outside corner straight over to the other outside corner made it fit as a floating cubby.

Sanding them slightly and applying dark wax before attaching them prevented any messes or mistakes on the board.
I cheated...
using hot glue to apply them before screwing them onto the chalkboard was like having a a helping hand.

When the wax dried enough to handle, I "broke in" the chalkboard paint.
Simply running the side of a chalk stick all over the chalkboard, then erasing a couple of times, made the surface ready for use. I wrote examples for many uses of this huge framed chalkboard.
Here is how it turned out:


A little chalk dust here and there...it's ok, I'll give it a good dusting after the wax cures.


I like how the paint turned out on this project. All of the painted areas blend. Not bad for laminate!
The size and style makes this board perfect for wedding parties, restaurant specials, booth sales, yard sales, store specials and more!
I'm glad I found the piece of junk. It turned out way better than I thought it would.

Now I'm hungry. I'll have the chicken; with lemon water to sip on.
:)

~~~~~~~~~~~~~~~~~~~~~~~~~~~~~~~~~
Linked to


 Posts
Posts

