


| www.thecraftersworkshop.com #TCWstencillove |
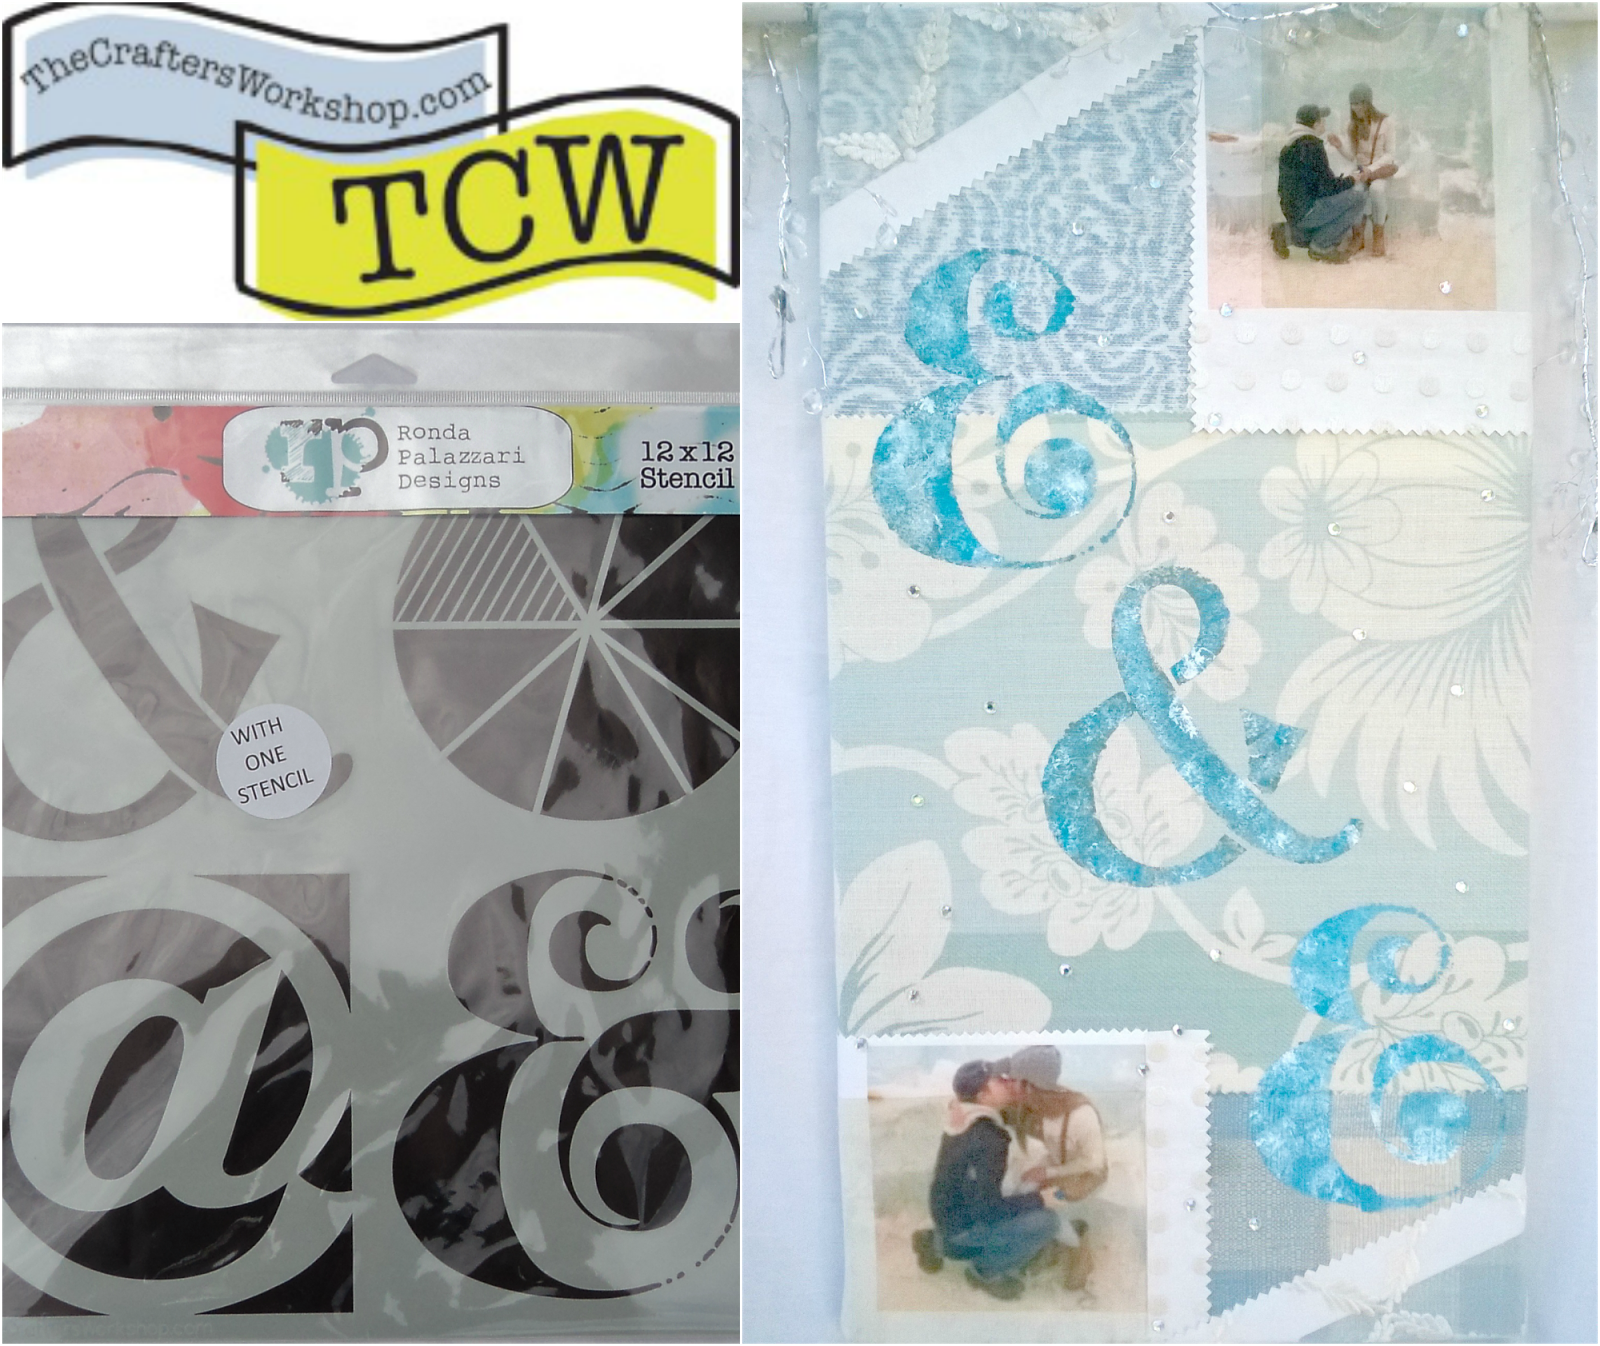
As guest creator for The Crafter's Workshop, I've been assigned stencil set number 383 designed by Ronda Palazzari. The purpose of the One Stencil Four Ways series is to demonstrate the endless possibilities of a stencil based on numerous creators.
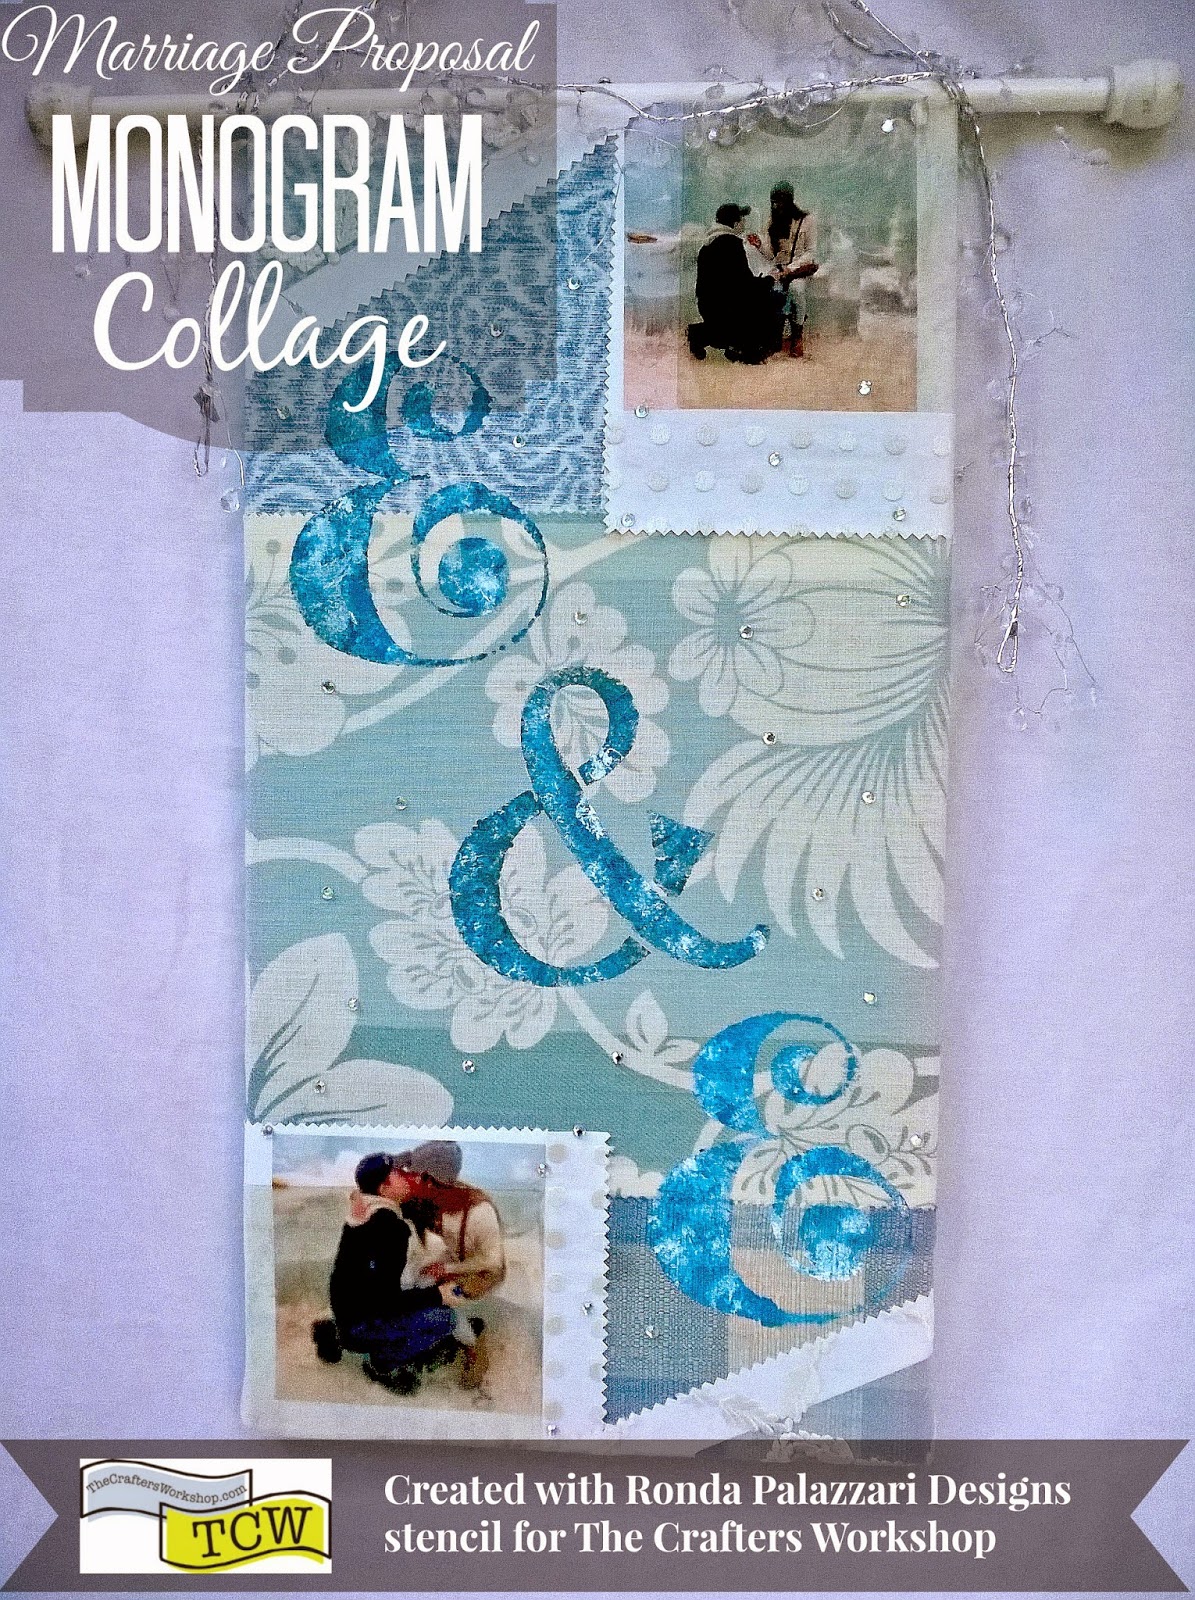
For my third project is a fabric collage commemorating a marriage proposal. The collage is prepared by printing the photos on fabric and painting the couple's monogram with the stencils.

I used a finished wooden board.

I also used fabric swatches with prints in shades of white, cream, light blues, teal and green shades.


Then arranged the design layout.

Then used tacky glue to attach the fabric to the wood; one section at a time and smoothing out, avoiding wrinkles. I left enough fabric to fold over and glue to the back side of the board.


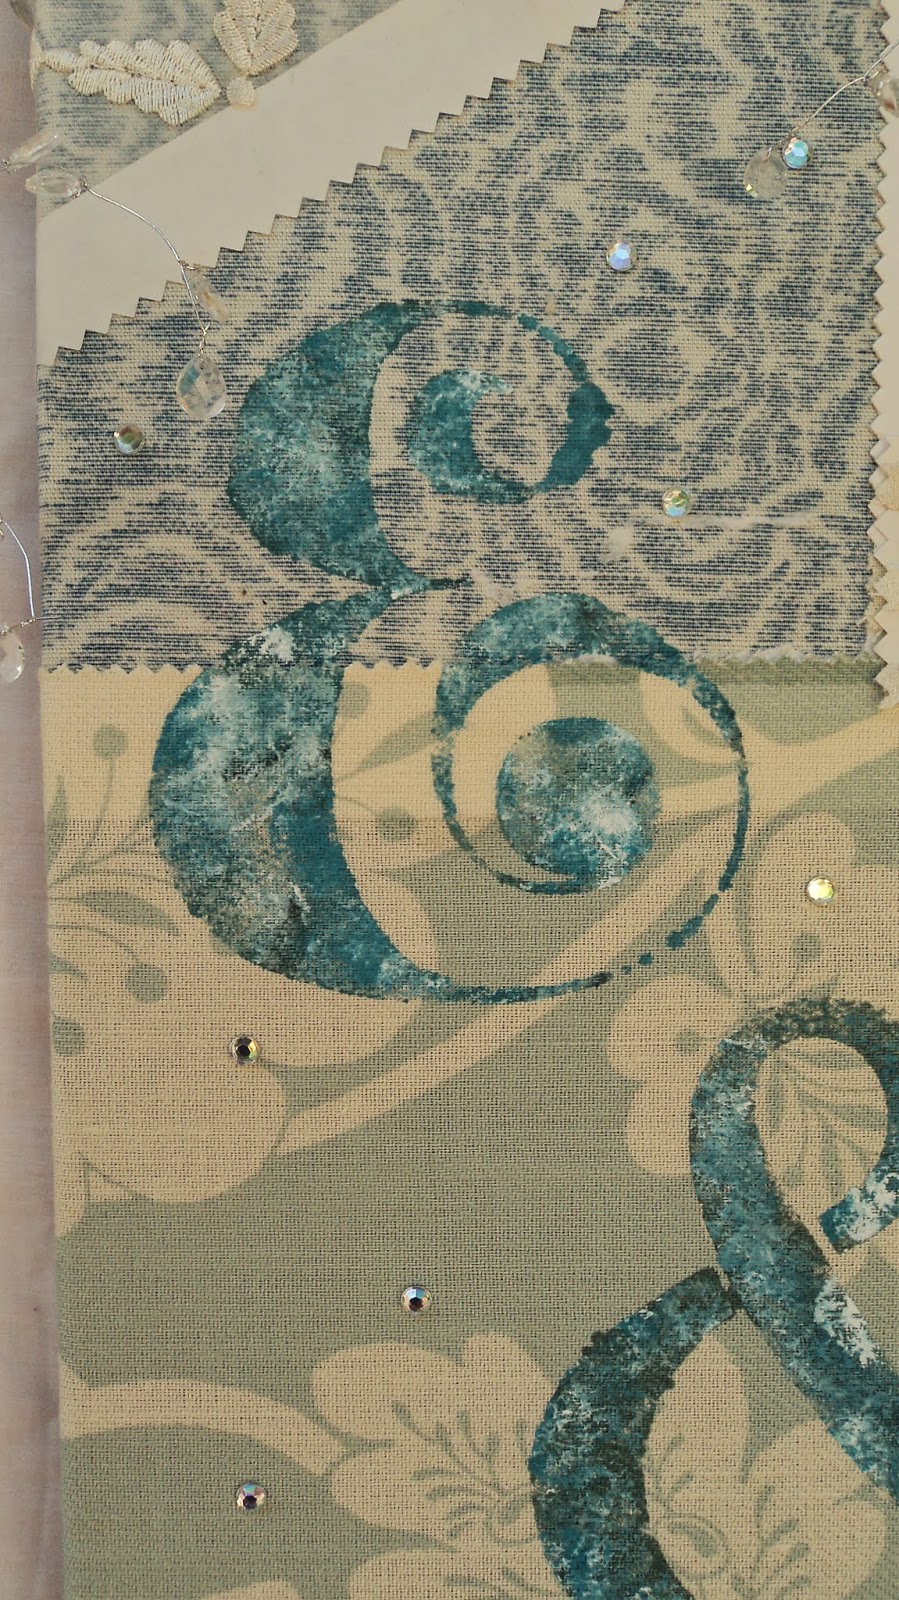
I sponged on white, light blue and teal acrylic paints through the stencil onto the fabric.


The engaged couple both have "E" names. So I modified this stencil to create an "E".

I had a package of these "bling" stick ons to add to the collage. Because the event happened at a winter festival in an ice castle, I thought it would be fitting to add some more sparkle to match the snow, ice, and ... the ring.

I spread the "blingers" sporadically, like snowflakes all around the collage.


The collage so far.
Now to hang it.


I reduced the size of the rod by cutting it to fit the board with a bit of overhang on each side. By drilling pilot holes through the rod and into the display board, I could easily attach the rod with wood screws.


I also had this glass teardrop beaded garland stashed away that was originally for a wedding cake. Thinking it would be a nice touch for the collage... simulating "more ice"... I added it to the top on the rod.


"E" for her....
And "E" for him.

Aren't they sweet! Bless their hearts. The gentleman is my son. And this is one of his happy moments.


No comments:
Post a Comment