Wednesday, May 21, 2014

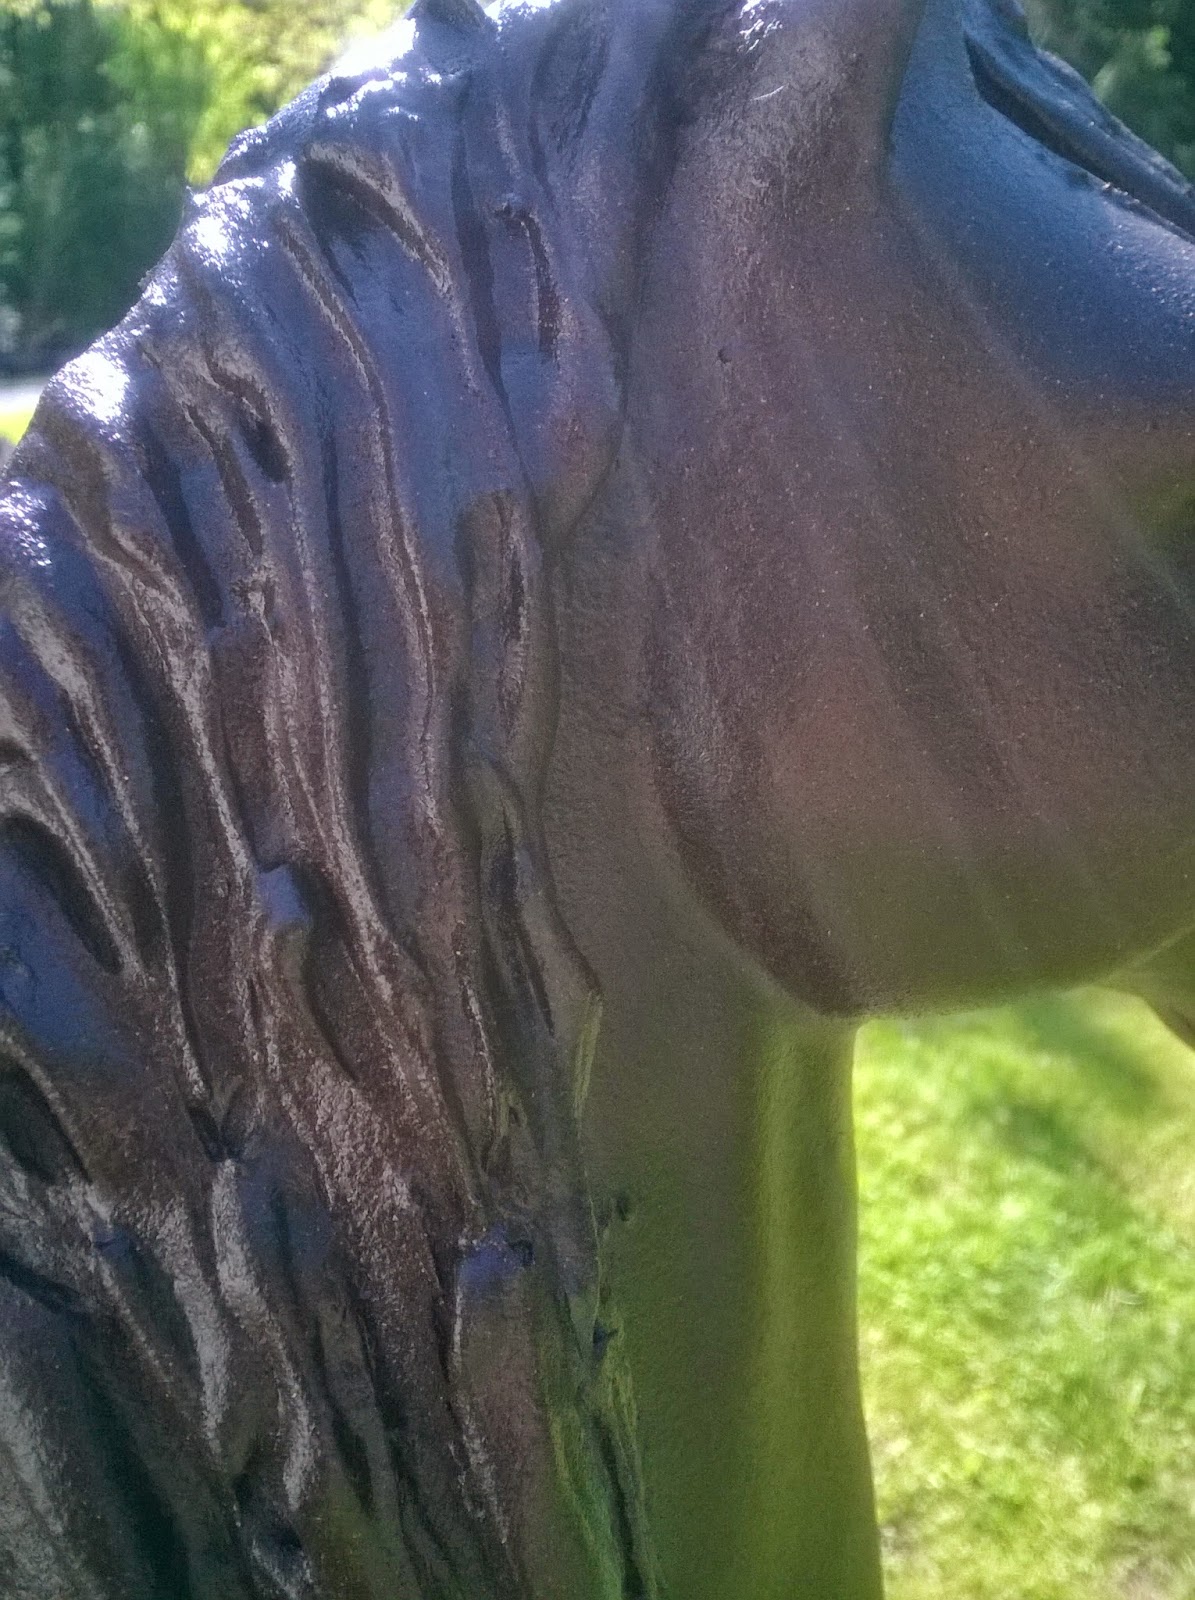
Upcycled Toy Horse into a Garden Sculpture


I saw this large toy horse at the thrift shop and instantly fell in love with it.  I just had to get it and do something with it. The mane and tail were typically matted. Red nail polish and other stains decorated it. 

It's such a large horse, about 22" tall and long.  Where to put it was how I came up with the idea... outside.  

I thought of removing the nail polish and stains, but plastic can melt. Painting the horse was necessary. 

There really is no salvaging matted synthetic successfully...

So I lathered it with plaster of paris. Mane and tail. I ran the substance completely through, squeezing and reapplying it. Then I formed the base where I wanted the mane to flow onto the body. 


After allowing the plaster to dry, I applied indoor/outdoor caulk. Like decorating a cake, but with a caulk gun, I made a flowing mane and tail. 


After placing the caulk where it appeared realistic ... or artistic :)
I smoothed out some of the unnatural areas of blobs. 


Then waited for it to dry. 


And waited. 


Until finally the next day, the caulk was dry. 


I spray painted a base coat of Krylon, a plastic adhering paint, in espresso color. My constant plaster application and formation did scour the body a bit too, so the shiny finish of original paint dulled making paint adhere easily.


Lightly spraying and getting into all of the grooves and crevices. 


Then a second coat a bit later. 


Finally for the finishing up, I used indoor/outdoor Rust-Oleum Oil Rubbed Bronze paint for a cast iron look. 

(I was NOT a paid advertiser or affiliate for this product.  It was a product choice of my own .) 


Now the pretty thing looks like a bronze statue! 


The toy horse is certainly a grown up now. "Thinking outside of the toy box"  ;) 


Who would have thought under this paint is a toy?  


~~~~~~~~~~~~~~~~~~~~~~~~~~~~~~~~~~~~~~~~~~~~~~


~~~~~~~~~~~~~~~~~


Updated Brass Chandelier

 I finally found a brasstone chandelier at 
a thrift shop that was exactly what I was looking for. 


This is a medium sized chandelier with candlesticks. Perfect for turning into an antique fixture for our "country-ish" dining room.

After cleaning up the fixture, I applied a coat of flat black paint for a wrought iron look.

Then, a second coat. 


Both top and bottom spray painted.


I replaced the plastic "candlesticks" and
decided to decorate them.


I printed out two sheets of an antique letter. 


I cut the letter up to fit around the plastic tube "candles".  Then used a glue stick on the paper to apply them to the tubes.
I replaced the plastic tube candles and inserted clear flame bulbs.


I used a hook in the ceiling where the light fixture will be permanently, over the dining room table. 


Hardwiring to the existing recessed lighting and switches requires sheetrock cutting, wire feeding and connecting.  That will be put off for this weekend  when I have a helper to fish wires.  :)

I'll post the finale photos here next week~


In the meantime, I have a preview of a long awaited light fixture.  (sigh) Patience is a virtue.


The update: 


Connected to the dimmer switch on the recessed lighting in the room. 

low lighting...

full lighting


~~~~~~~~~~~~~~~~~~~~~~~~~~~~


~~~~~~~~~~~~~~~~~~~~~~~~~~~~~~~~~~~~~~~~~


Saturday, May 3, 2014

Teacher Appreciation Planter


My son completed his gifts for Teacher's Appreciation day coming up next week.  He chose to give them Aloe Vera plants and I guided him along with the planter crafting. 


We started with two floral vases. 


Spraying them with Chalkboard paint.


One coat seemed to do just fine.


Wooden rulers from a dollar store.


I cut them to fit around the vase. 


My son glued them around the top rim.


Mini clamps were used to hold the rulers in place while the glue dried.

We gathered plastic numbers from the dollar store.


He glued on 2x2 to equal 4. 


Then added chalk writing for 2nice 2be 4gotten.


Rubber letter stickers; also dollar store crafts.


He added the teachers names on the opposite side of the plastic numbers on the vase.


We pulled a couple of other plants to add to his aloe vera plant.


We used chalkboard sticker labels from Michaels for To/From tags.


His photo was added to the back of the To/From tags and covered in wide scotch tape to protect the picture.


We attached the photo tag on an artificial flower and added a couple more of the flowers for color. 


(His photos are purposely blurred.)


Then we added a "Thank You" note. 


Then he did a drawing on the remaining side of the vase with chalk.  (A cup of coffee and donut, one of the teacher's "faves".)


He's really excited that Ms. T and Mrs. F are going to love his planters. 


~~~~~~~~~~~~~~~~~~~~~~~~~~~~~~~~~~~~~~~~~~