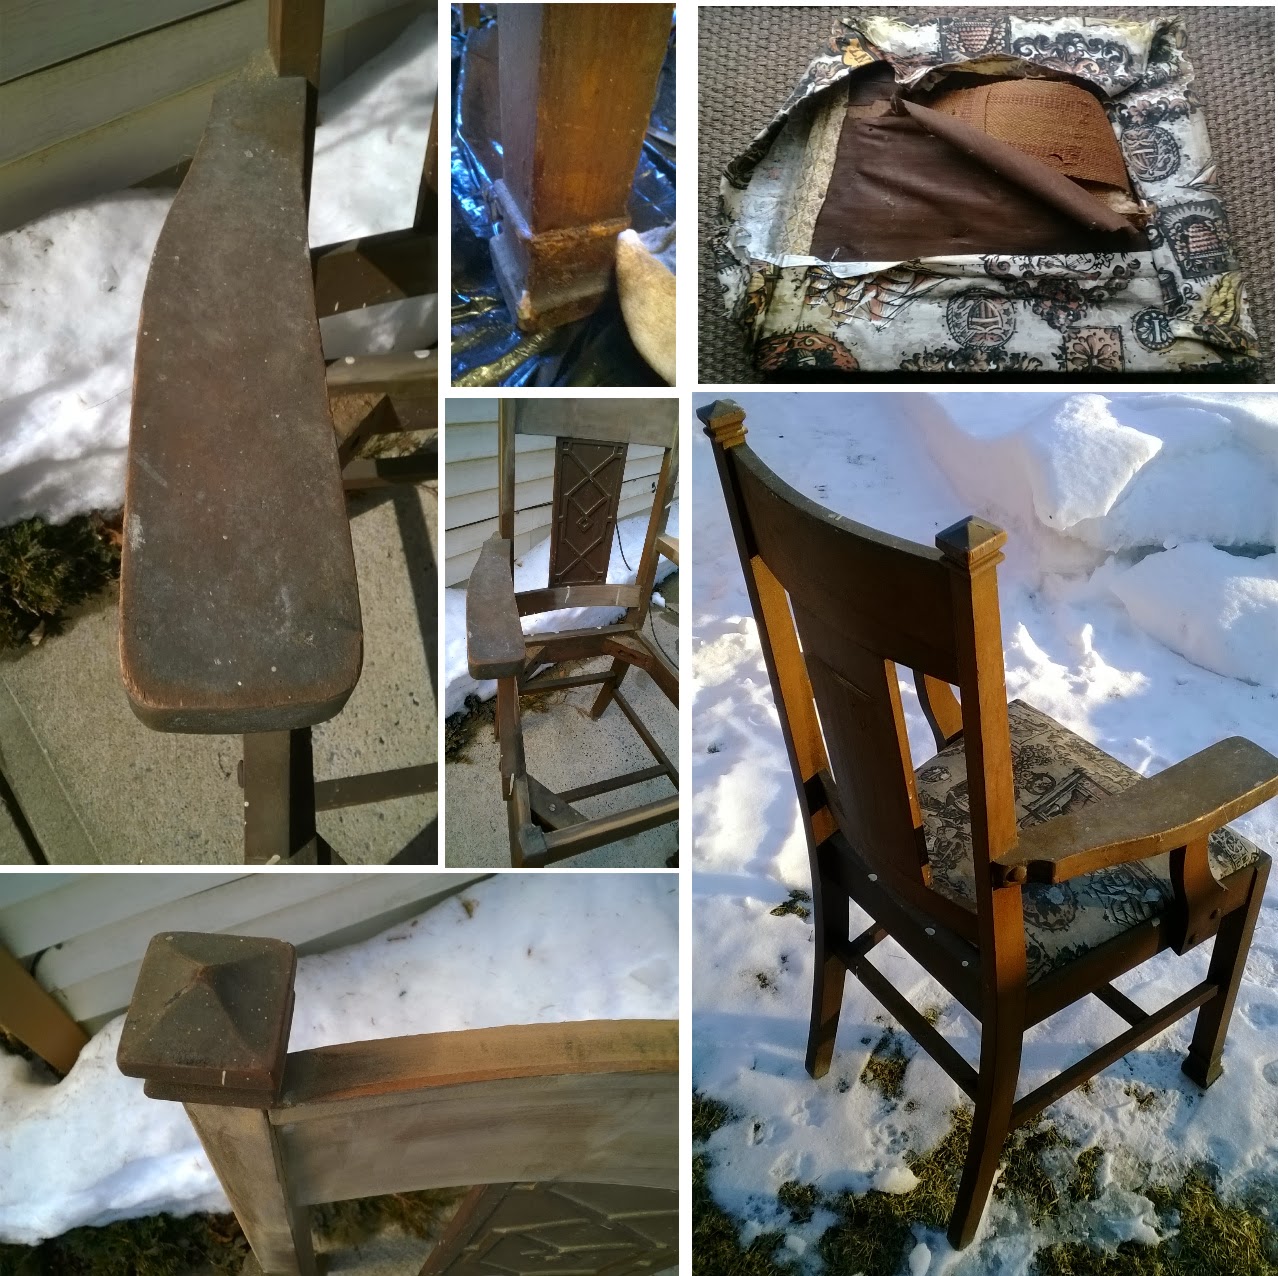
I'm not sure of the age of this chair, but by the appearance of the three layers of finishes and seat covers, it must be early 1900's. Maybe you can help me date it through the process posted.
I was asked to do this chair to revive the wood and if I had to paint it fine, but a "have at it" was offered to me. I did refinish the wood and added a bit of color while giving it an aged look. My focal point was the back rest, it was originally made to be the main attraction. So it became mine.
 |
| Before and during details. |
 |
| More before photos |
 |
| The arms also needed some attention. |
 |
| The seat had three coverings. This Bicentennial fabric topped it, being a very Colonial 70's theme. |
 |
| Can you say "Bless you"? This process bothered my allergies. |
 |
This is the second covering. Embroidered fabric, and kind of Pennsylvania Dutch. Under this was cotton batting.
Ah-choo, ach-choo... |
 |
| And here is the original leather seat cover. Hardly salvageable. |
 |
| Getting down to the bare bones. |
 |
| The last layer of fabric was attached with large staples. Second with small nails. |
 |
| The original nails and they were teeeeny tiny! |
 |
| About 100 nails gone. Finally. |
 |
| This leftover beadboard makes a great seat support. |
 |
| Perfect. Now back to the chair. |
 |
| First round of sanding. The finish won. I had to start stripping. The original finish was coated with a thin brown paint and over that was a lumpy bumpy clear coat. |
 |
| First stripper scraping off. |
 |
| Second, and still not budging enough. |
 |
| Three stripping attempts and finally workable. |
 |
| Sand and sand and sand and on and on. |
 |
| I cut into the inside of the arms to curve them out a bit and sanded to round off. The same with the front of the armrest. |
 |
| Sanded clean and ready to stain. |
 |
| Staining and painting a few features. |
 |
| Painted the decorative accents turquoise with a chalk paint. |
 |
| Now a coat of lacquer. |
 |
| Black paint here and there to age the chair. Brush on, wipe off. |
 |
| Now for the seat finish up. |
 |
| Half inch foam cut to size to fill the seat frame. |
 |
| A second layer to completely fill it up and provide more padding. |
 |
| Cut off a piece from a memory foam mattress pad. |
 |
This is when you have all tools at arms reach. Getting up off this set up makes you lose your place. This is me kneeling on the fabric, 3" memory foam and the seat frame all at once and lined up to put it all together.
I squished the foam to about 3/4" to staple the fabric to the frame.
|
 |
| Mission accomplished. |
 |
| By golly, it looks just as I imagined! |
 |
Now it's off to the owner.
|
~~~~~~~~~~~~~~~~~~~~~~~~~~~~~~~~~
Featured on Bob Vila Nation


