| www.thecraftersworkshop.com #TCWstencillove |
As guest creator for The Crafter's Workshop, I've been assigned stencil set number 383 designed by Ronda Palazzari. The purpose of the One Stencil Four Ways series is to demonstrate the endless possibilities of a stencil based on numerous creators.
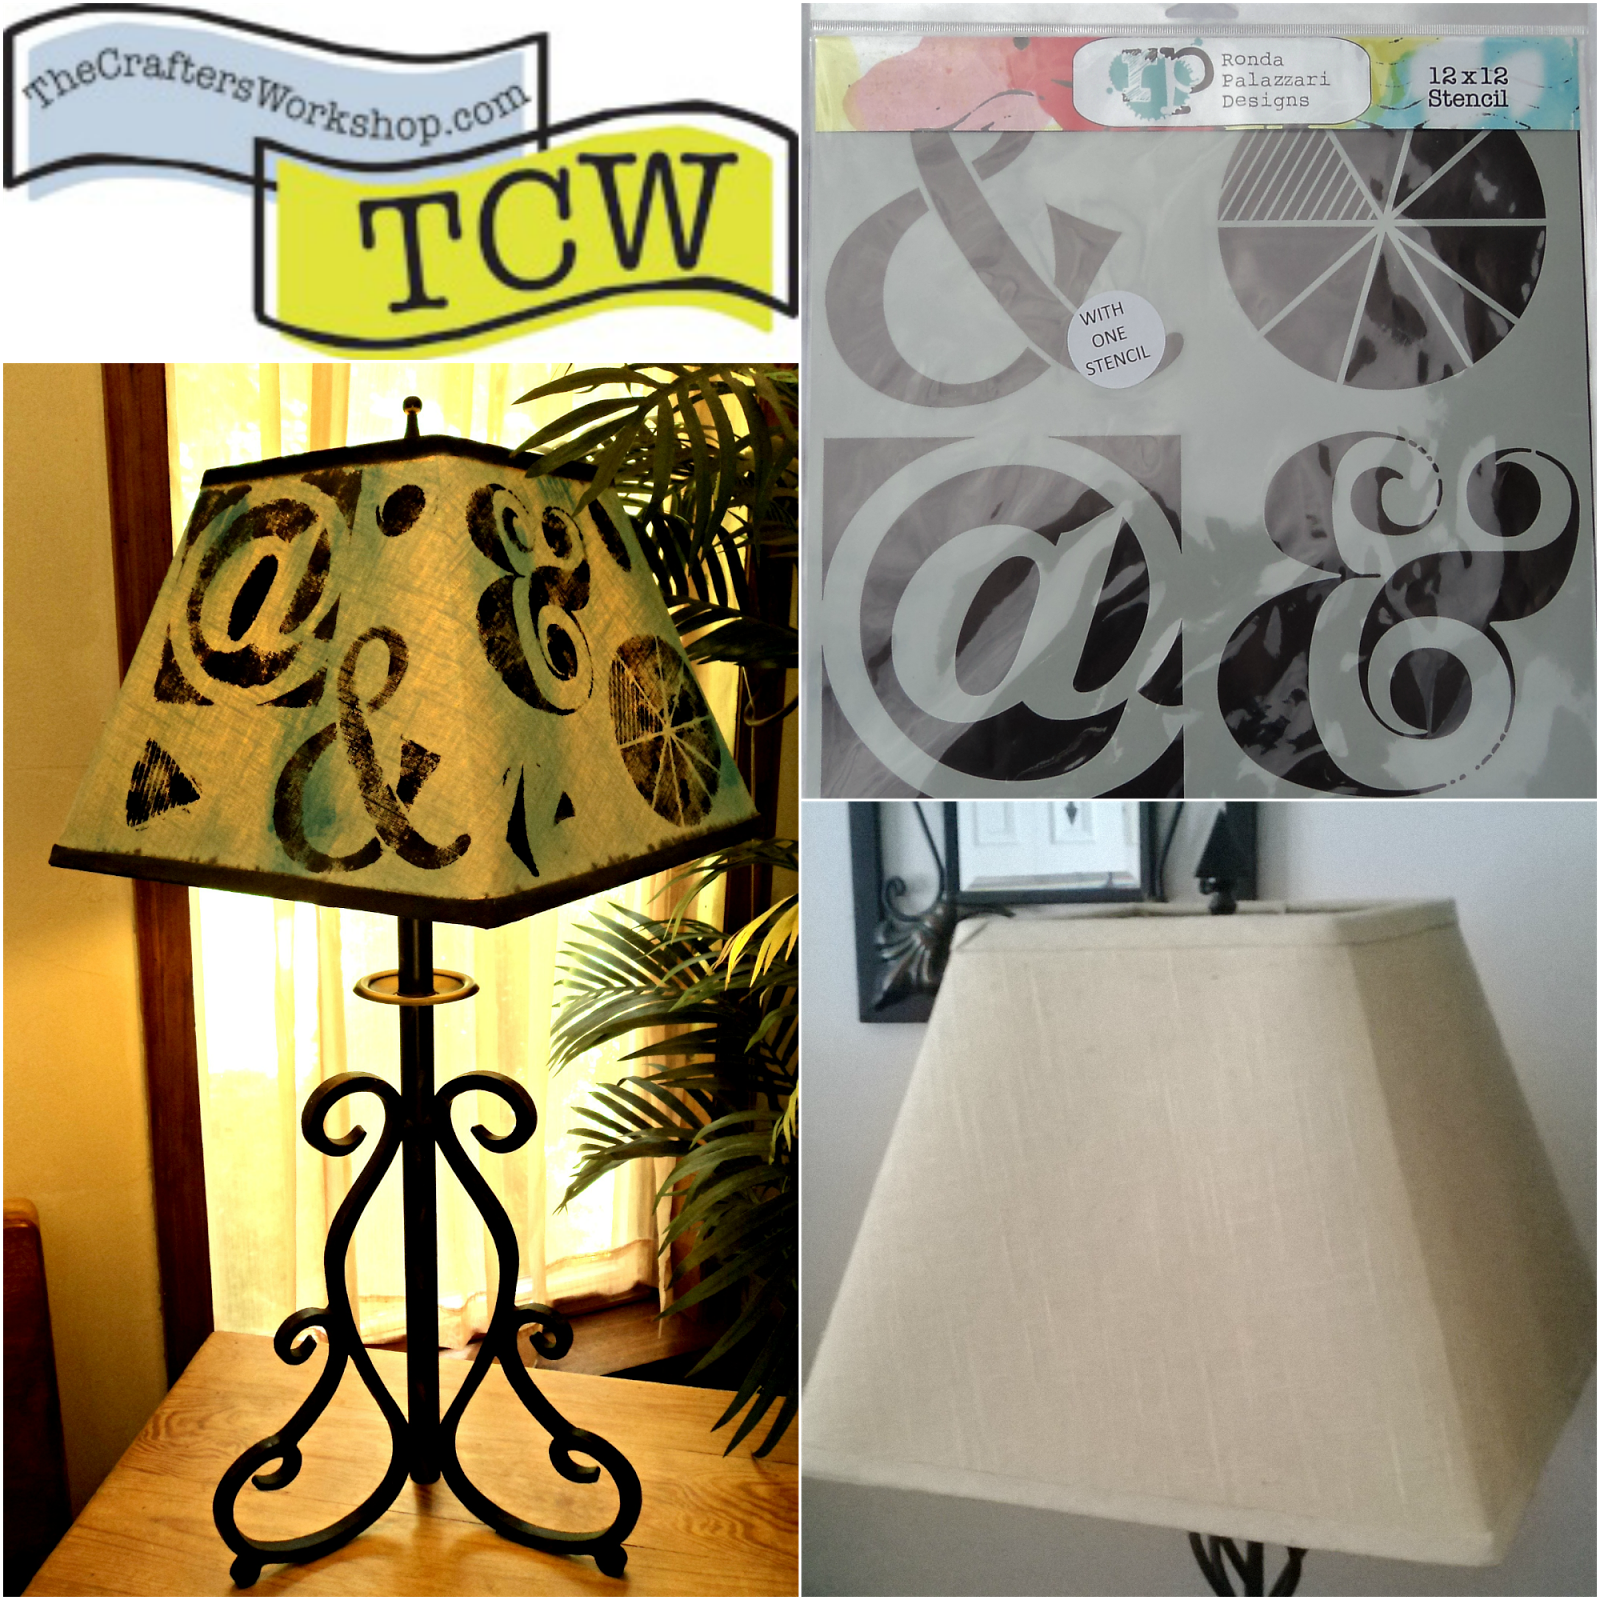
For my next project is this plain lamp shade. Boring. (eyes rolling) It needs something... anything will help it. Lacking color and design, I had to give it a makeover.
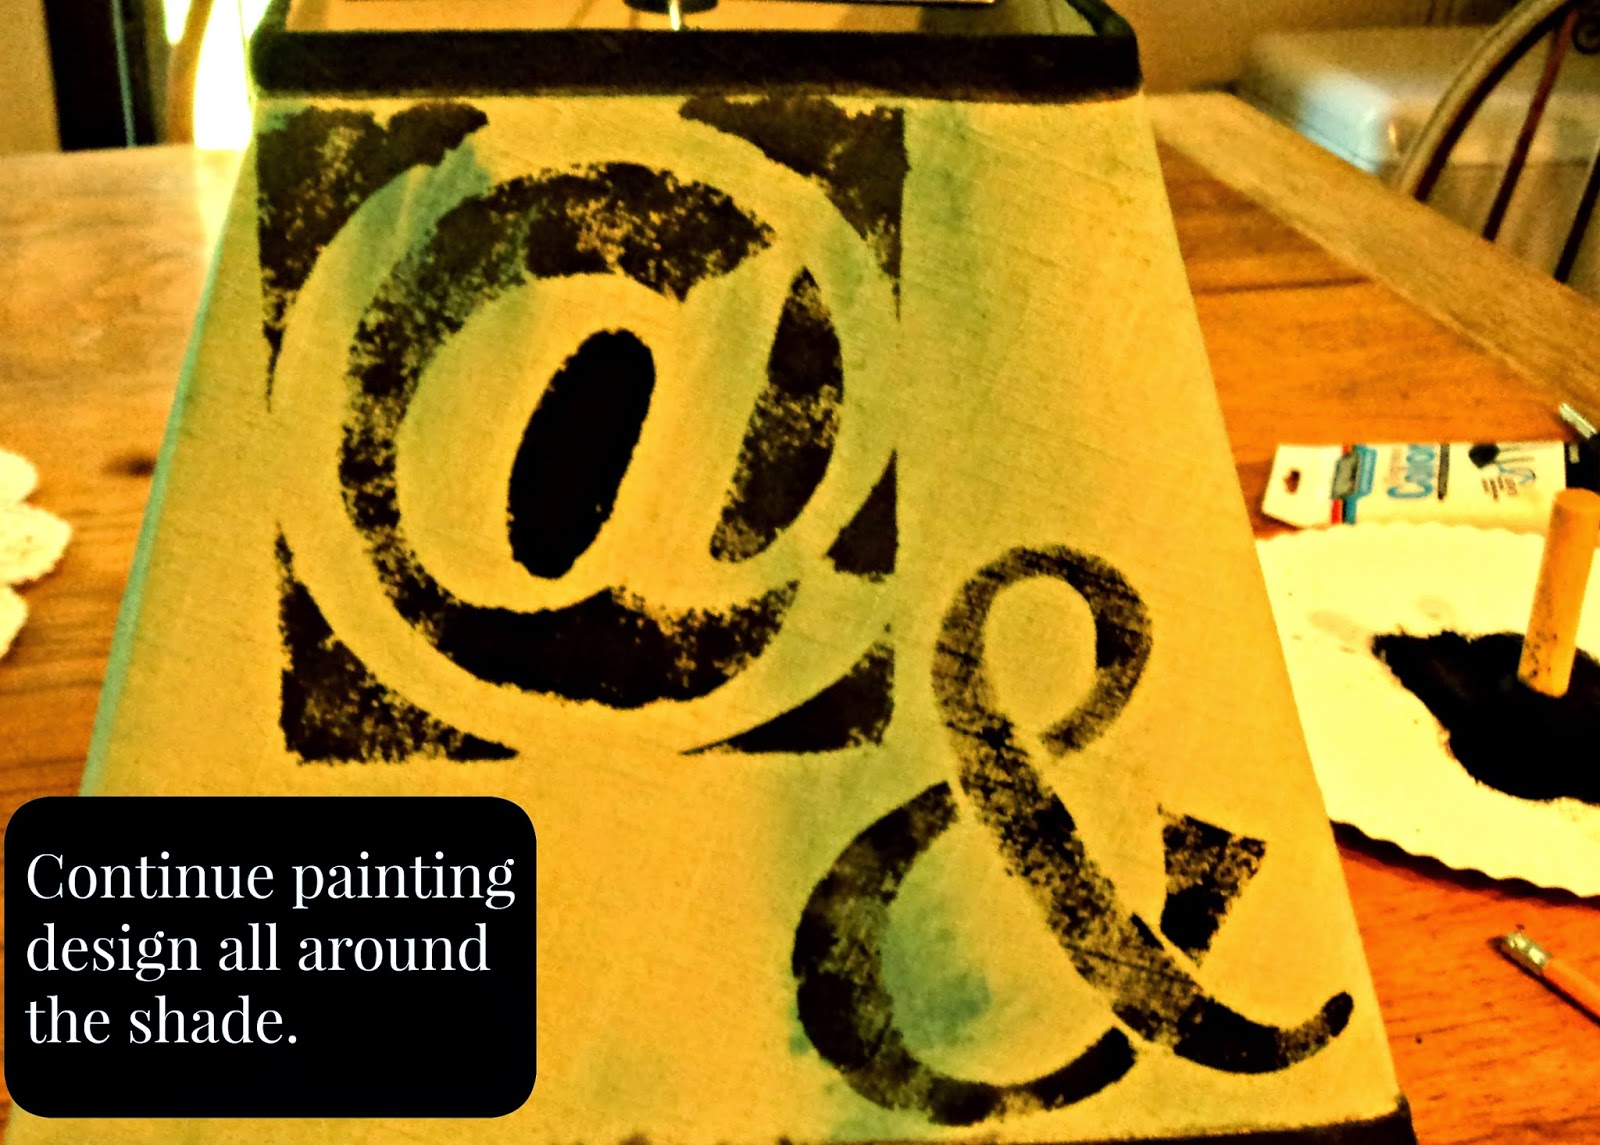
Using this stencil set for the second time, I opted to use all of them and small parts of them to create a design on the lamp shade.
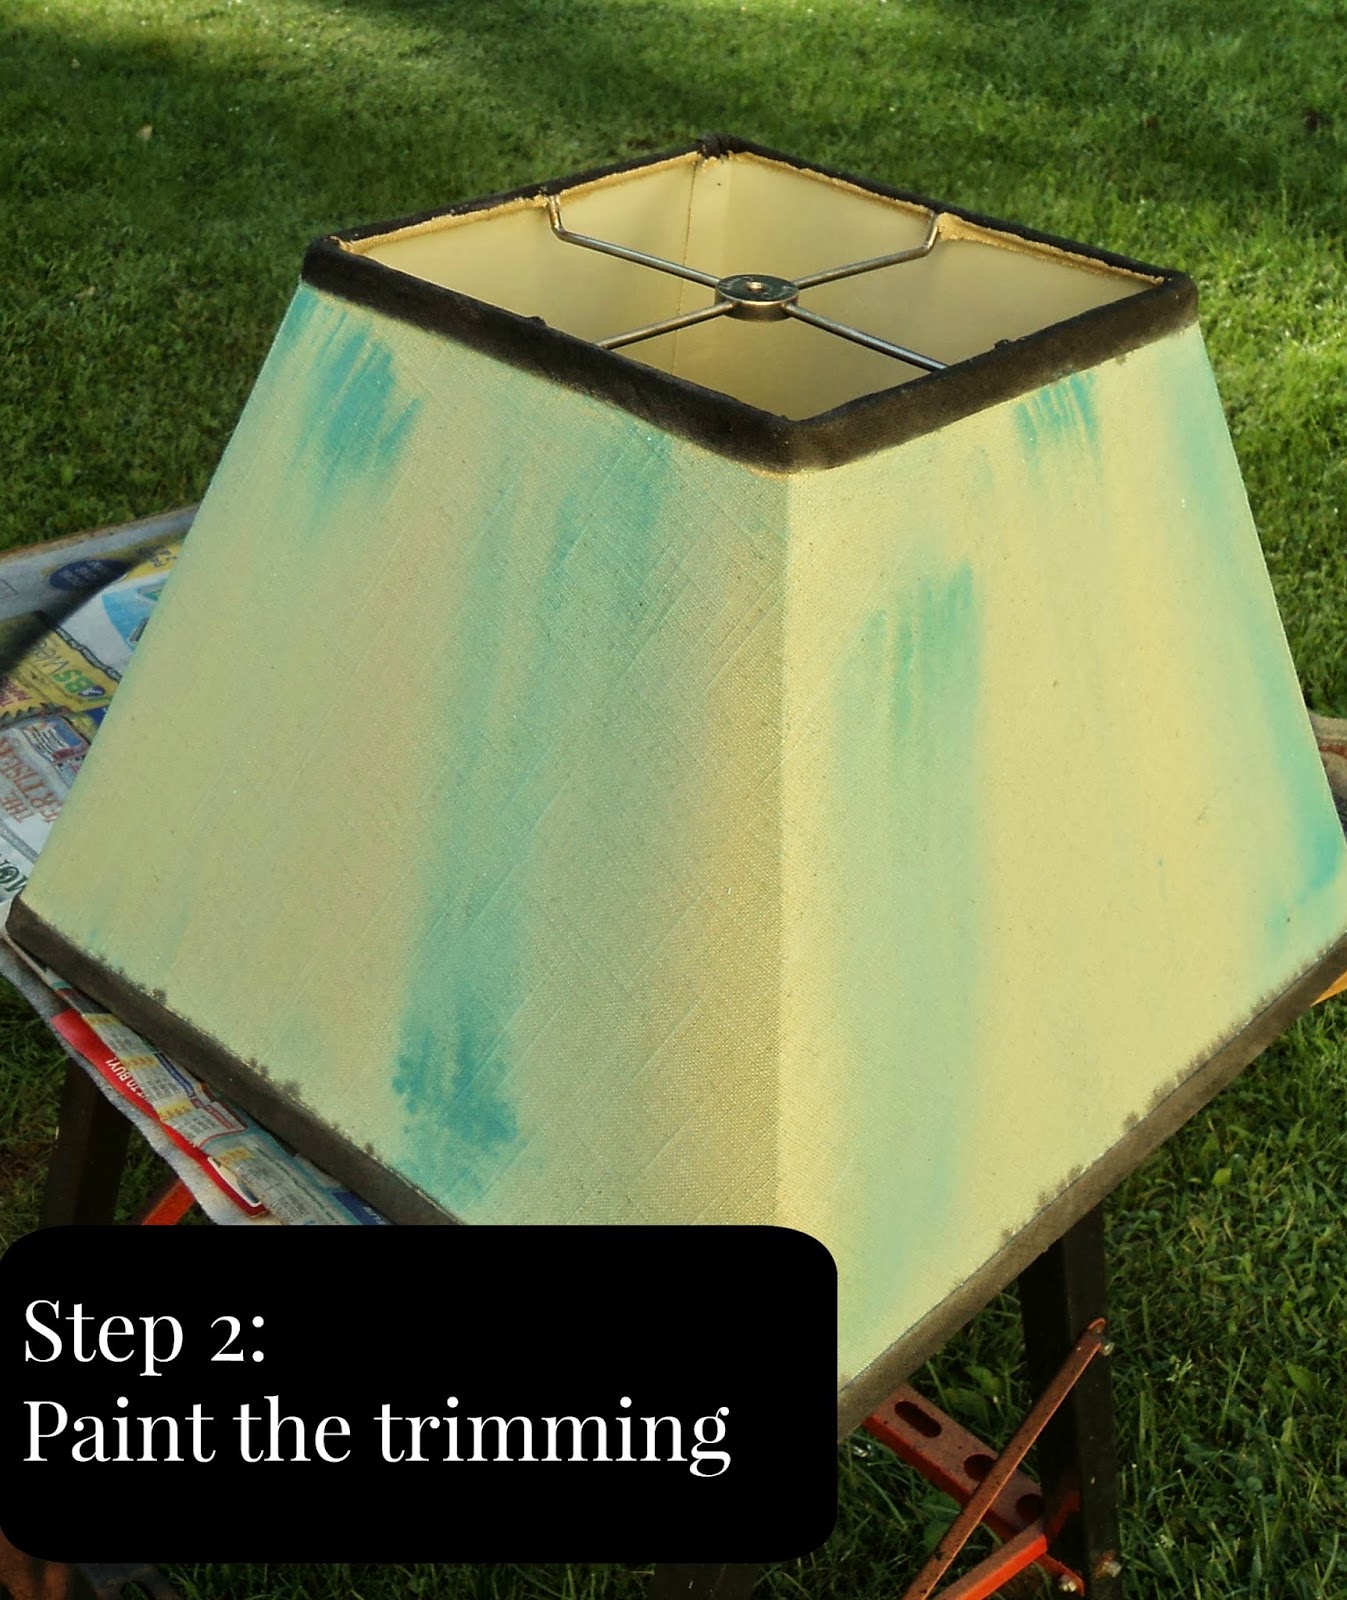
Then I painted the top and bottom trim in black for contrast.
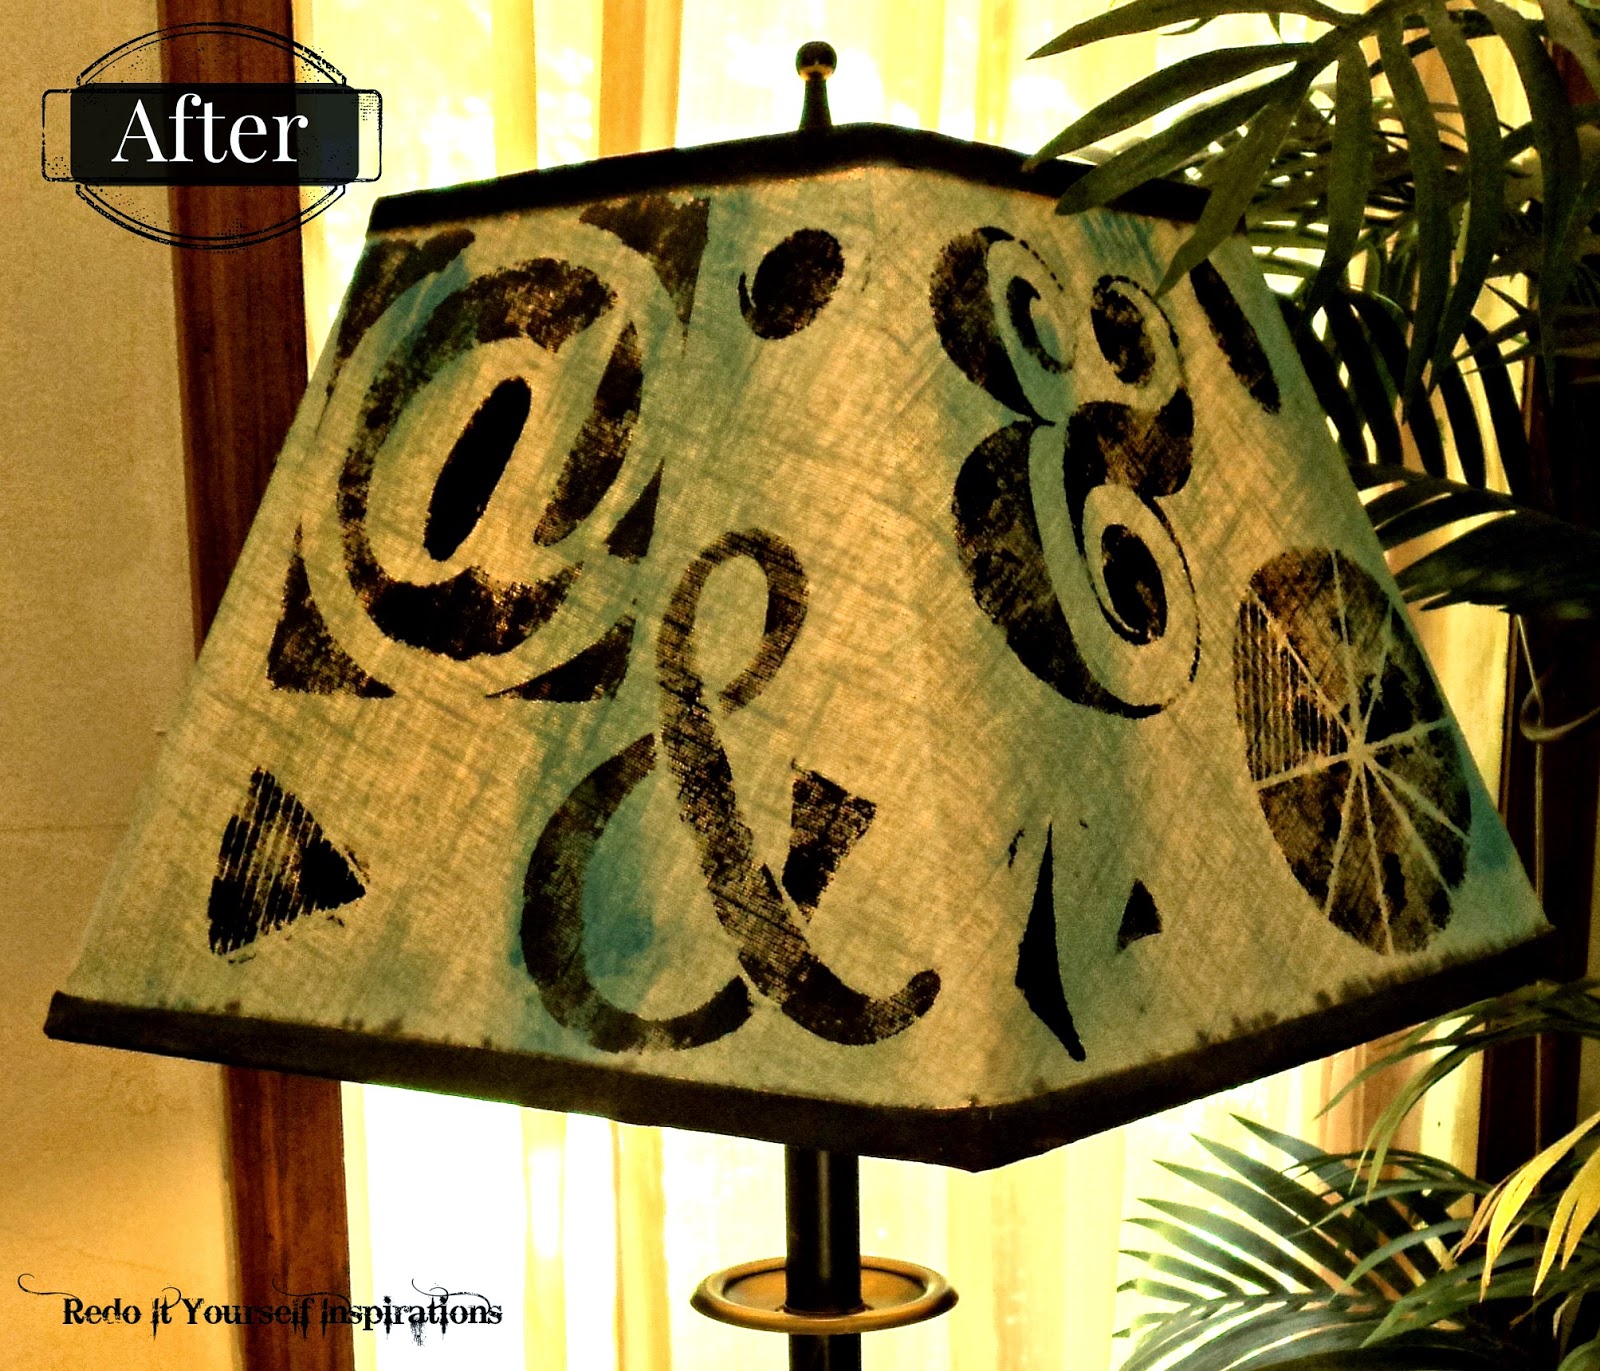
I tried to create a pattern of the stencils in upper left and bottom right on each panel of the shade for visual interest. That utilized two stencils per panel.
This pattern was repeated on the panel on the opposite side.
Then I used parts of each stencil in the remaining spaces.
It's almost as though the shade was made for the lamp... (smirking and winking)
Now the lamp is full of character.
From boring to "so sassy"!









ohhhhh love this! too neat and who woulda thought! Great job on another way to use stencils to make you home totally awesome!
ReplyDeleteIt certainly changed in appearance :)
ReplyDeleteThank you, Millie and Kristina !
What a great idea! I love it! Thank you for linking up to Show Me Saturday!
ReplyDeleteI have literally just ditched a whole heap of old lampshades I found in the shed. I should have sent them your way! Looks amazing!!
ReplyDeleteThanks for sharing at Marvelous Monday on Smart Party Planning!
How clever! I have almost this exact lamp and the shade is so blah. Hello from Serenity Saturday.
ReplyDeleteLol, I thought that might make you squirm!! Love and learn so they say. I'm not quite as creative as you, and wouldn't have thought of this!!
ReplyDeleteOur readers loved this idea too, and it was a favourite from this week's party. It will be featured next week :-)
I love this- I have 2 lampshades that could definitely use your artistic touch!! Thank you for the great tutorial- I am pinning to try as soon as I get my courage up! ;) Thanks so much for sharing this with us at Treasure Box Tuesday!
ReplyDeleteThis looks so cool! Pinned. We couldn't think of anyone better to party with! Thank you for stopping by. I hope to see you on Monday at 7 pm. http://loulougirls.blogspot.com/
ReplyDeleteHappy Saturday! Lou Lou Girls
Thank you for the invite! I'll be sure to stop in :)
ReplyDeleteSo happy for the pin too!
I'd love to help your lampshade :)
ReplyDeleteThanks so much for the pin and the invite! I'll stop in, thank you!
That looks super cool! Love the retro feel! Thanks so much for linking up with us at the #homematters linky party! We hope to see you again this coming Wednesday!
ReplyDeleteAnd by the way, you've been featured at the new #homematters linky party! Check it out! http://theroadtodomestication.com/2014/10/15/home-matters-linky-party-10/
ReplyDeleteThank you, Kristen. It does have an all over different appeal now. Thanks for having me at your fun party.
ReplyDeleteWow! That is exciting! I'll be sure to stop in :) Thank you!
ReplyDelete