Showing posts with label #minwaxfan. Show all posts

Tuesday, April 7, 2015

Painted Guitar: Americana Style


We have a few "first guitars" hanging around our youngest son's room. I'm currently working on a complete room makeover for this tween and decided to upcycle a couple of these tattered toys. My first victim of this particular DIY is this one...


Our little man... well not so little now, but he was at the time we bought this guitar at a thrift store... is helping me sort through his keep-toss-donate process of his bedroom.

I have total permission to upcycle this cheap learner guitar to do as I wish.


So I really ripped into it with a plan.
First with a good distress sanding...


And a quick grab of a music book for just a page (don't worry, it's not valuable; missing pages and cover, etc., so it's totally upcycle worthy )


Tearing up the page into several pieces...


just to burn the edges...  ( don't worry... safety is first! Each piece was dropped into the sink and into a glass baking dish filled with water)


because...

those amazing burned edges are making a nice affect while I decoupage them onto the face of the guitar.

(Insert big smile here...the plan is working so far!)


Here is a trail of burned pieces like a map of my creative mind... quite scattered.
But with a purpose.


The Mod Podge was quickly drying so I flipped the guitar over and taped it off to stain half of it in a blue... Indigo by Minwax...

wipe on...


wipe off!

A gorgeous blue stain with a perfect distressed look.


Then the other half is done with Minwax "Crimson"... a beautiful red stain.


Then I white washed the neck with a white acrylic.


After going over the white wash on the neck with a little Crimson... I used the same on the distressed head stock. 


For "Americana"... the stars and stripes are a must!

So I taped off the guitar with my design to paint over the burned music. I used the very same Indigo and Crimson but watered down to make it more translucent.


I was super stoked to use this star from The Crafter's Workshop to make the guitar Americana perfect. I used just the center part for the blue section on the base of the guitar.


I taped it strategically to get a full star and a part of it on each side.


Once my stars and stripes were dry, I gave the entire surface another coat of Mod Podge as a sealant. 


Then I used coconut oil to seal the rest of the guitar, which brought out the colors more and protects the wood.

After re-stringing, I asked for some critique ...


The Ace-Man loves this! He said it's soooo cool!

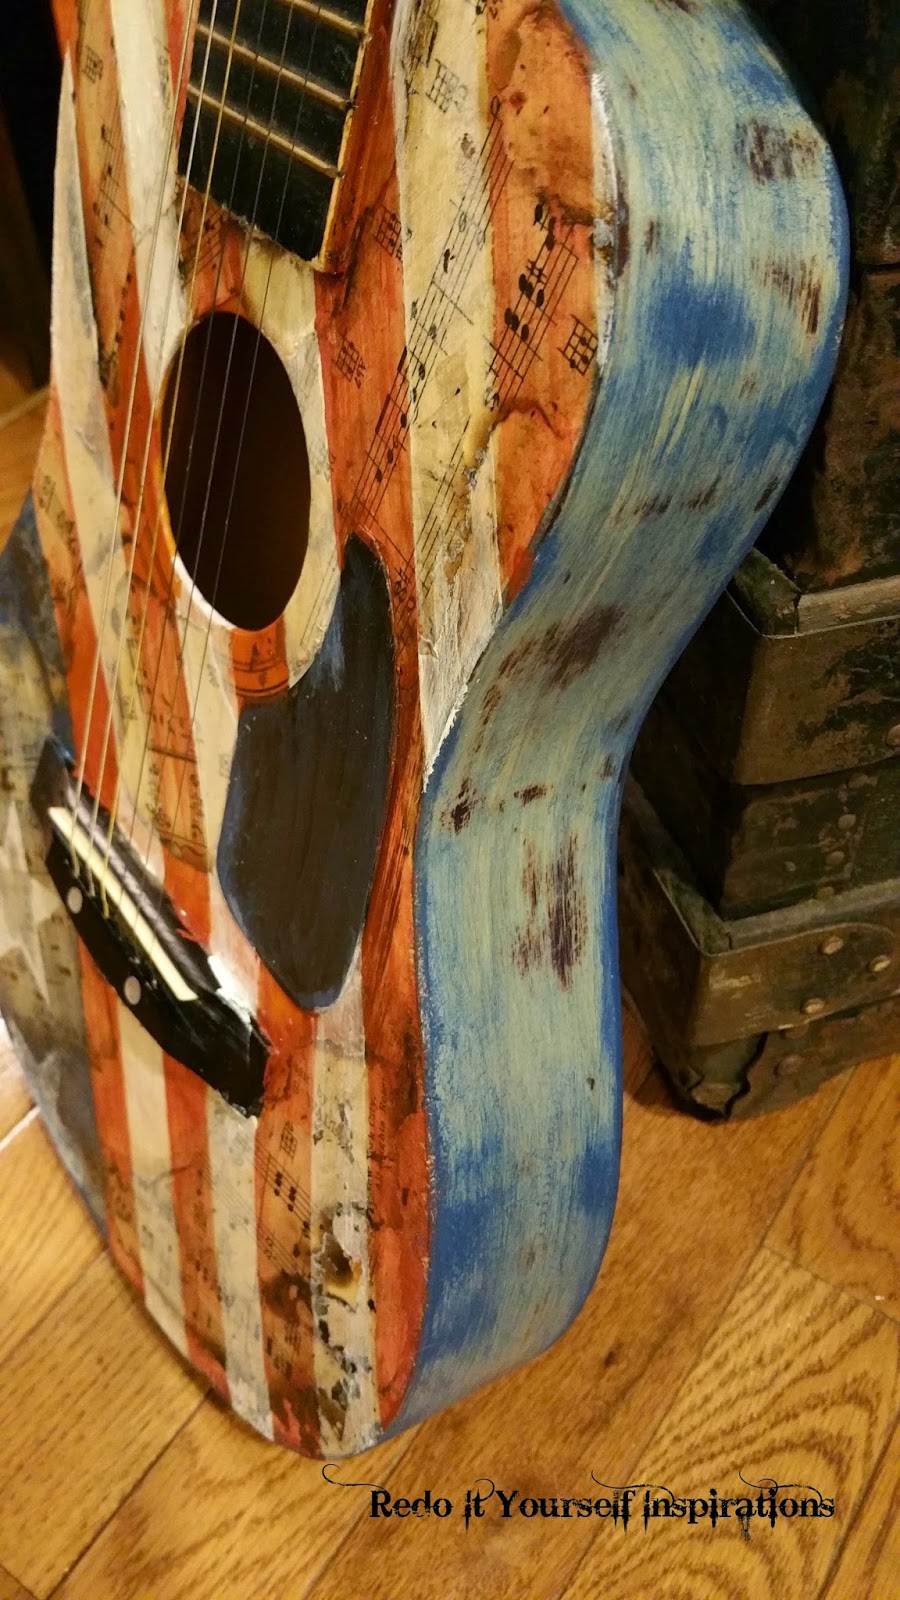
You can see the music sheet and burned edges peek through the white, crimson and indigo colors. It IS kind of cool!


I think the new tween room theme is off to a great start! He is really excited over it and is being helpful with the decisions.


I can't have him too involved because I have some surprises for him.  I was just lucky the first item was a hit with him! (Pssst... wait until he sees the headboard! I hope it turns out as crazy awesome as I have it in mind!)


Have you done a tween bedroom makeover? I'd love to hear about it!


Featured at 

DIY Decorating Addict
Issue 22


Friday, October 10, 2014

Pine Plank Floor


We could smell a dampy creepy mold in this bedroom of our fixer upper.  So we started by removing the carpet and padding that we installed upon moving in. But, that was after hubby repaired a roof leak. So the mold must have been under the flooring all the long.


Here, you can see the result of the water damage on the sub floor.


It was best to gut it. Who knows what lurks beneath.


We discovered there were three floors built on top of each other... with ... 2x4's. Mmm-hmm. I don't know why.   The worst floor was the first one, built many years ago.

Chain saws are great tools.


Not surprised, there was extensive mold build up in one area.


It was fuzzy... creepy.


Deciding to rebuild, joists and all, the guys demolished all of the previous construction to start over.


The joists on the first floor that was built looked quite unhealthy... rotted... and showed indication of insects years ago.


Reeeally creeeepy.


Some stylish reddish marbled flooring was on the second floor. Maybe a kitchen? It ripped apart easily.
It reminded me of old tar paper.


Bert was there too. This version of him is somewhat vintage.


And this fine reading material...
Reader's Digest, June 1959 edition.


It served as brief entertainment for me while the guys finished hauling out the old floors. They didn't let me deal with any of it due to a sinus infection.


Then we discovered a concrete sidewalk and a step. There must have been a back door entrance located here at some point in time.


While the guys worked on new beams, floor joists and the subfloor, I set out to shop for finishing supplies and food.


I came back to a clean slate.

My turn to take over.


It was a good time to fill holes and fix walls with joint compound. I patched the areas that needed it.


After a couple of days of  "mudding" and sanding, I painted the shiny old ceiling in a flat paint. And the walls in a satin Scottish Green Acre. A light mint green color that looks light turquoise in the sunlight.


Then I started the floor.
With pine.
Shiplap.


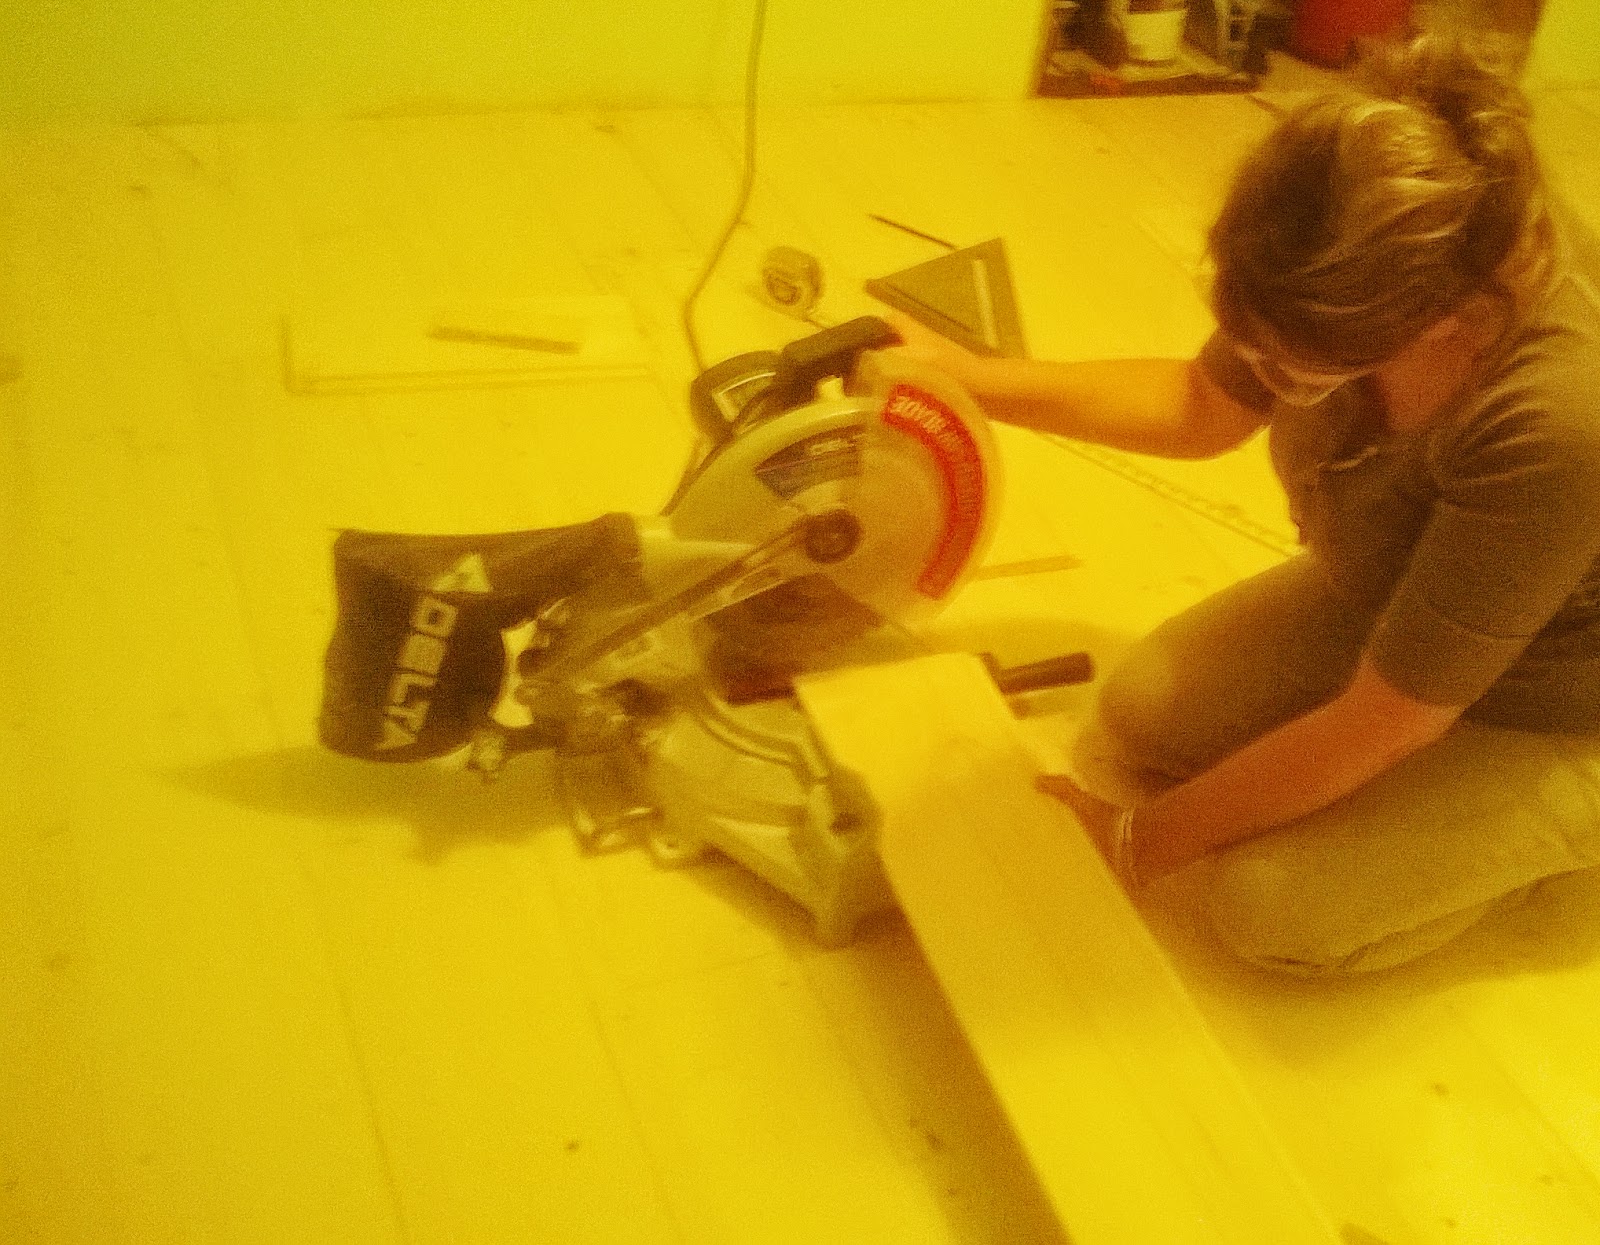
Yes, you read that right. I went with 6" pine shiplap planks. The room doesn't get much traffic and I love aged wood floors with character. I wanted the boards to look just that way.


I staggered the boards as I installed them, allowing to show all nails, like a barn floor.


It smelled nice. I love the aroma of wood.
Certainly better than the mold odor previously.


Nails, knots and seams... OH MY!
It's getting there.


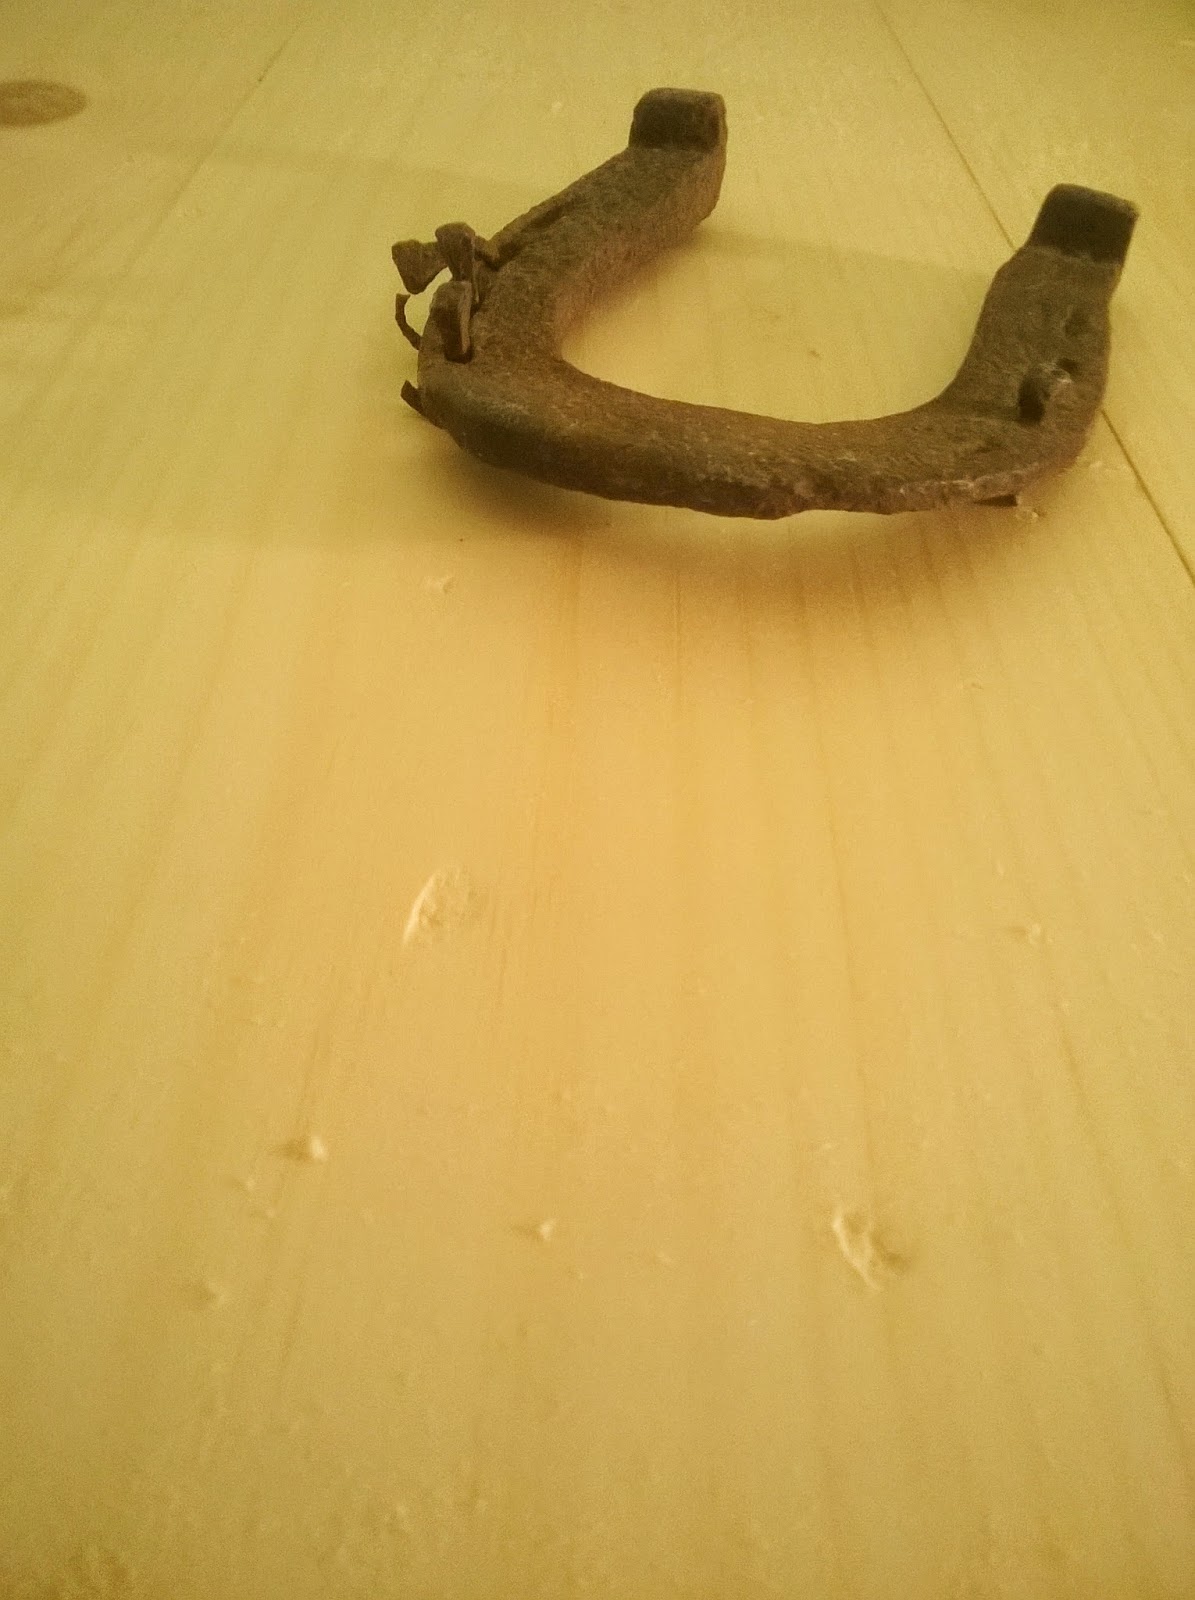
So in order to make this brand new pine look old, it needed to get banged up a bit. Some folks use chains, bags of nails, screws, stones, etc.,  but I used this horseshoe with curled nails in it. I tossed it around the floor... dropped it... stepped on it and rolled it. It made many different dings and character marks that were just right. It actually took a bit of weight and strength, so the wood was a little tougher than I thought.


Then by using a little Minwax Express Color stain in Onyx, painted into some of the dents with a small brush, it would speed up the age process.   I hoped.


Then I wiped the stain.


Then sanded the stained spots.


Then stained over it.

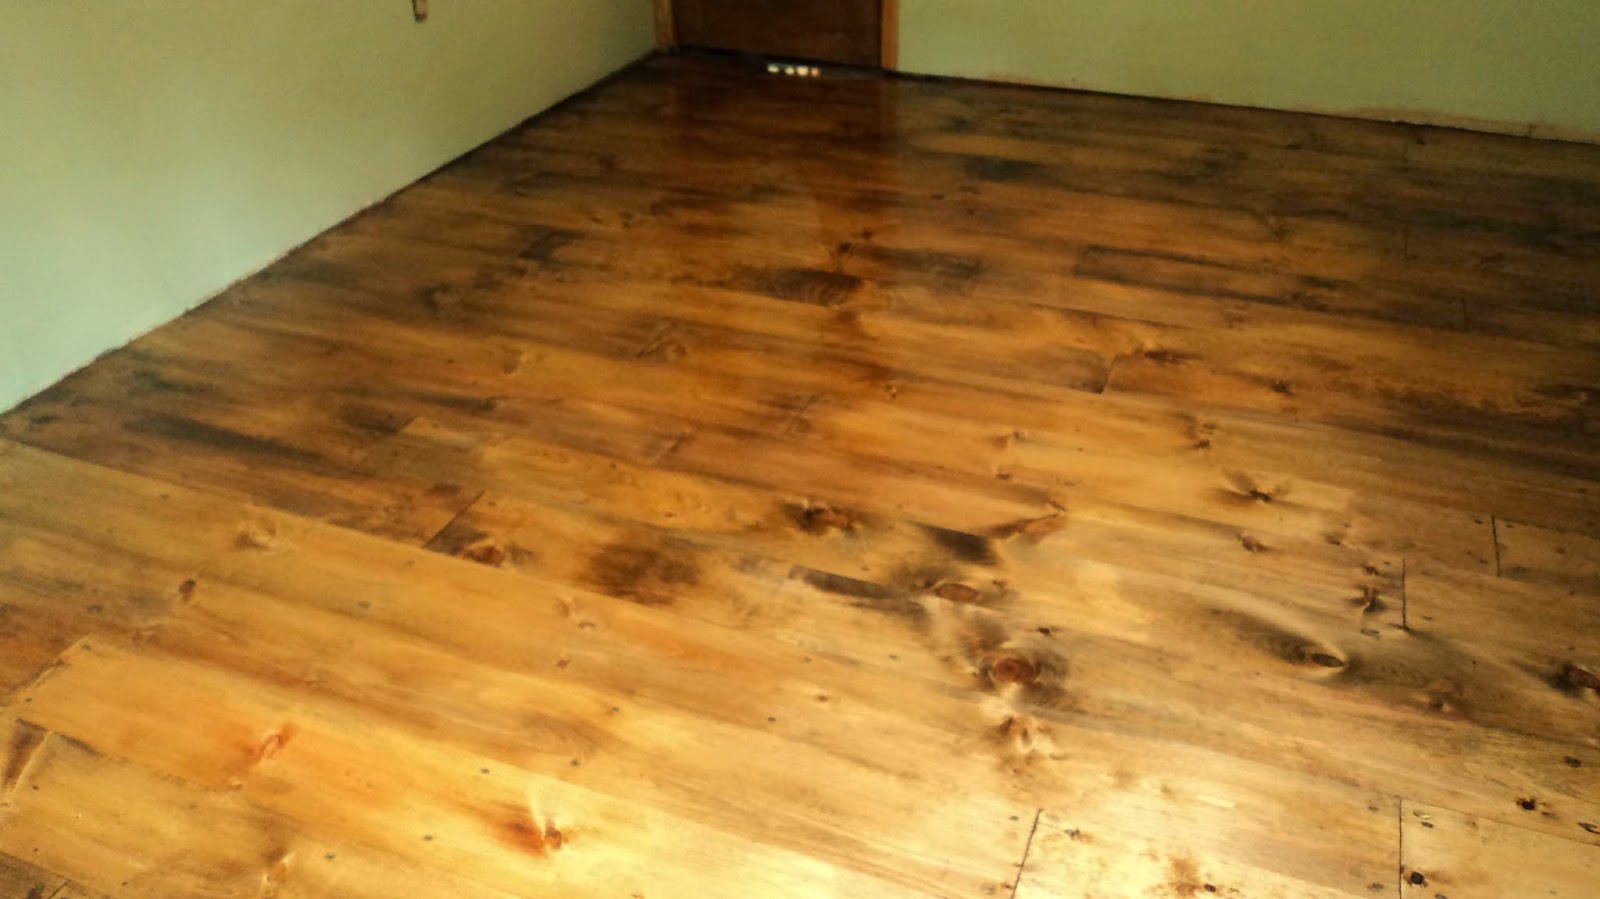
I used three different stain colors. I brush blended the stains so that not one color was prominent and gave each board a unique look. I used Minwax Special Walnut in the knot areas, seams and nail heads. Then a dab of Gunstock here and there for a warm highlight and Golden Oak to blend them together.


It was looking like a barn plank floor by the time I reached the end.


Then came the shine... I used two coats of Minwax Polyurethane, allowing to dry completely between coats. 


It isn't reclaimed wood, but I got the look for much less AND I get to add my own years of character to it. 


Next, is the baseboard to  match, crown molding for the ceiling and the finishing up of the closet.
I see a makeover for the furniture in the works... oh and a rug project too.   ;-)


I would do this again. Just not right now. It was a long week. 


~~~~~~~~~~~~~~~~~~~~~