I have forever wanted a carriage bench as a house bench.
Seriously.
Crazy isn't it? Those dusty-dirty old buckboards appeal to me in the worst selfish way.
There is something about the old days of horse drawn transportation and those handsomely handmade seats. Hearing the clank and clunk of boot heels walking across the wagon or carriage to take a seat whether a gentleman/cowboy or a lady with a poofy corseted dress... it's just so gal dang sexy...or eloquently pleasing to the ears.
To buy an antique one is rather pricey! Out of our price range anyway. But by golly, they are beautiful to me. My heart just sinks looking at them. So... I was going to build one.
Like this Pinterest inspiration that I have held on to for some time:
Yep, you read that right. I was going to build it. I asked my husband if I heated the iron, bent it and drilled it,...could it work? He replied, "of course!" ...(he has so much faith in me, doesn't he?)... and he was on the look out for the iron I needed to incorporate into my crazy dream. NOTE: I've been saving up the reclaimed wood... and waiting the whole time.
Then one fine day this past winter, I asked the fine husband of mine, "I found a wagon bench at auction, can we go?". He said yes and we did. Landed in Amish country here in the mid part of New York, my bid won this "feast-my-heart-desire".
Not quite "thee one" of above is it? But I could make it "old wood looking" as I dreamt of.

So I did the most crazy thing.
I put it outdoors in the rain. AND in the snow.
For quite awhile.
I wanted it to get old and damaged on purpose. Why? Well, because this Buggy Seat was not what I dreamed of. But it was what we afforded and I can make into what I envisioned.
The time has come.
Some of the paint flaked off and some of the wood slightly separated.
Just right.
Like picking a planting of fruit or vegetable at the right time.

So I took the bench apart.
And because the backrest was made up of cheesy upholstered luan, I had to make a new ("old style") one,
I grabbed some reclaimed wood.


Or in my dreams.

Finally.

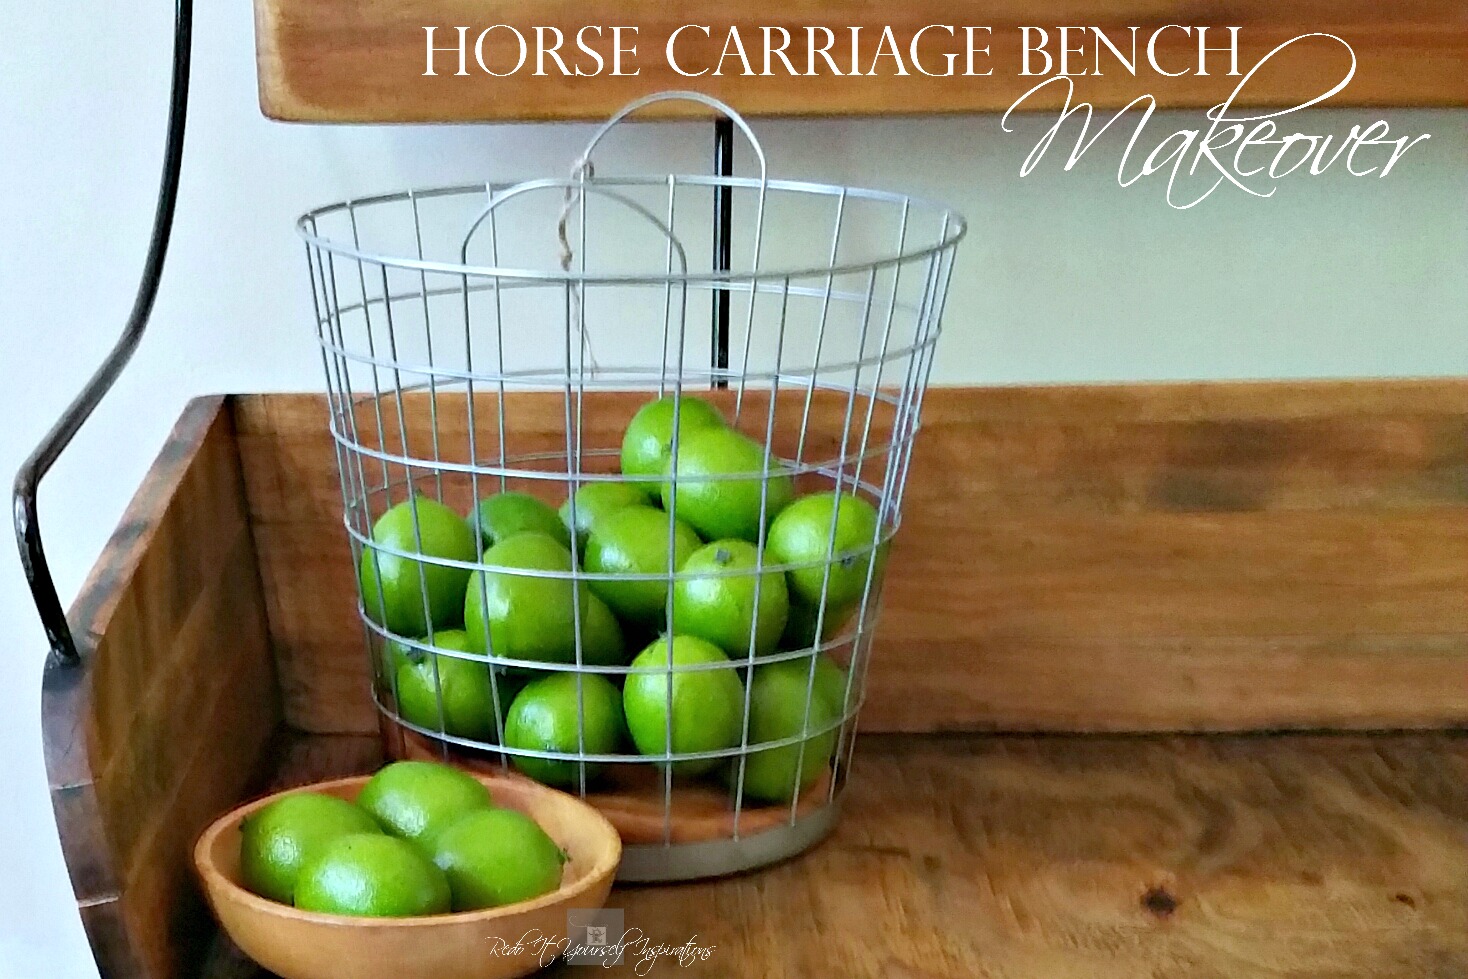
The house bench I wanted.
Made with my own hands, I created the dream I wished true.

Now that you have seen my Furniture Refresh for May, let's check out the rest of the group!


Thank you for visiting our Furniture Refresh of the month!

Life on Lakeshore Drive (A Bouquet of Talent)
Marilyn's Treats (Season of Sharing)
Blake Hill House
Tatertots & Jello
Vintage Charm Feature of the Month
with
Charm Bracelet Diva, The Blue Willow House, My Thrift Store Addiction, Adirondack Girl at Heart
 |
| Example found on Pinterest |
Yep, you read that right. I was going to build it. I asked my husband if I heated the iron, bent it and drilled it,...could it work? He replied, "of course!" ...(he has so much faith in me, doesn't he?)... and he was on the look out for the iron I needed to incorporate into my crazy dream. NOTE: I've been saving up the reclaimed wood... and waiting the whole time.
Then one fine day this past winter, I asked the fine husband of mine, "I found a wagon bench at auction, can we go?". He said yes and we did. Landed in Amish country here in the mid part of New York, my bid won this "feast-my-heart-desire".
Not quite "thee one" of above is it? But I could make it "old wood looking" as I dreamt of.

So I did the most crazy thing.
I put it outdoors in the rain. AND in the snow.
For quite awhile.
I wanted it to get old and damaged on purpose. Why? Well, because this Buggy Seat was not what I dreamed of. But it was what we afforded and I can make into what I envisioned.
The time has come.
Some of the paint flaked off and some of the wood slightly separated.
Just right.
Like picking a planting of fruit or vegetable at the right time.

So I took the bench apart.
And because the backrest was made up of cheesy upholstered luan, I had to make a new ("old style") one,
I grabbed some reclaimed wood.

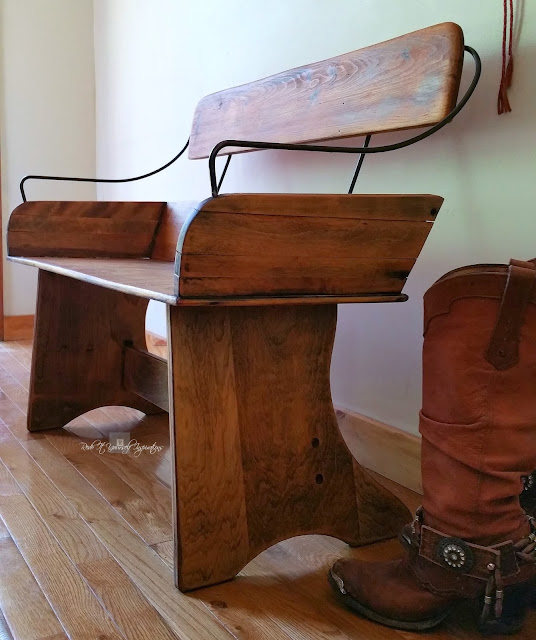
Then, I made the antique looking backrest from the old pine shelving. (Trying to be imperfect was quite perfect, mind you.)
Ah, getting closer, the excitement was beside me!
I sanded the BeJeebers out of the new old backrest and the entire bench parts.

Imperfectly, but yet very perfect, and finally put "Humpty Dumpty" back together again.
I lightly stained and used natural wax for a good "old" look.


Gah!!!!!
I did it!

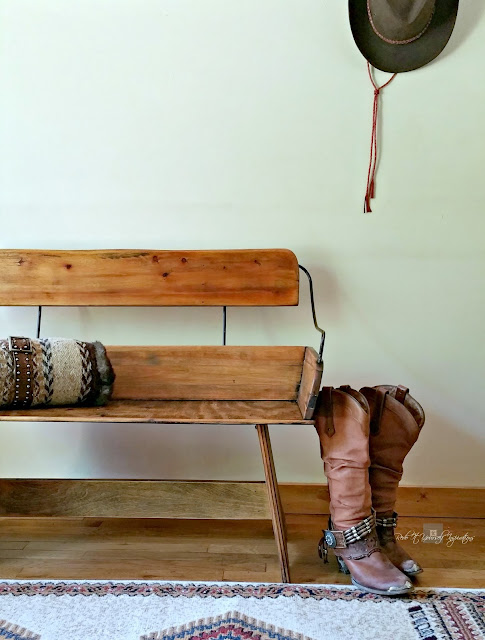
It took 60 seconds to add my everyday boots and storm hat to the mix.

Now it's looking more like what my dreams were made of.


Crazy "old" beautiful; in its own right.

Or in my dreams.

Finally.

The house bench I wanted.
Made with my own hands, I created the dream I wished true.


Now that you have seen my Furniture Refresh for May, let's check out the rest of the group!

"Before photos"

Thank you for visiting our Furniture Refresh of the month!

Gratefully featured at


Vintage Charm "Feature of the Year 2016"

with
Pieced Pastimes (Saturday Sparks)
The Interior Frugalista (DIY Sunday Showcase)
Remodelaholic (Friday Favorites)
My Salvaged Treasures (Talk of the Town)
Thrifty Rebel Vintage (Vintage Charm)
Patina Paradise (Friday's Furniture Fix)
21 Rosemary Lane (Share Your Style)
Weekend Craft (Creative Spark)
One More Time (Share It One More Time)
The Curator's Collection (Making Broken Beautiful)
DIY Vintage Chic (Friday's Five Features)
Domesblissity (Thriving on Thursdays)
Suzanne Bagheri (The Painted Drawer)
Practically Functional (Creativity Unleashed)
McCall Manor (Your Inspired Design)
Rooted in Thyme (Simple and Sweet Fridays)
Reinvented Collection & Co. (Fantastic 4 DIY Furniture Makeovers -Thursday Favorite Things)
Life on Lakeshore Drive (A Bouquet of Talent)
Marilyn's Treats (Season of Sharing)
Blake Hill House
Tatertots & Jello
Vintage Charm Feature of the Month
with
Charm Bracelet Diva, The Blue Willow House, My Thrift Store Addiction, Adirondack Girl at Heart